Advent Calendar
Click on a box to reveal more details below! (scroll down)
Day 1: Collage fodder file
Handmade mini expanding collage fodder file wrapped in a magazine page and secured with a giant paperclip; the file is made from original collage artwork of mine and upcycled envelopes, secured with a metal brad and thread with a bead attached
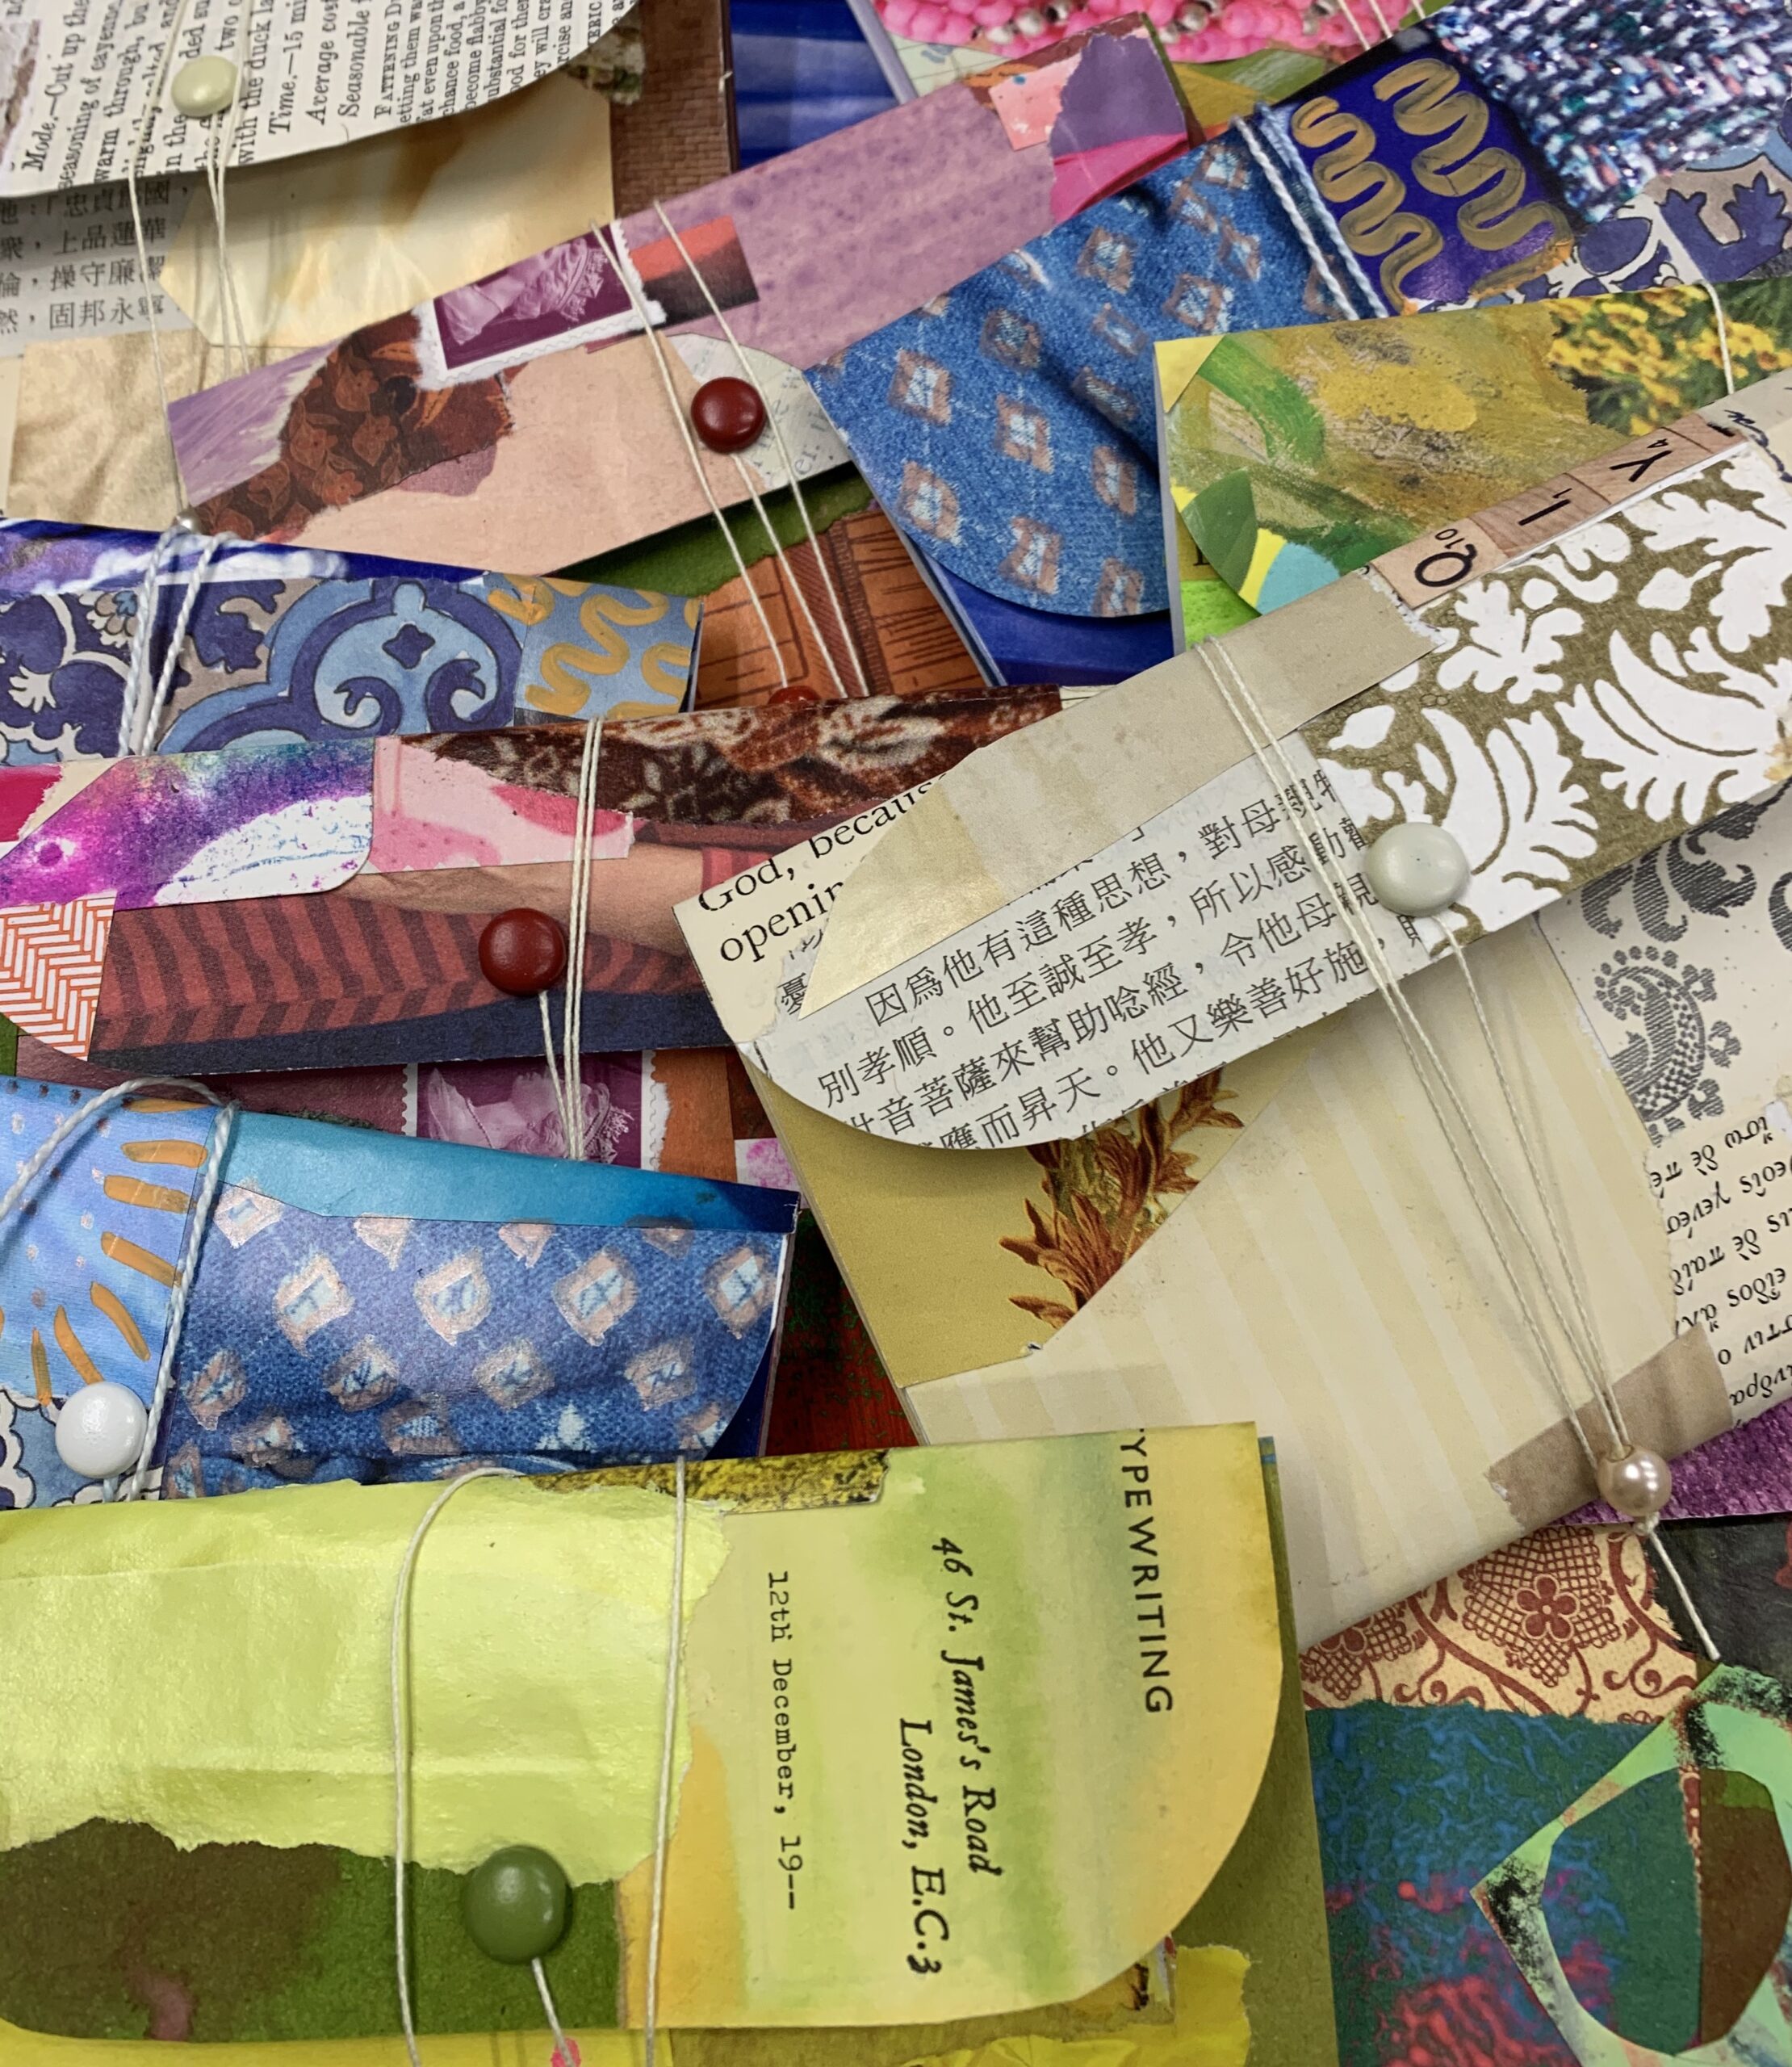
I love these files as a cute way to store small collage papers. There are six pockets (one lucky recipient actually has seven pockets – what can I say? I can’t count apparently!) to store lots of mini collage bits and bobs, stickers, tags or anything small and flat. These pocket sized files are great to use as part of a portable art kit to take out and about as well as keeping organised at home. The pockets can be labelled if needed. Non-art uses could be storing receipts, business cards, bank notes, postage stamps, etc. I’ve popped a few bits and bobs in the pockets to get you started.
Day 2: Hand stamped stickers
Hand stamped stickers wrapped in an envelope fold notelet and secured with a sticker
Stickers are an easy way to add something extra to an art journal page, collage or other artwork and there are millions of commercial stickers available. But why not make your own unique stickers? For my stickers, I have randomly stamped over sheets of stickers using a variety of rubber stamps but you could use hand made stamps, improvise with household items or even just use pens. I then cut or punched shapes from the whole sticker sheet. Some I’ve added random words to but others are just background which you can add to with whatever you like. They’re easy to cut and even the offcuts are usable, I’ve included some of those for you too.
The stickers are from Eco-Craft, a lovely company with an ethical stance and sustainability at its heart. They sell lots of different sizes of stickers as well as paper, card, tape, envelopes and other packaging.
Quote of the Day – “Stickers are not just decorations; they’re a canvas for your thoughts!” Emily Parker
Day 3: Trio of buttons
A trio of buttons stitched to a vintage bingo card in a stitched envelope of vintage children’s dictionary secured with a mini peg
Hands up who doesn’t love a rummage in a tin of buttons? Buttons can be used in all sorts of mixed media projects and here’s three to find a home for.
The black and gold striped button is hand made using shrink plastic I’ve had for years. It’s not something I’d buy nowadays but in the interests of my waste not, want not spirit, I thought I’d have a play with it.
The sea glass was collected on various holidays over the years and put to good use by drilling some holes!
The vintage button is there because I love the look of them, they’re beautifully flat and you can stamp on them, or add colour with pens, paint etc.
Buttons can be used in all manner of ways in creative projects; as closures for an art journal, added to tags, collage pieces, art journal pages or as a tab on a page, a danglie, or other stitch or creative projects. They can be stitched, wired or glued on. So many creative uses!
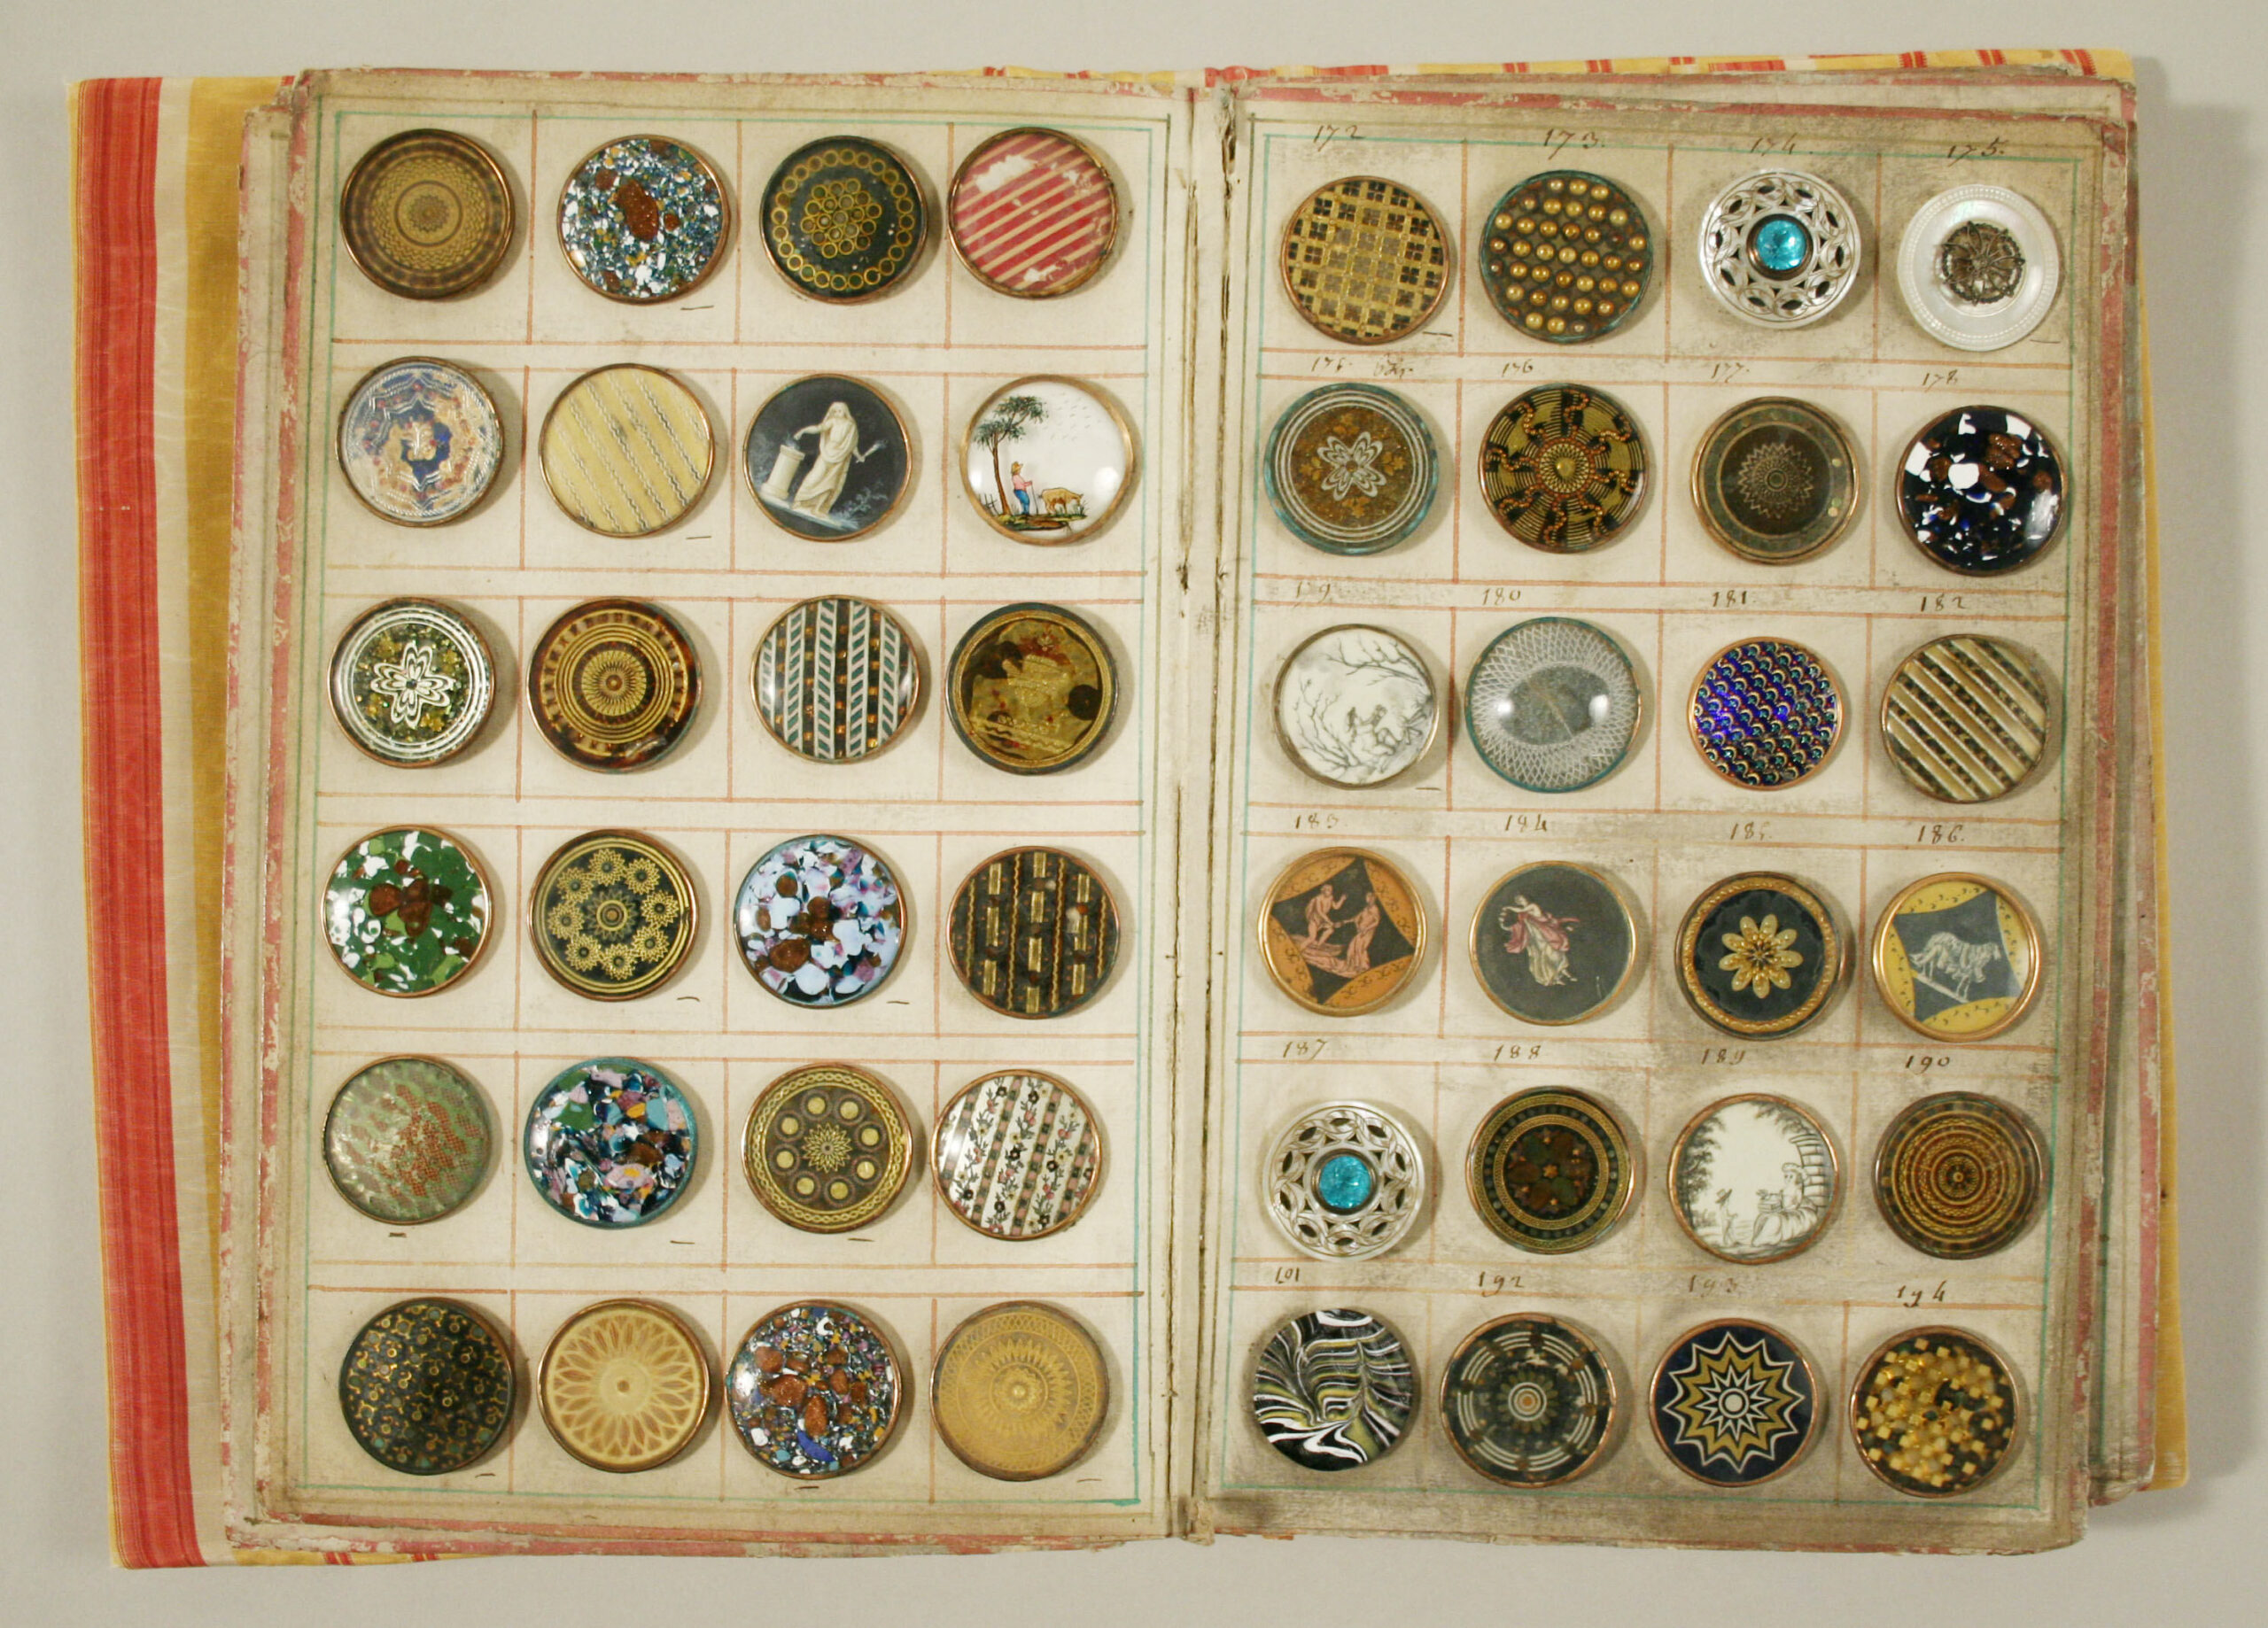
Copyright free image of a French button sample book, to print and use however you like (click the thumbnail to open full size image)
Day 4: Naturally dyed fabric & threads
A selection of naturally dyed fabric strips and threads, held together with a safety pin, wrapped in reclaimed vintage fabric tied with yellow cotton thread
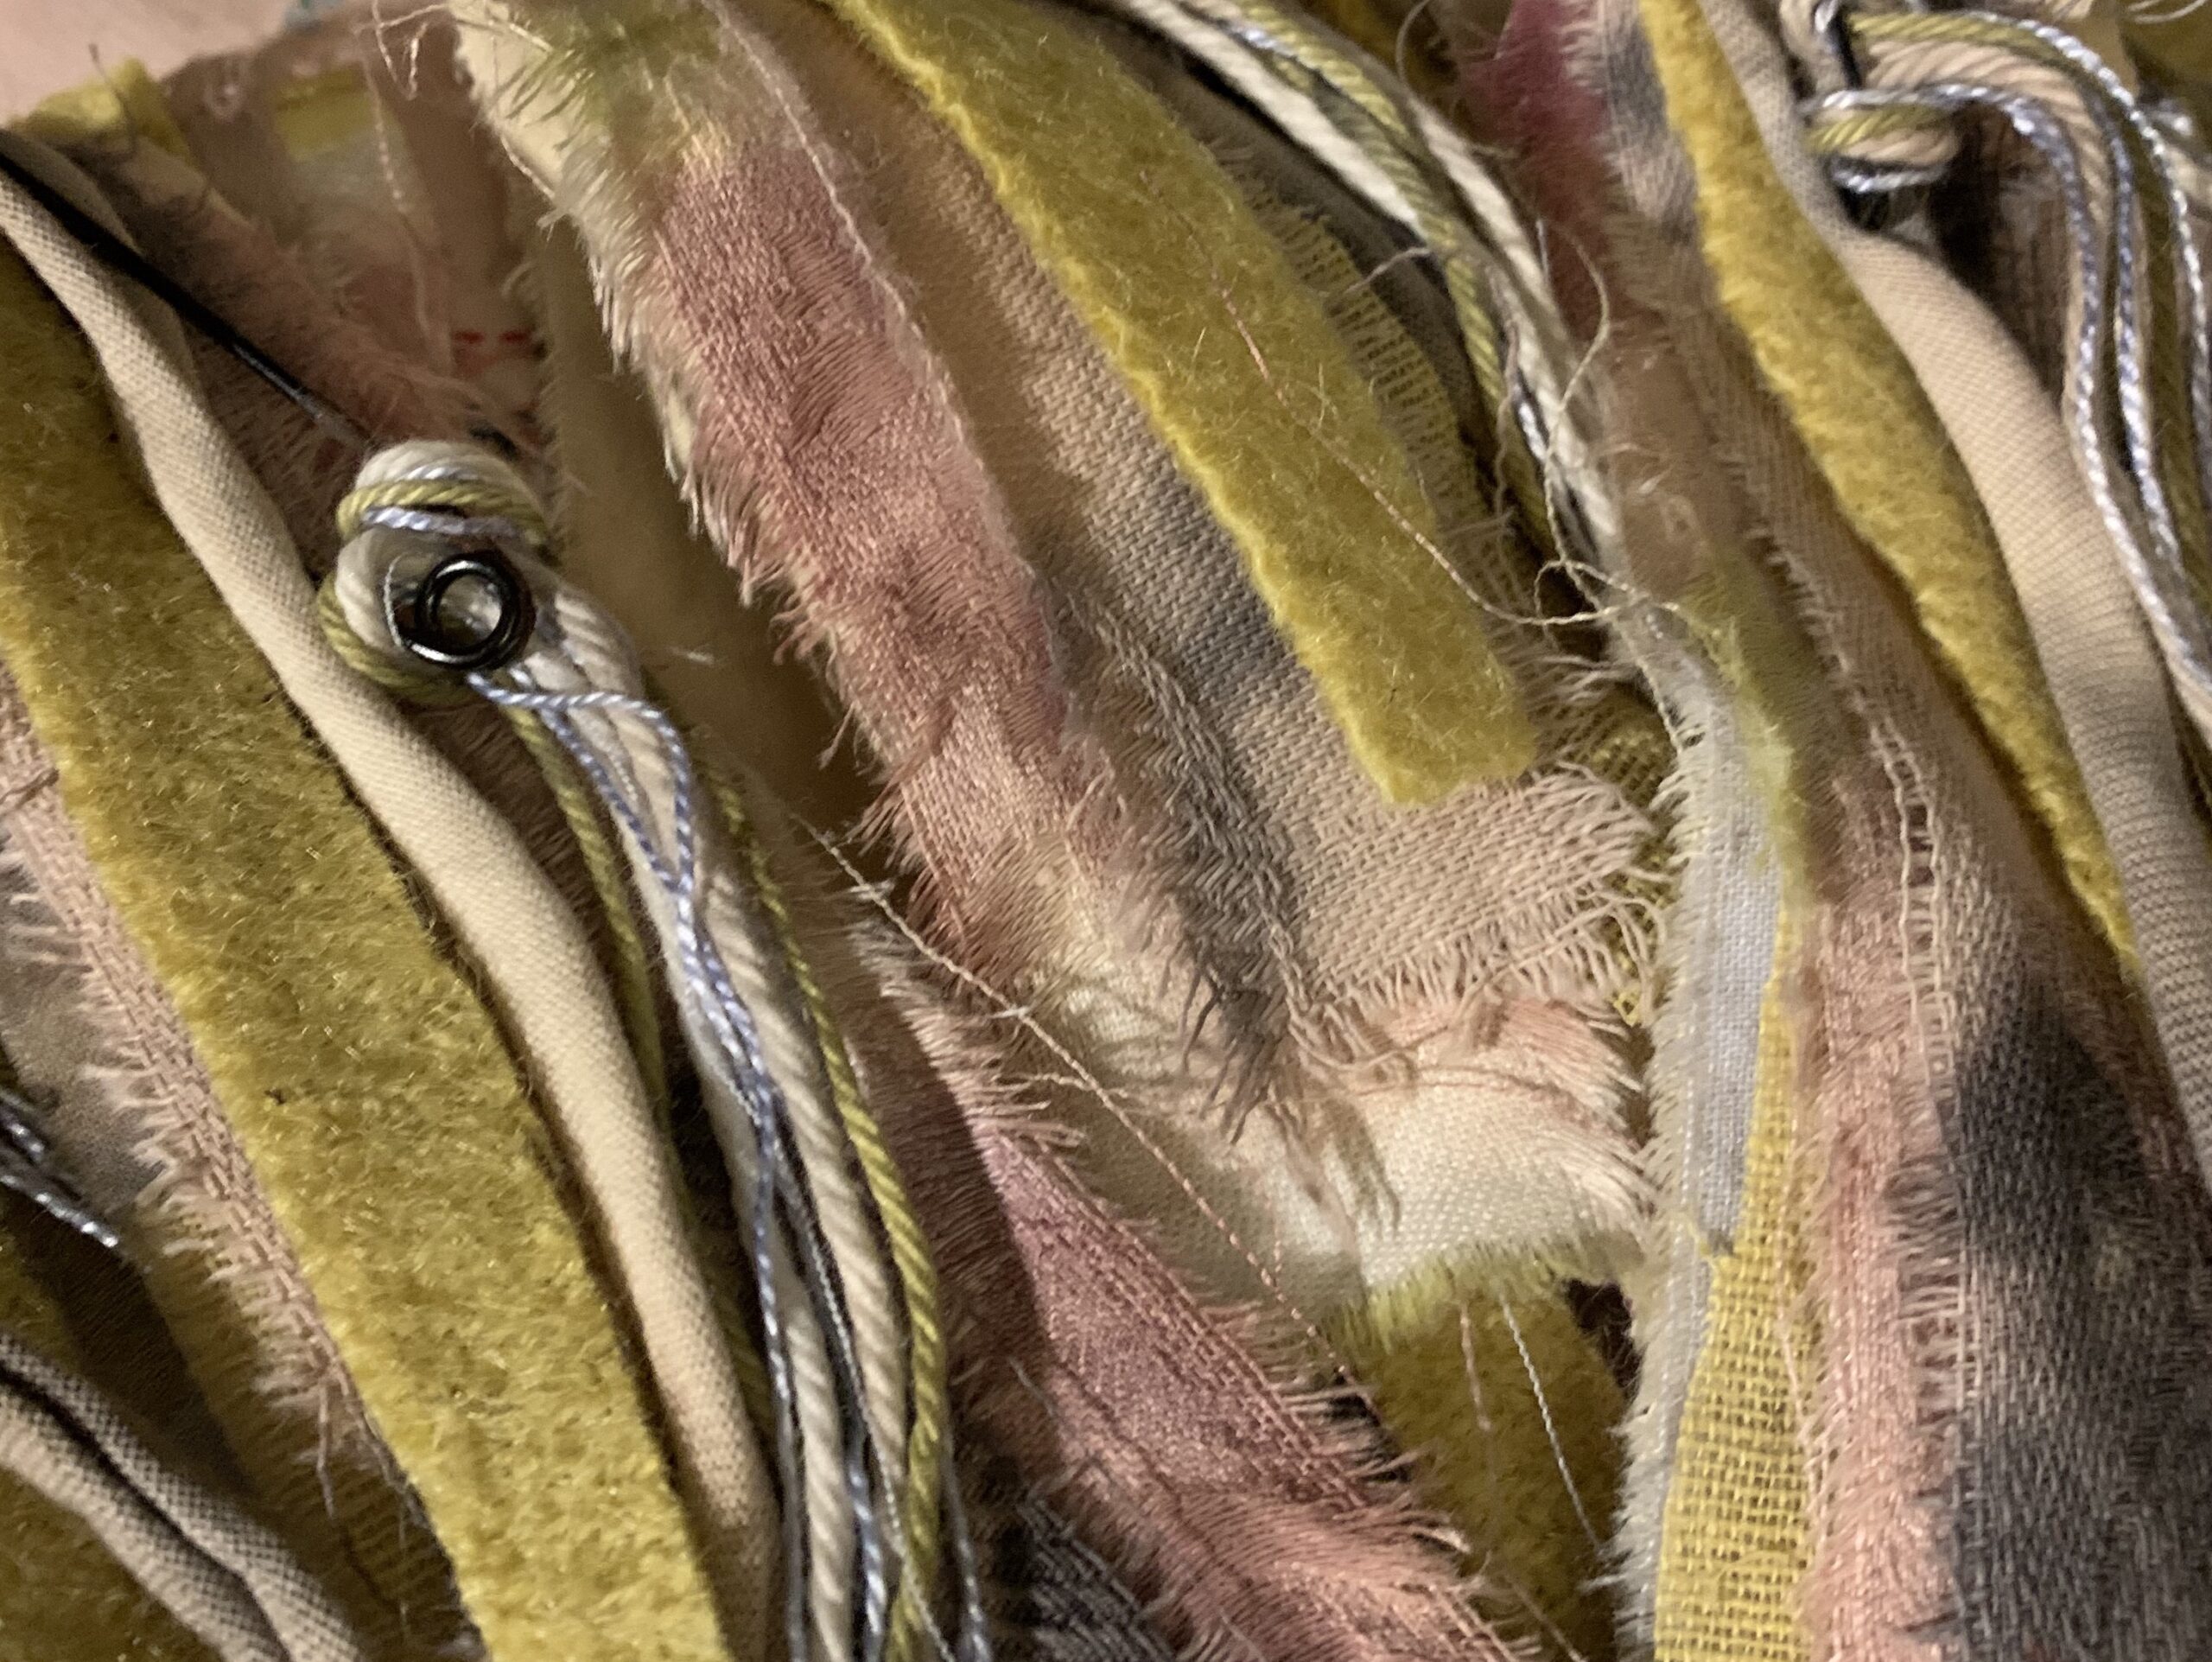
I have really enjoyed experimenting with natural dyeing this year, it’s fascinating seeing what colours can be achieved using plants. The simplest method I’ve used is solar jar dyeing and was particularly successful with red cabbage. I’m looking forward to more natural dye play in 2026!
The fabric strips and threads in your bundle are all cotton or wool from upcycled tablecloths, blankets, napkins etc. Most were solar dyed but some were created in a dye pan on the hob. I used red onion skins, dead buddliea flowers, red cabbage, tea, golden rod and marigold. Some of the colours may fade over time.
I love using fabric scraps and threads on tags, cards, danglies, art journal pages, and stitched projects to name a few. They can be glued, threaded hand or machine stitched on and the frayed edges add lovely texture. Combine them with beads, other threads/fibres, use them as ties for a journal, sew a button on and use as a bookmark, use for mending/patching, so many ideas, so little hours in the day!
Day 5: Magazine tape takes
A selection of magazine “tape takes” in a gusseted origami envelope made from printed collage sheet and secured with ladder style thread
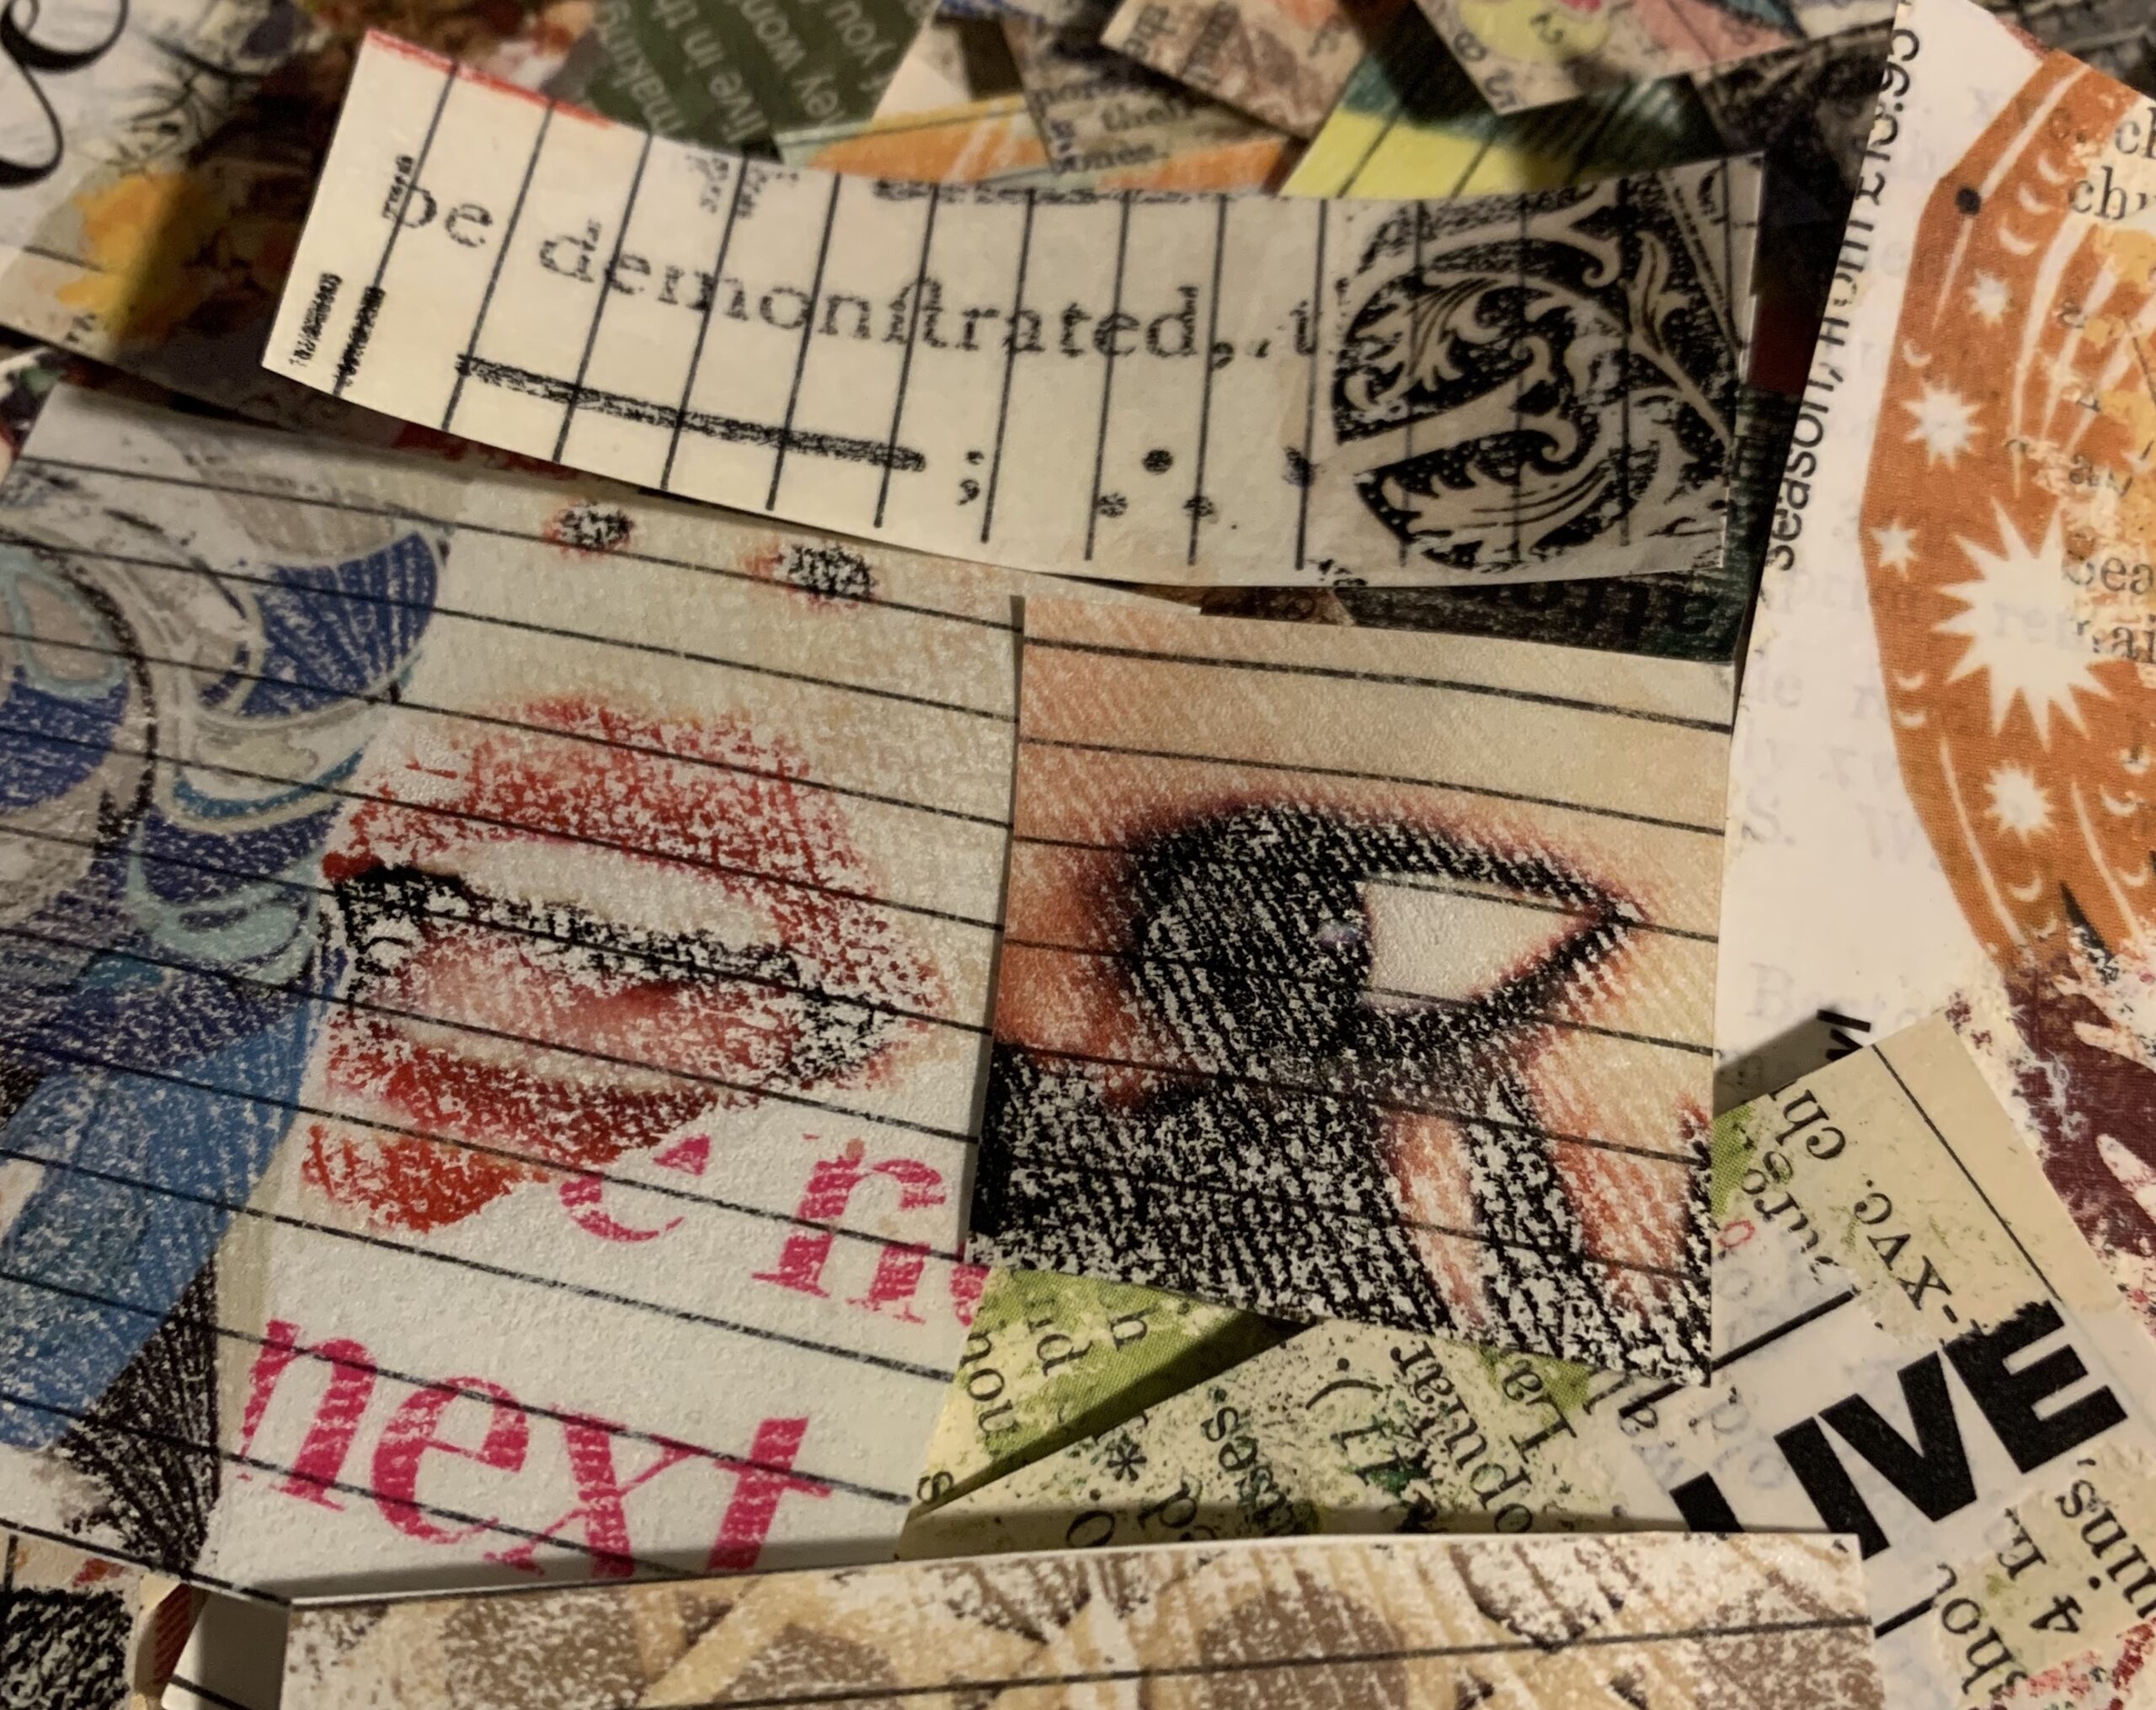
Making these little tape based pieces is SO much fun! Be warned though, it’s a tiny bit addictive! I used clear tape to take words, letters and images from magazine pages to create these mini collage pieces to add to artwork. In order to share them in the Advent calendar, I glued my tape to a background paper but you could, of course, glue them directly to a journal page, collage, or other artwork when making them yourself.
To create your own, you’ll need tape or sticky back plastic. Cut a piece of tape (I used plant based Sellotape and some matt contact paper but any clear tape should work), find a letter, word, pattern or image in a magazine you want to use, pop part of the tape over it, give it a rub and pull it off. Repeat until your tape is filled. Magazine pages will work differently; thinner papers seem to give up the paper well whereas on thicker, glossier pages the tape often just takes the ink or partial page rather than all the paper. It makes for some interesting effects. You won’t have masses of control but it’s a fun technique to play around with and gives something different and unique to add to your artwork.
Day 6: Oak knopper gall ink
A glass bottle of oak knopper gall ink with cork stopper in an origami bag secured with a mini peg
Oak gall ink has been around since the 4th Century and was the standard ink used in Europe for over 1400 years because of its permanence and water resistance. Oak galls are a growth caused by parasitic wasps. If you’re interested in finding out more about plant galls have a look at The British Plant Gall Society’s website.
My ink is made from knopper galls (it’s been a really good year for fruit and galls) collected near my home. The beautiful deep brown ink will darken over time. It is brilliant for mark making and is best applied with paintbrushes, dip pens, sticks, sponges or quills. It is not suitable for fountain pens as it will clog and/or corrode them. The ink won’t keep indefinitely but storing it in the fridge will help lengthen its life. Shake before use.
Did you know…? There are 247 species of parasitic wasps in the UK.
Day 7: Double Turkish map fold journal
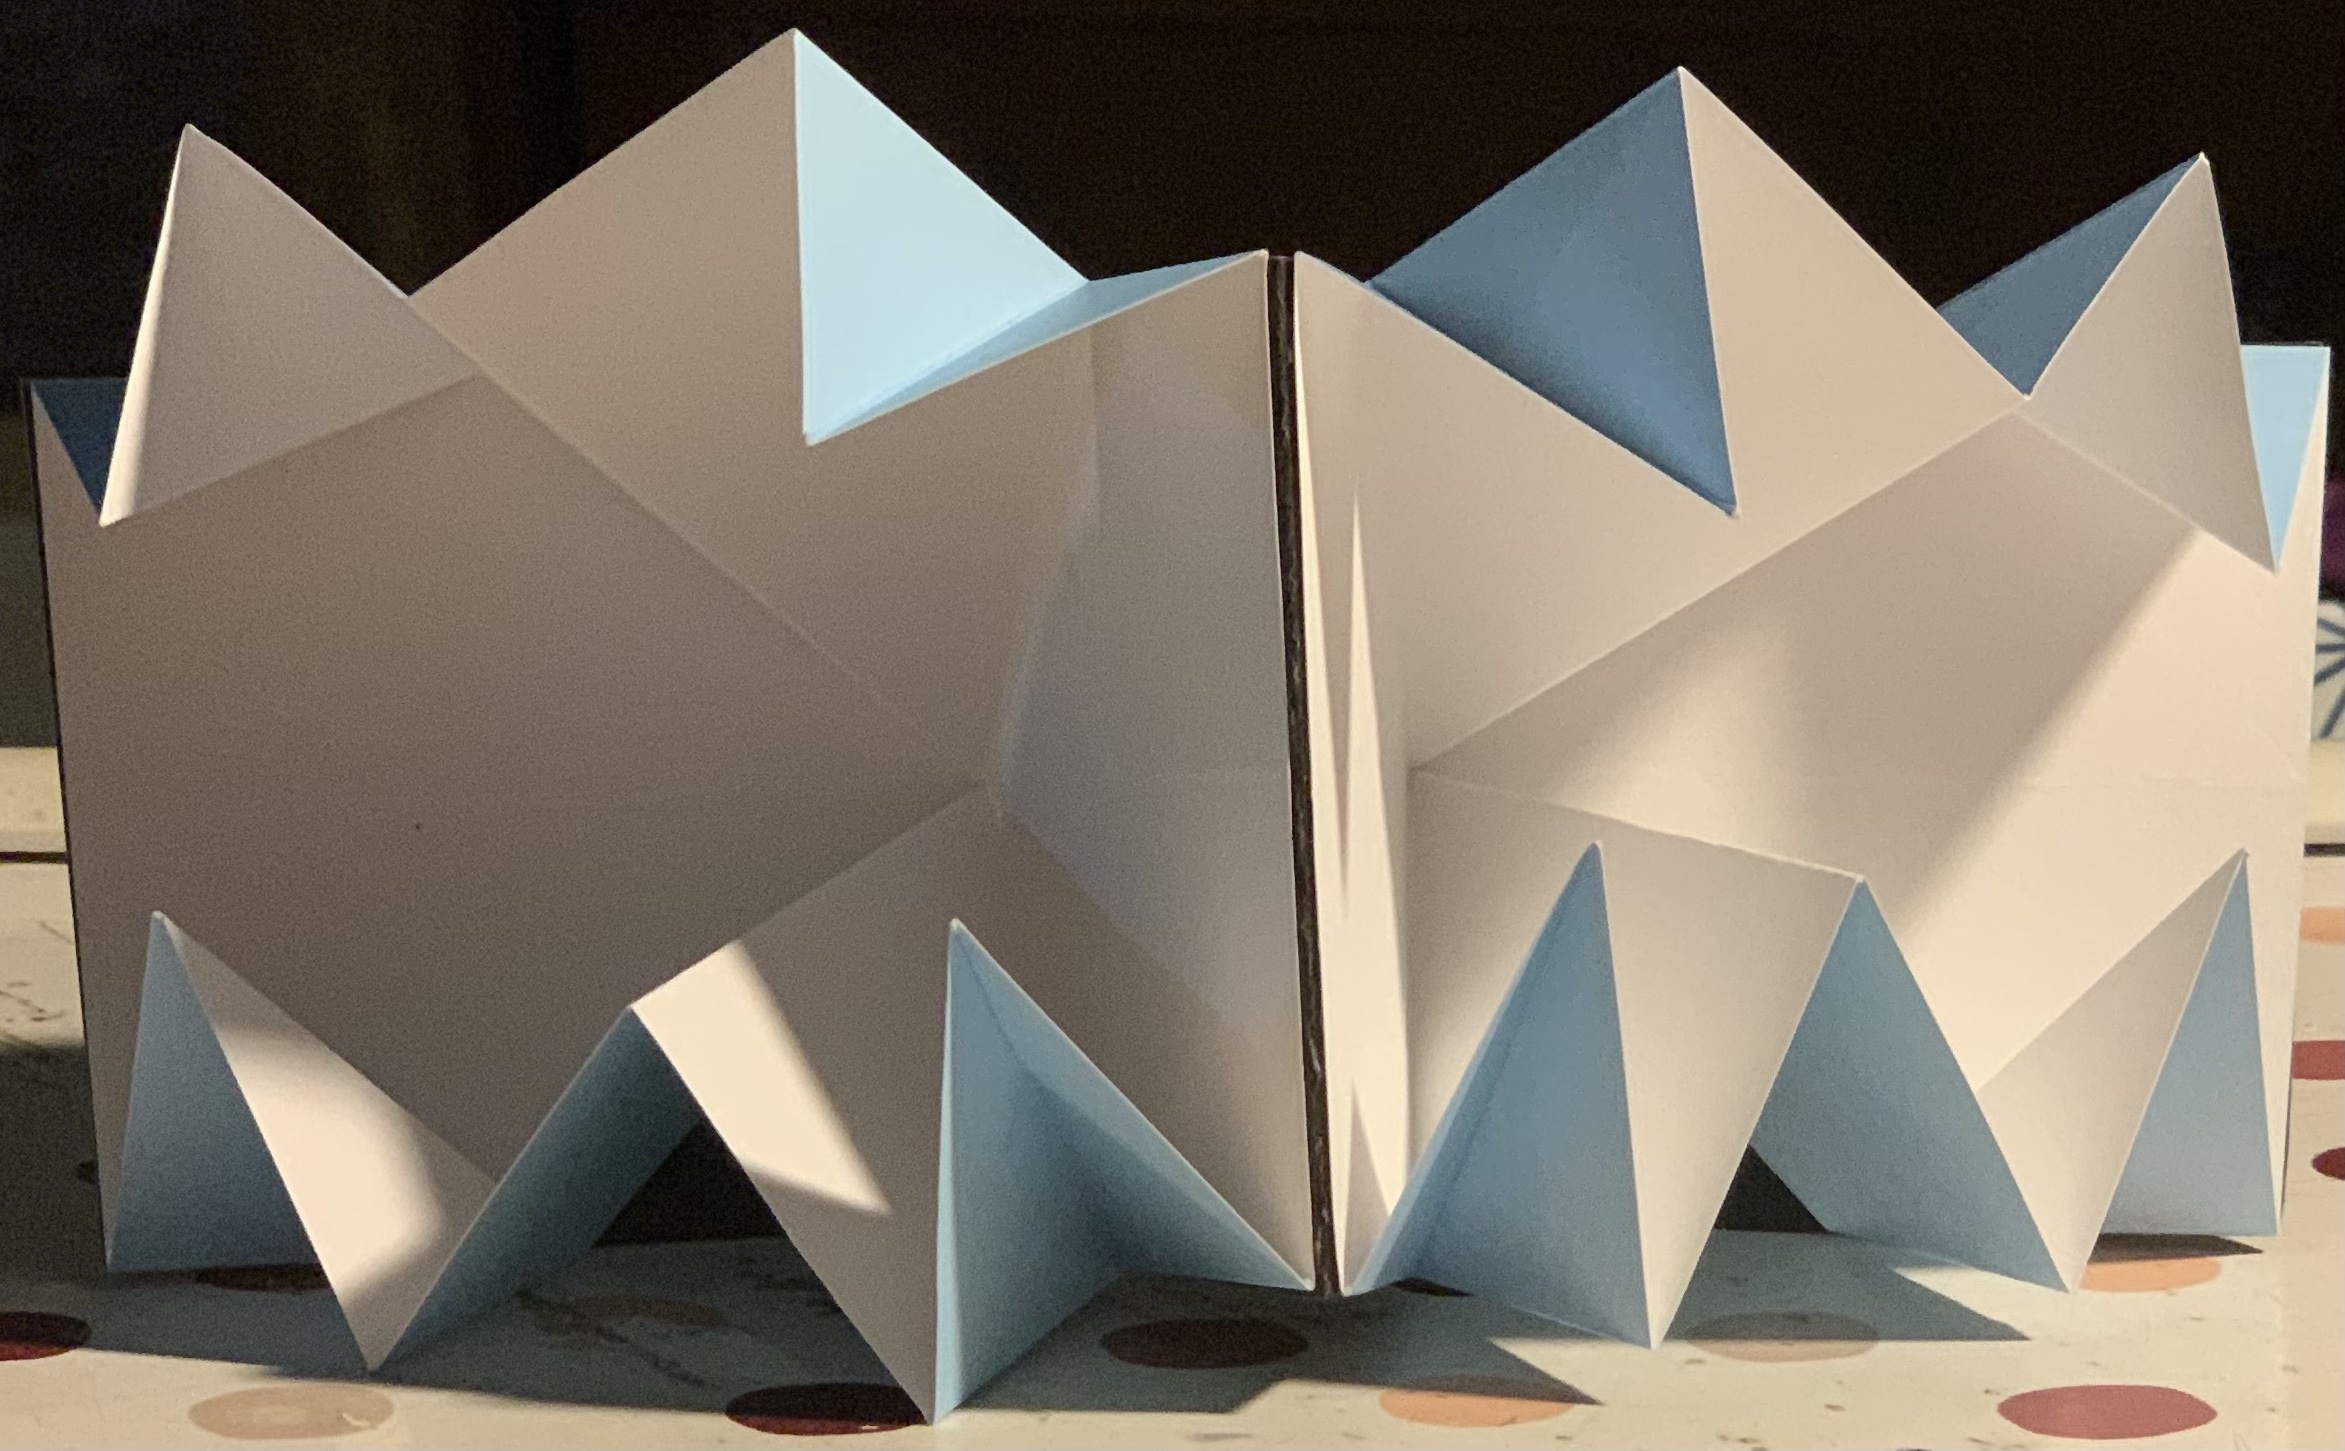
A double Turkish map fold journal, made with origami paper pages and card covers, with ribbon ties, wrapped in atlas book page and tied with white cotton thread
A Turkish map fold book, sometimes called a shepherd’s purse or exploding book, is a folding method which was traditionally used for maps. It enabled cartographers to cleverly fold large maps into a smaller, more portable size without heavy creasing. I haven’t been able to find out why it’s Turkish, maybe Turkey was famous for map making in days gone by!
This double version is slightly different as the two sections have been joined using a piece of card across the join rather than gluing the two end pieces together. This means the centre section lies completely flat when opened out so it’s easier to work in.
A single Turkish map fold could be glued into a journal to be opened out, with writing inside or an image or to store smaller cards in. It could also be used as a pop out in a greetings card or, if you made a bigger version, as a funky folding letter. The journals can be made with any size square paper, I used 6″ squares for this finished 3″ square version, and there is also a version made with rectangular paper. There’s also a Hungarian map fold but that’s for another time methinks!
I made a double version but you could make a journal with multiples and keep gluing them together until it’s as big as you’d like it or you get fed up folding!
Day 8: Printed collage papers
Eight printed collage sheets tied with silk thread
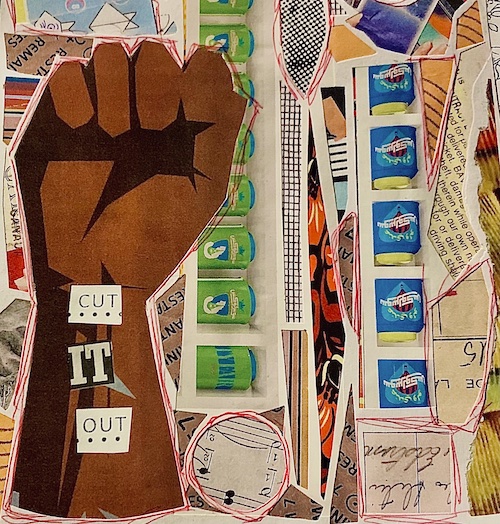
Collage, as you all know, is my thing! I love creating original sheets and then reproducing them for all things collage!
These sheets are a selection of original collage work, you might recognise some – the originals were used for the expanding file covers back on Day 1. Most of them are scrap collages, just using up bits and pieces I have laying about the studio, you know how I can’t throw even the tiniest scrap of paper away! I recommend it as a great way to kick back of an evening, just wielding a glue stick, rippin’, cuttin’ and stickin’ without any grand plan, just relaxing the mind, body and spirit with some freestyle, no pressure, collage play.
Once you have some sheets, they can be photographed and reproduced as they are or you can indulge in some digital fiddly diddlyness and play around with colours, contrast, saturation etc.
The sheets are printed on heavyweight recycled paper so are also suitable for use as collage backgrounds, folded as journal covers, for greetings cards or any other creative collage pursuits.
You might want to pop the sheets under a stack of books to flatten them out before use!
Day 9: Altered split pins
Six altered split pins on coloured card, wrapped in upcycled tissue paper and tied with a strip of vintage tablecloth solar dyed with red cabbage
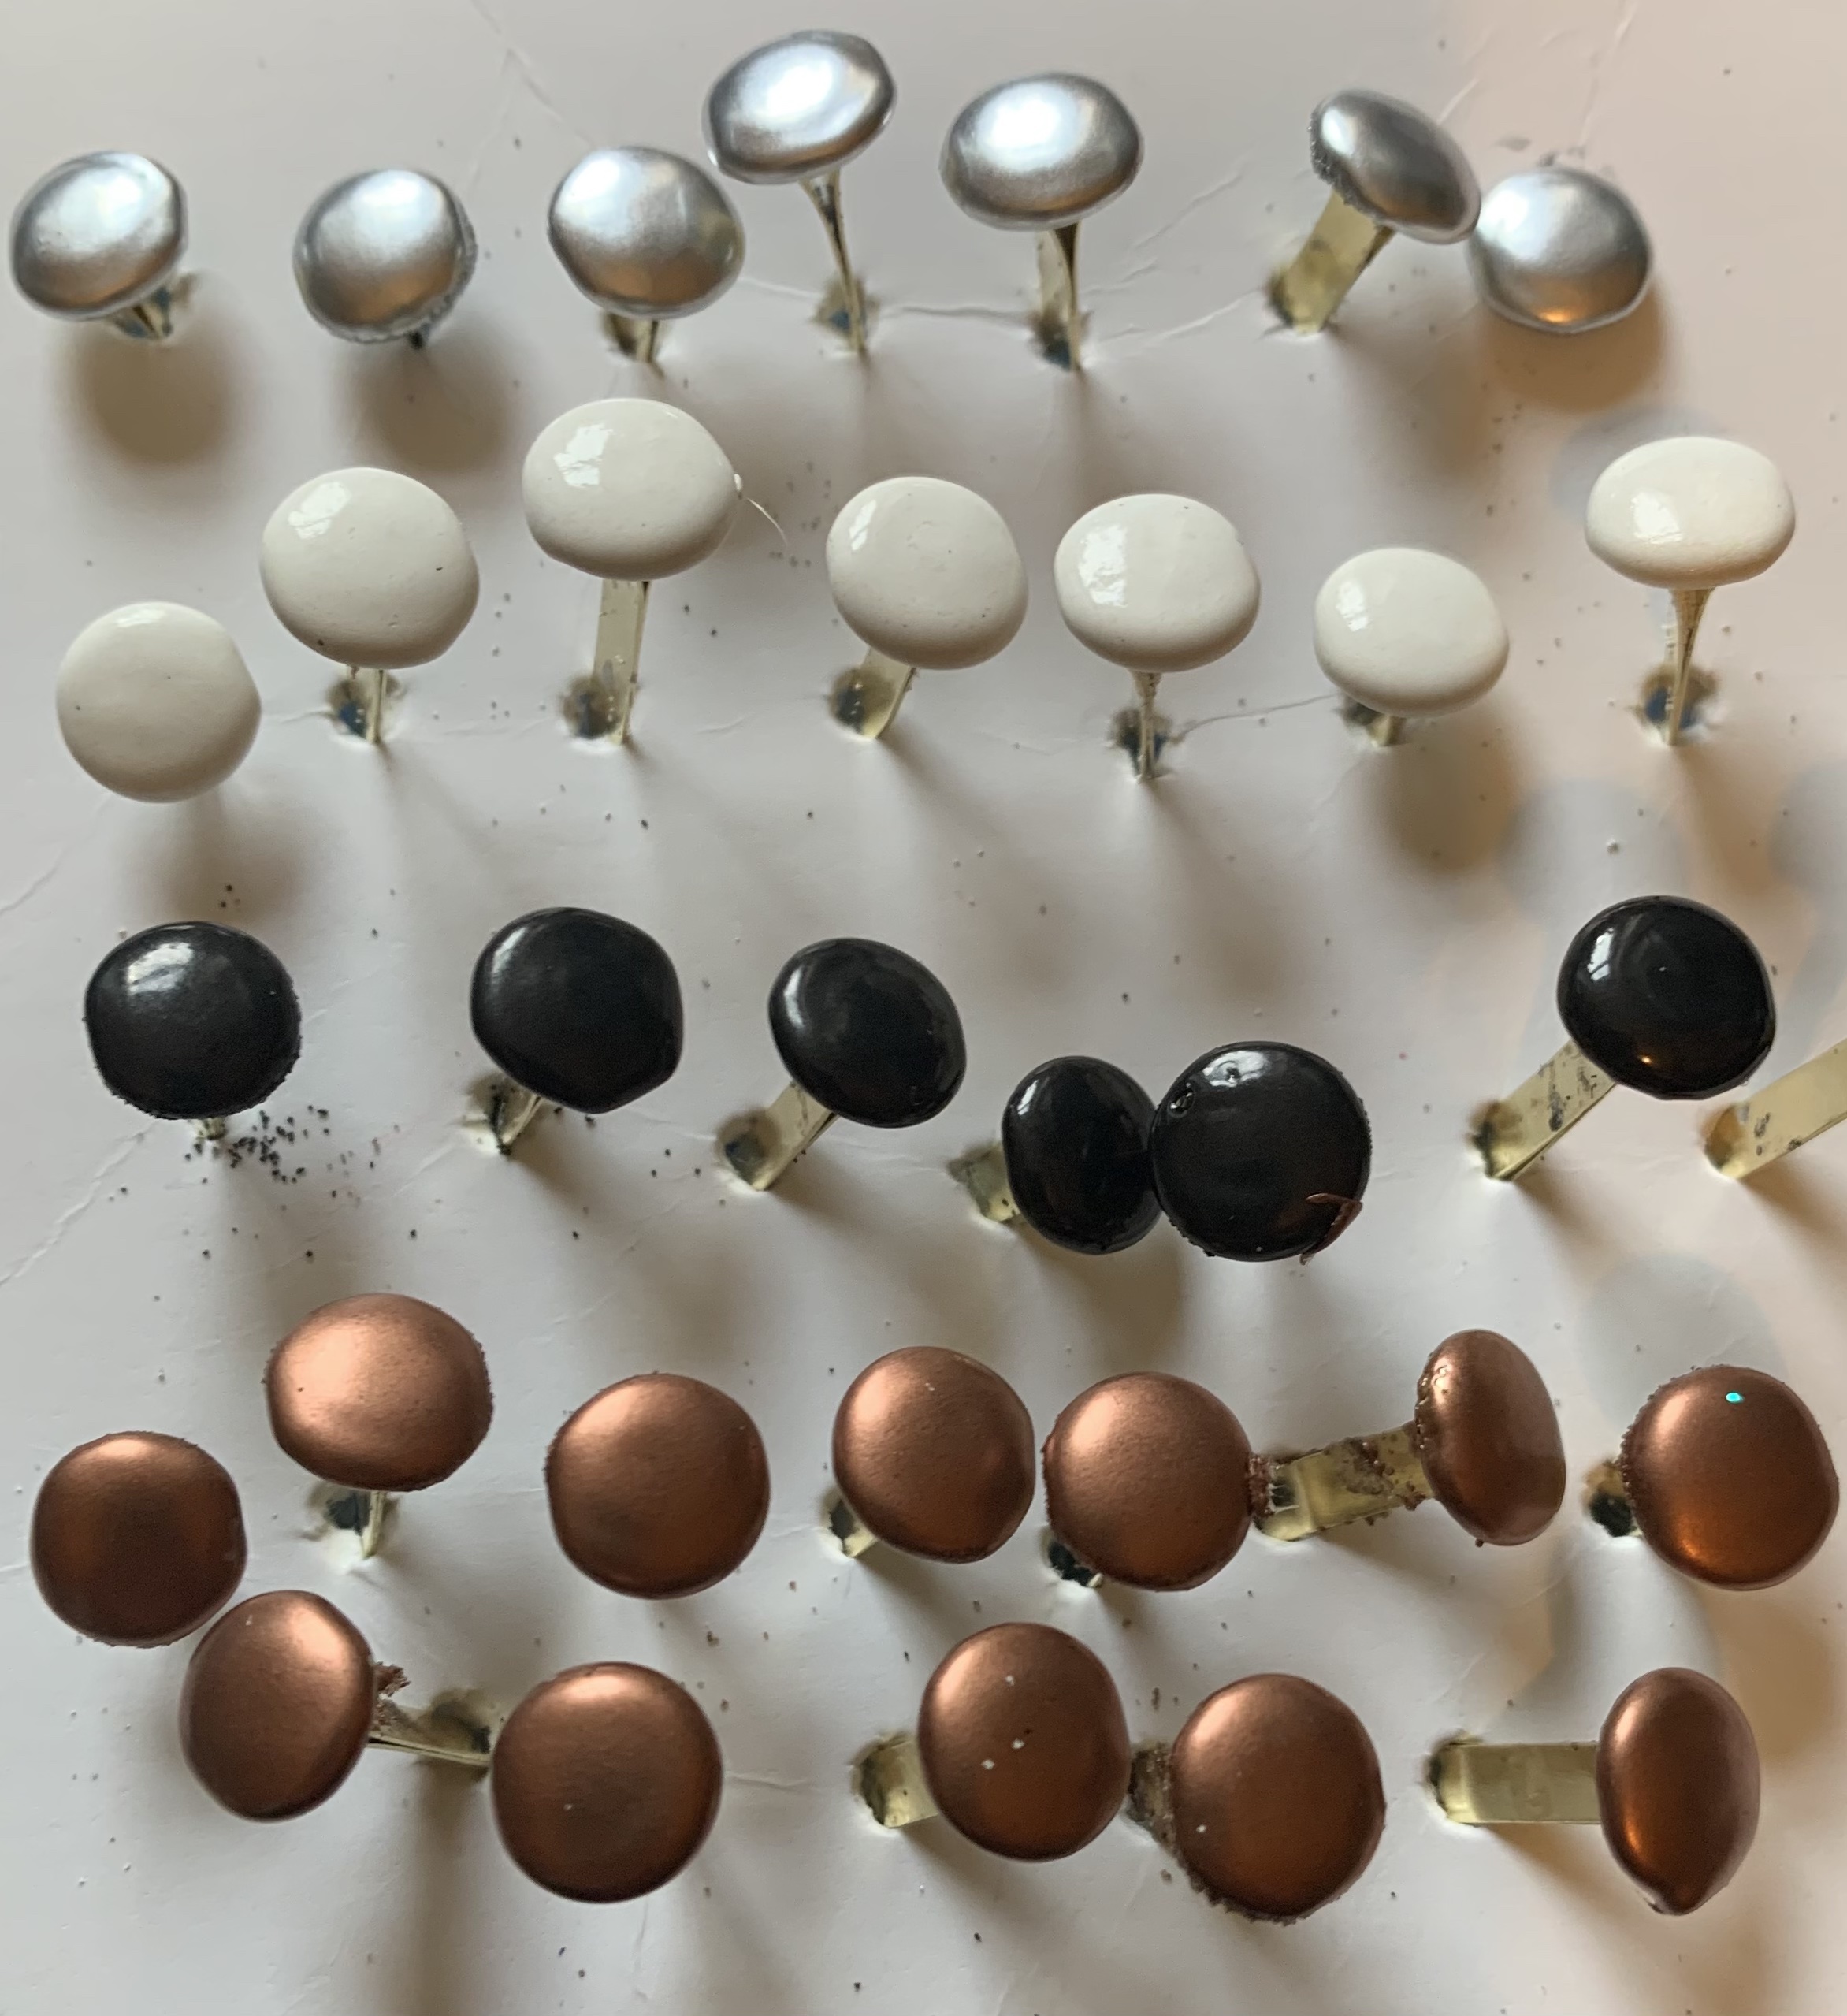
There are lots of commercial brads/split pins available in every conceivable shape and size, not to mention price, but an easy and inexpensive way to jazz up standard gold coloured split pins yourself is by using embossing powder. I have used black, white and metallic powders to transform this everyday item into something much more exciting. One of the white pins is also stamped and finished with clear embossing powder.
The split pins can be used in lots of different ways; use them to attach things to journal pages, collage, tags or other artwork, as a closure on an envelope or journal, or just as a decoration.
Day 10: Words on fabric
A selection of words on fabric in a mini airmail envelope secured with a paper clip
Adding words to art journals, collage pieces, cards or other creative projects is something we all do and it’s always good to find different ways to do that. Today’s words have been stamped or hand written on a variety of fabrics and most have had some machine stitching added to them. They can be glued, stitched or clipped into a journal or added to collage pieces, greetings cards or other creative projects. Using fabric gives some extra texture as a change from flat paper text.
The words can be further embellished with hand or machine stitching, adding lace, trimmings, buttons or beads, using paint or pen on them or colouring the edges with an ink pad. Other ways of adding words to fabric are by stencilling or even just gluing paper words/letters onto the fabric.
Quote of the day – “I like good strong words that mean something.” Louisa May Alcott, Little Women
Day 11: Beads
A selection of beads in a pyramidal origami pouch secured with a paperclip
Beads, beads, beads! I love using beads in art journals or added to tags, danglies, and stitchery. This selection is a mixture of handmade and commercial beads:
Handmade:
- Wooden bead collaged with handmade bubble paper
- Rolled Tyvek bead with added wire and beads
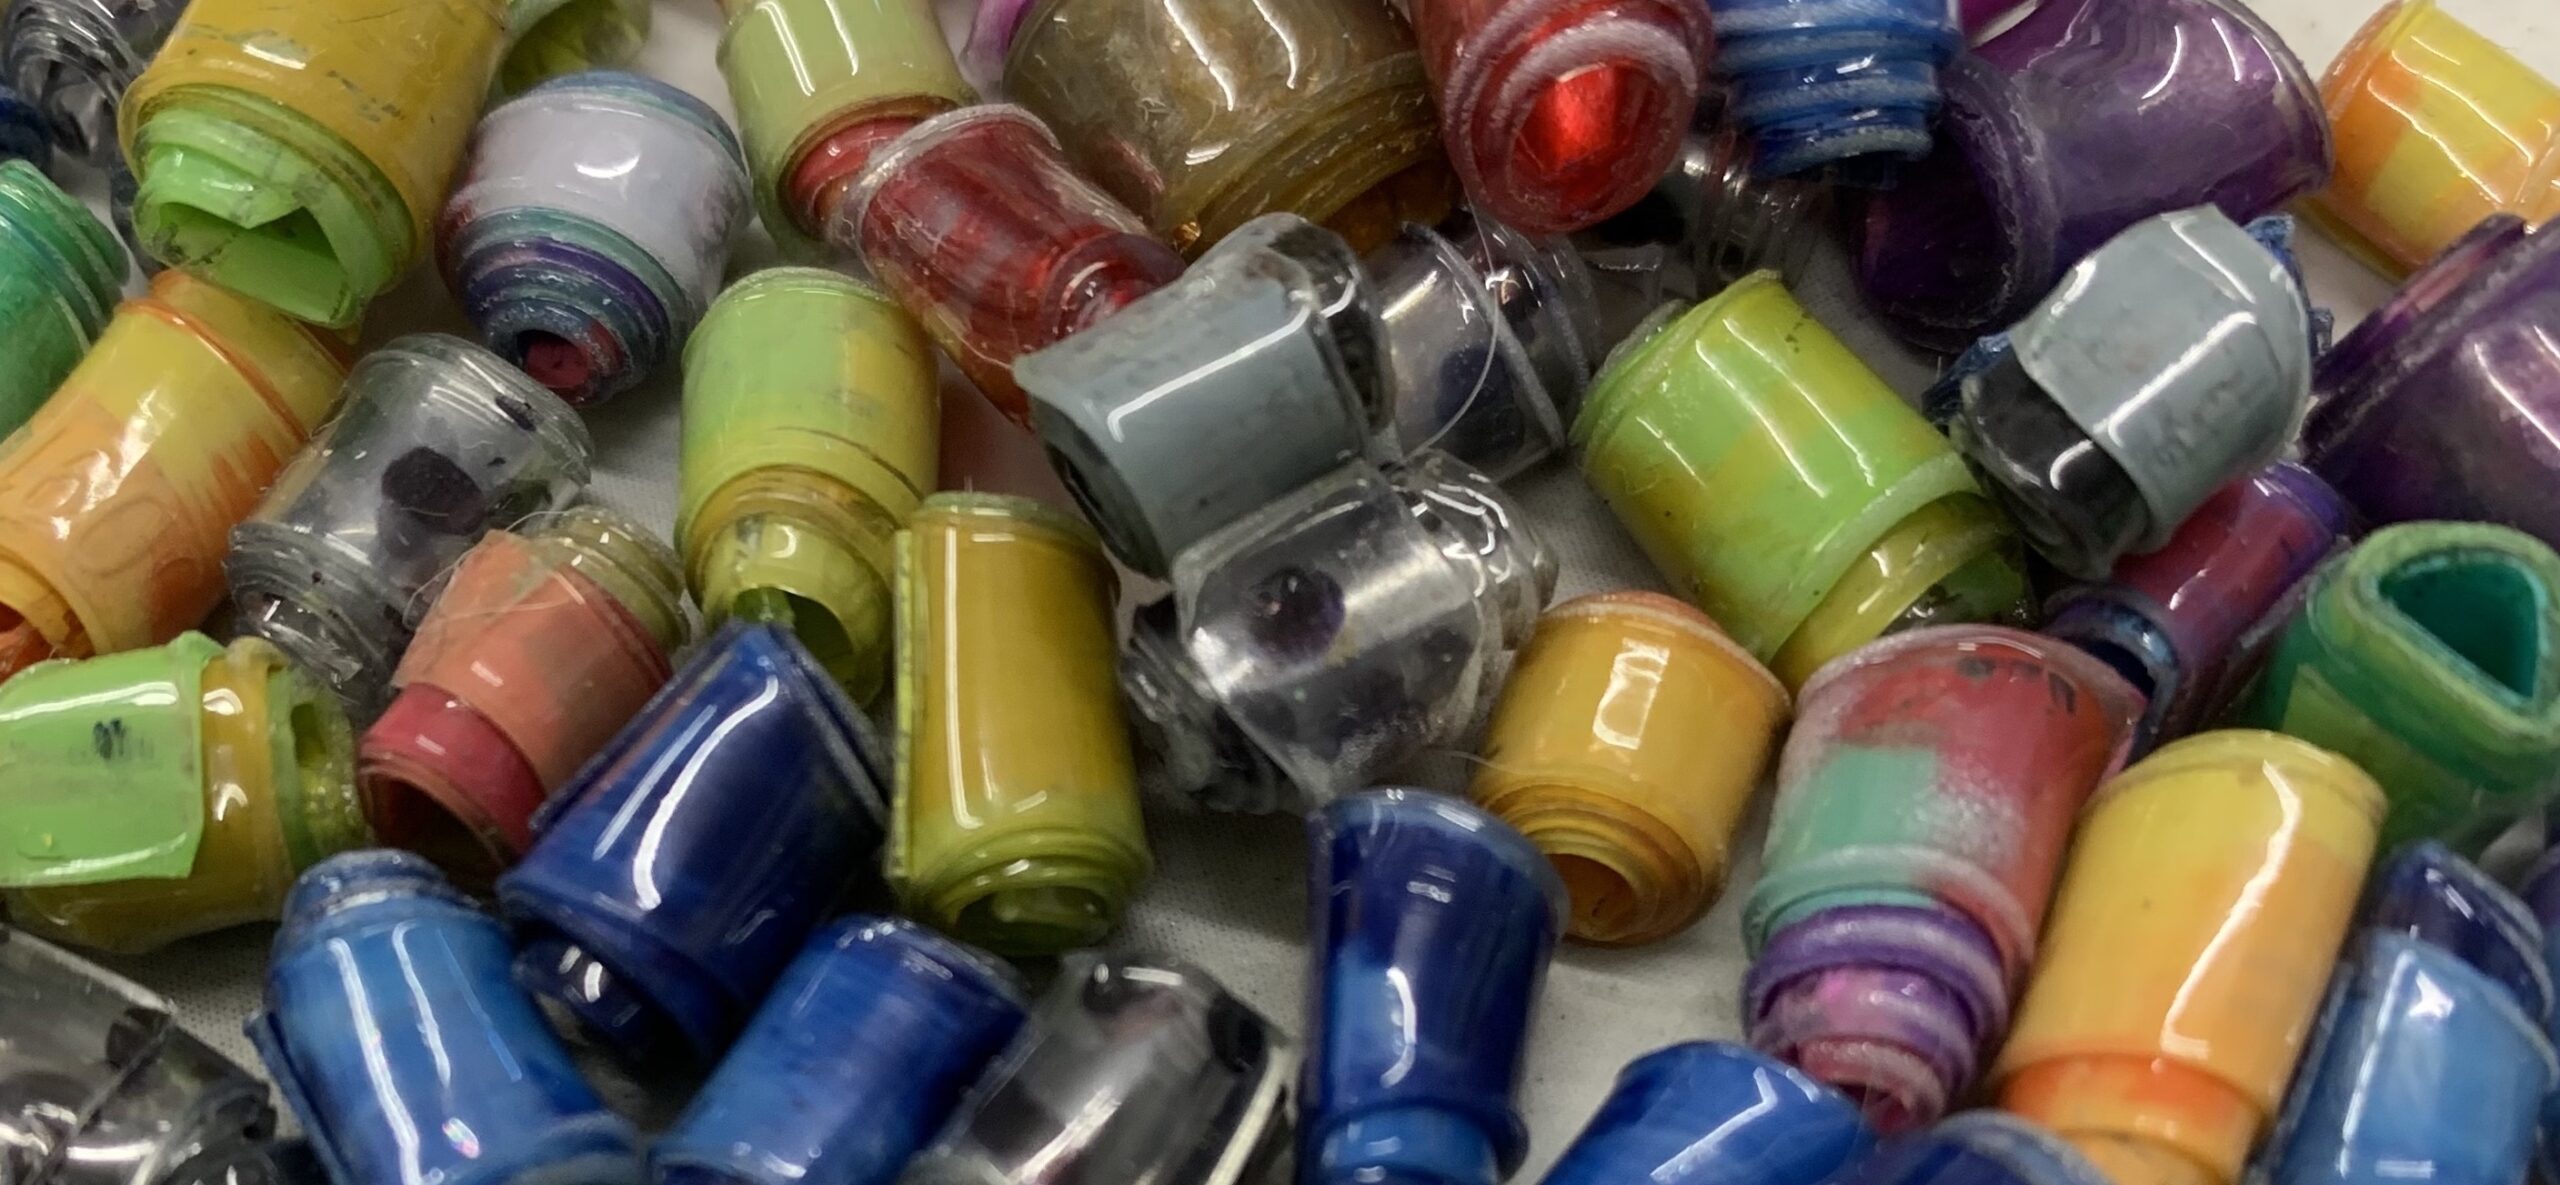
- Various rolled beads made from plastic bottle – another addictive pastime I’ve picked up from making for this calendar!
Commercial:
- Vintage red glass bead
- Green plastic leaf bead
- Large glass bead
- Orange ceramic bead
- Metal and plastic gem bead
I rarely buy brand new beads, 99.9% of any commercial beads I use come from charity shops or other secondhand shops. Lots of charity shops sell bags of broken jewellery for a few pounds which are great to deconstruct and use the components in creative projects. Look in the craft sections for packs of beads at inexpensive prices and also look at beaded garments, sometimes they’re worth the cost of a few pounds just to harvest the beads/trimmings!
Day 12: Tickets
A selection of vintage and retro travel tickets and luggage labels in a tabbed folder and pocket
It won’t come as a surprise to know I’m an avid collector of all things paper and tickets are great collage fodder for art journals. Travel tickets are always great to add to travel or holiday journals as reminders of places you visited but there’s plenty of other tickets in life to collect and use…entrance tickets, raffle tickets, parking tickets (from car parks not misdemeanours, although I have used one of those in a journal too!), event tickets, theatre tickets, cinema tickets, the list is endless. If you only have digital tickets on your phone, here’s an extra copyright free image to print and use.
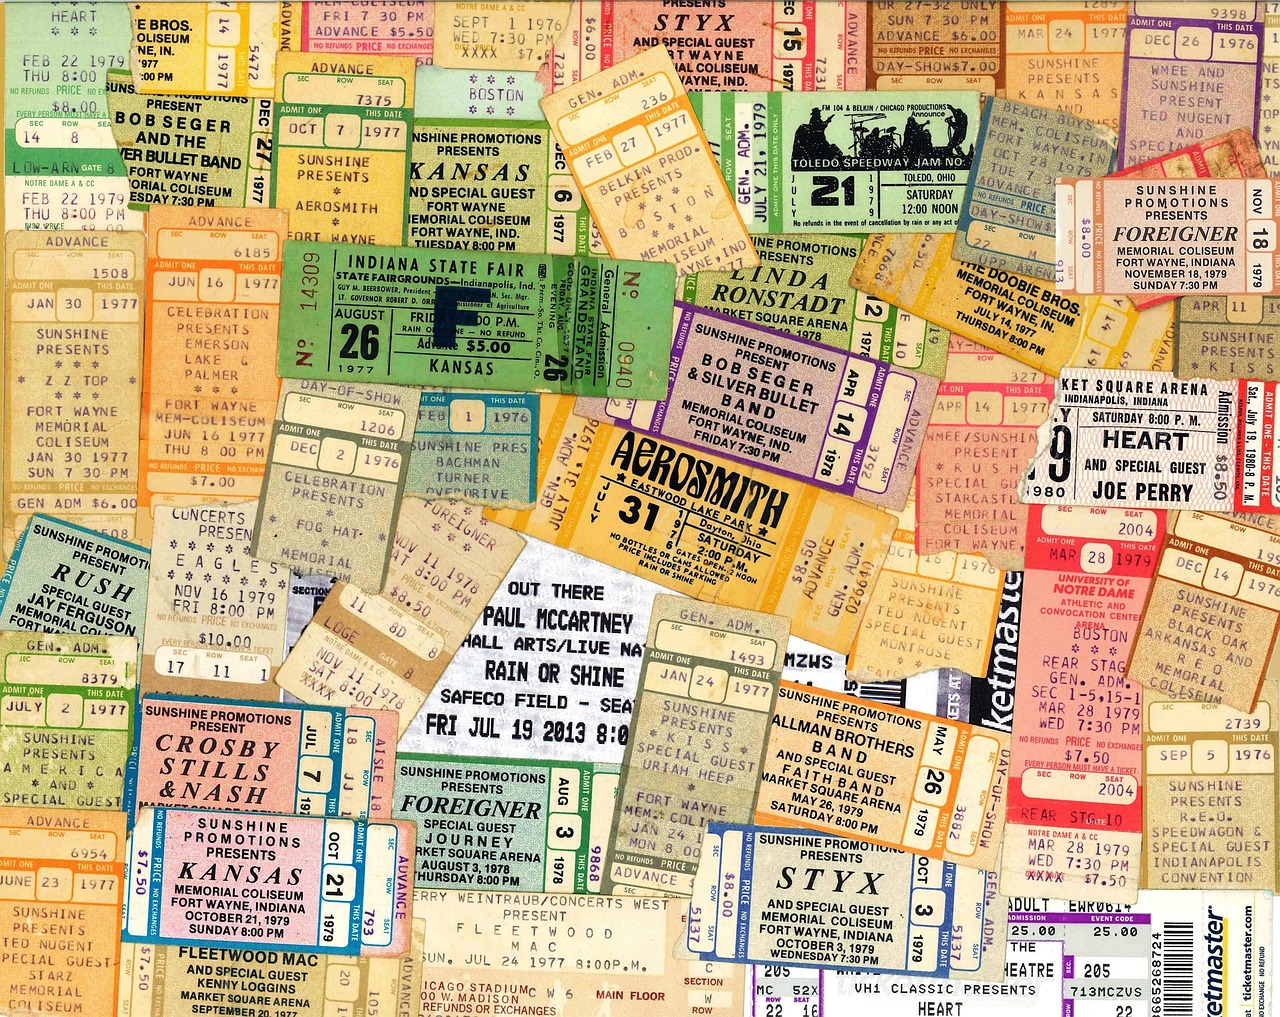
Click the thumbnail to open full size image
Day 13: Button book kit
A button book kit in a thrifted tin inside an upcycled voile bag
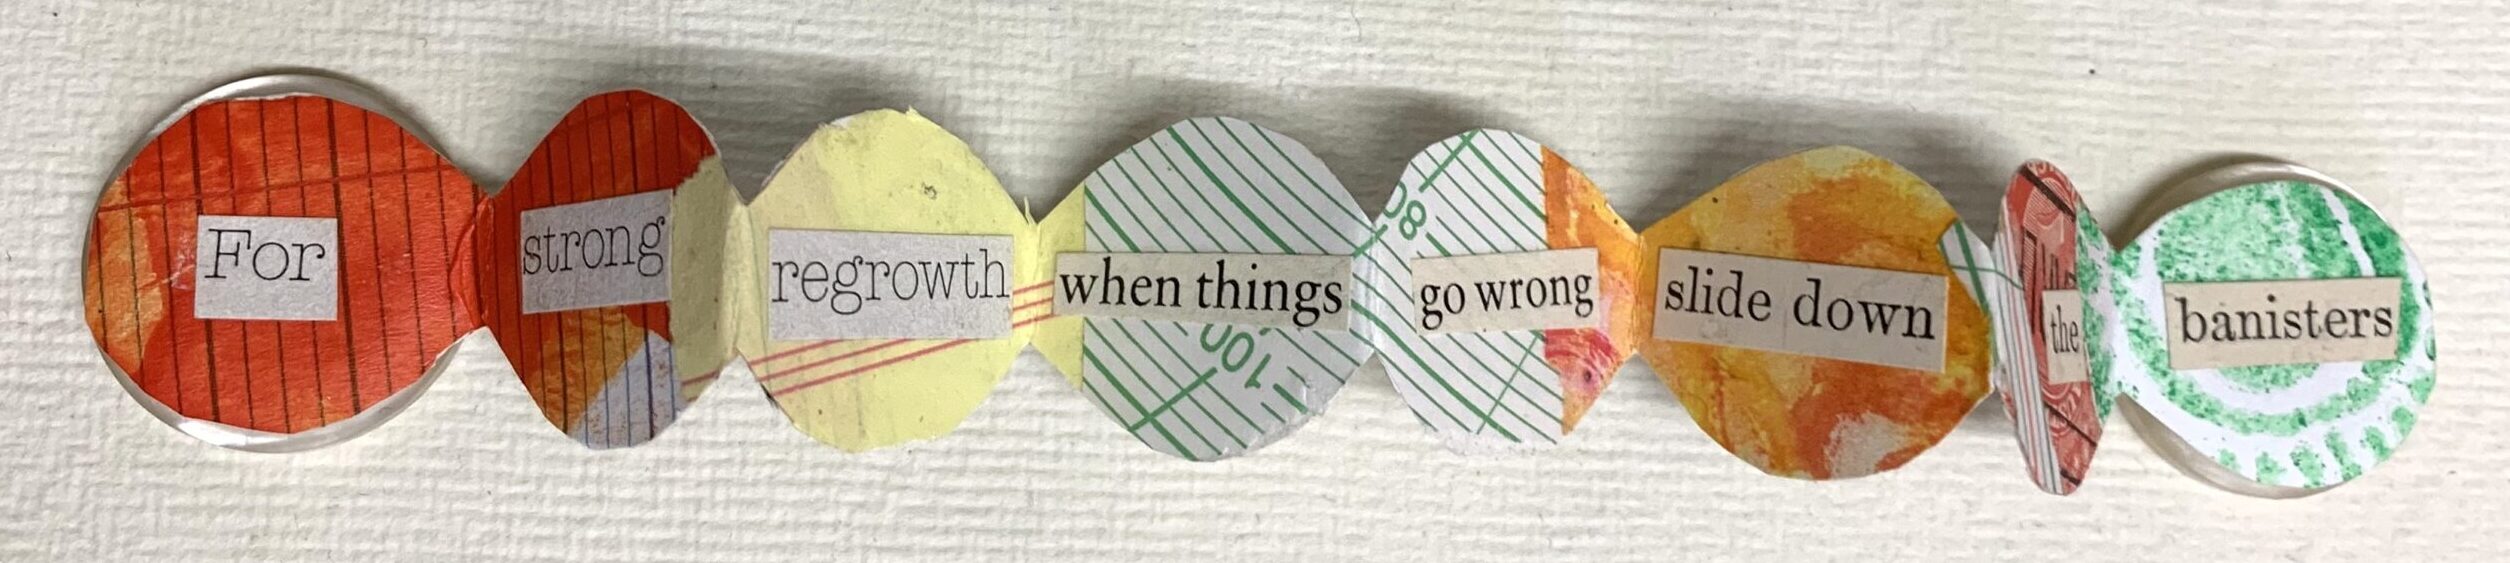
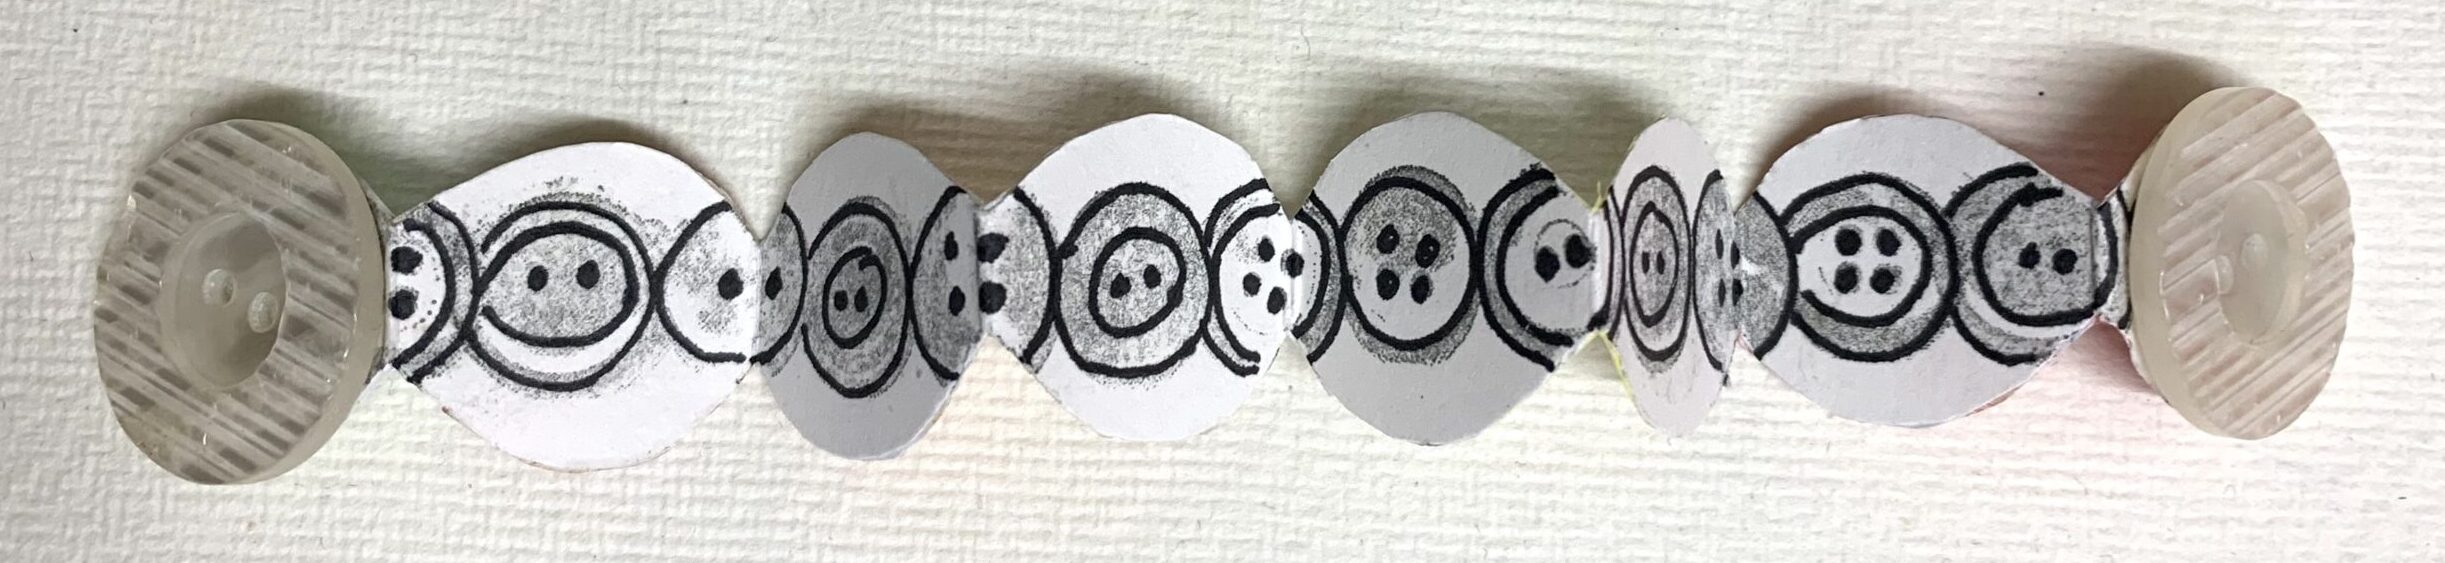
Making little concertina button books is great fun, if a bit fiddly! In your kit, you’ll find two buttons and a roll of Khadi handmade paper tied with thread.
To make your book:
- Roll the paper in reverse so it will lay flatter and then collage, paint or decorate the paper. You could also leave the paper blank and add writing at a later date. I used a rubber stamp image and pen on the back of my book but you could leave it blank.
- At one end of the paper, draw around one of the buttons on the reverse side.
- Now fold the paper into a concertina, trimming off any excess paper that doesn’t make a full page.
- You now need to cut the concertina to the right size to fit your button covers – this is the trickiest part of the process. It may take a lot of testing and trimming before you’re happy your concertina is the right size.
- Once you have the right size, you can add any extra words or images to fit and then you’re ready to glue a button at each end of the concertina to create the covers.
- If you would like a closure for your book, you could use the thread tied around the paper or other thin thread or flat ribbon, and glue a length between the button and the paper at each end.
Et voila, you have the cutest little button book!
Day 14: Cigar bands
Vintage cigar bands in a vintage chewing gum paper bag tied with ribbon
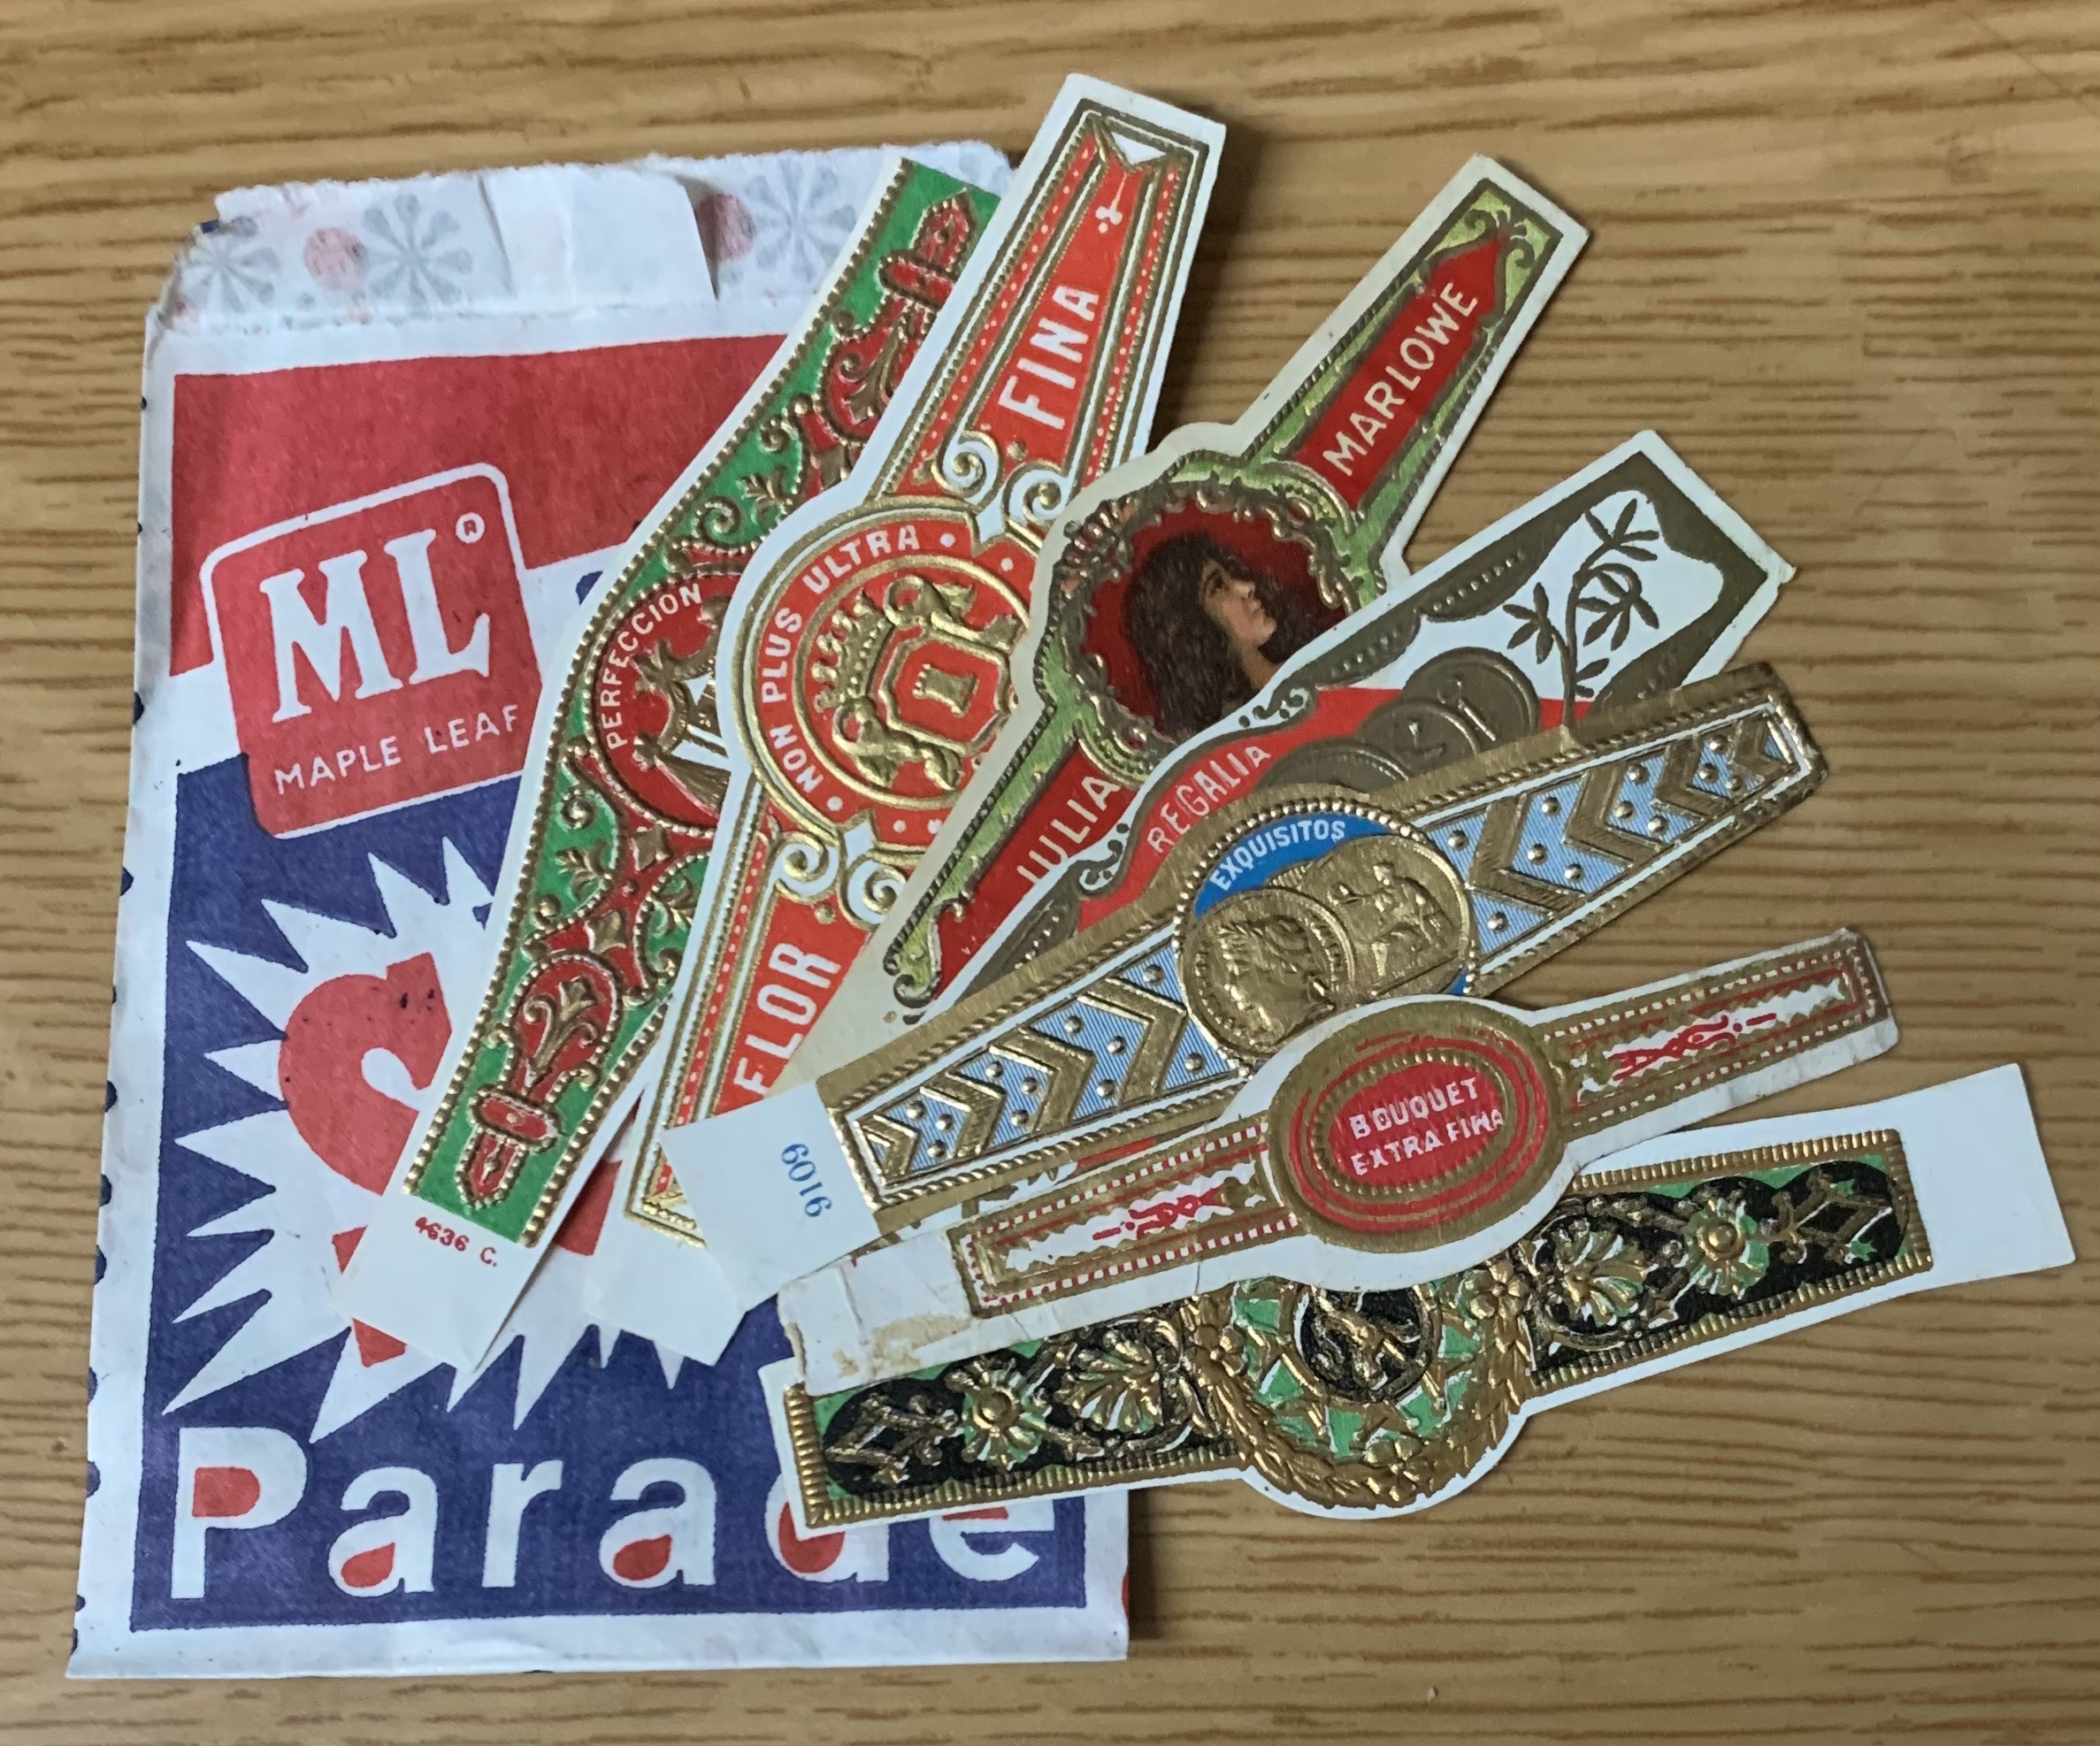
I came across a bag of cigar bands going for a song and had to share them in the Advent calendar! I don’t support smoking, of course, but these little labels are like miniature works of art and are a fun way to add some subtle bling to art journals, collage pieces, tags, cards and other creative projects.
Did you know…? Cigar band collecting is called vitolphilia.
Day 15: Hand carved stamps
Three hand carved rubber stamps in a hinged origami paper box tied with white eyelash thread
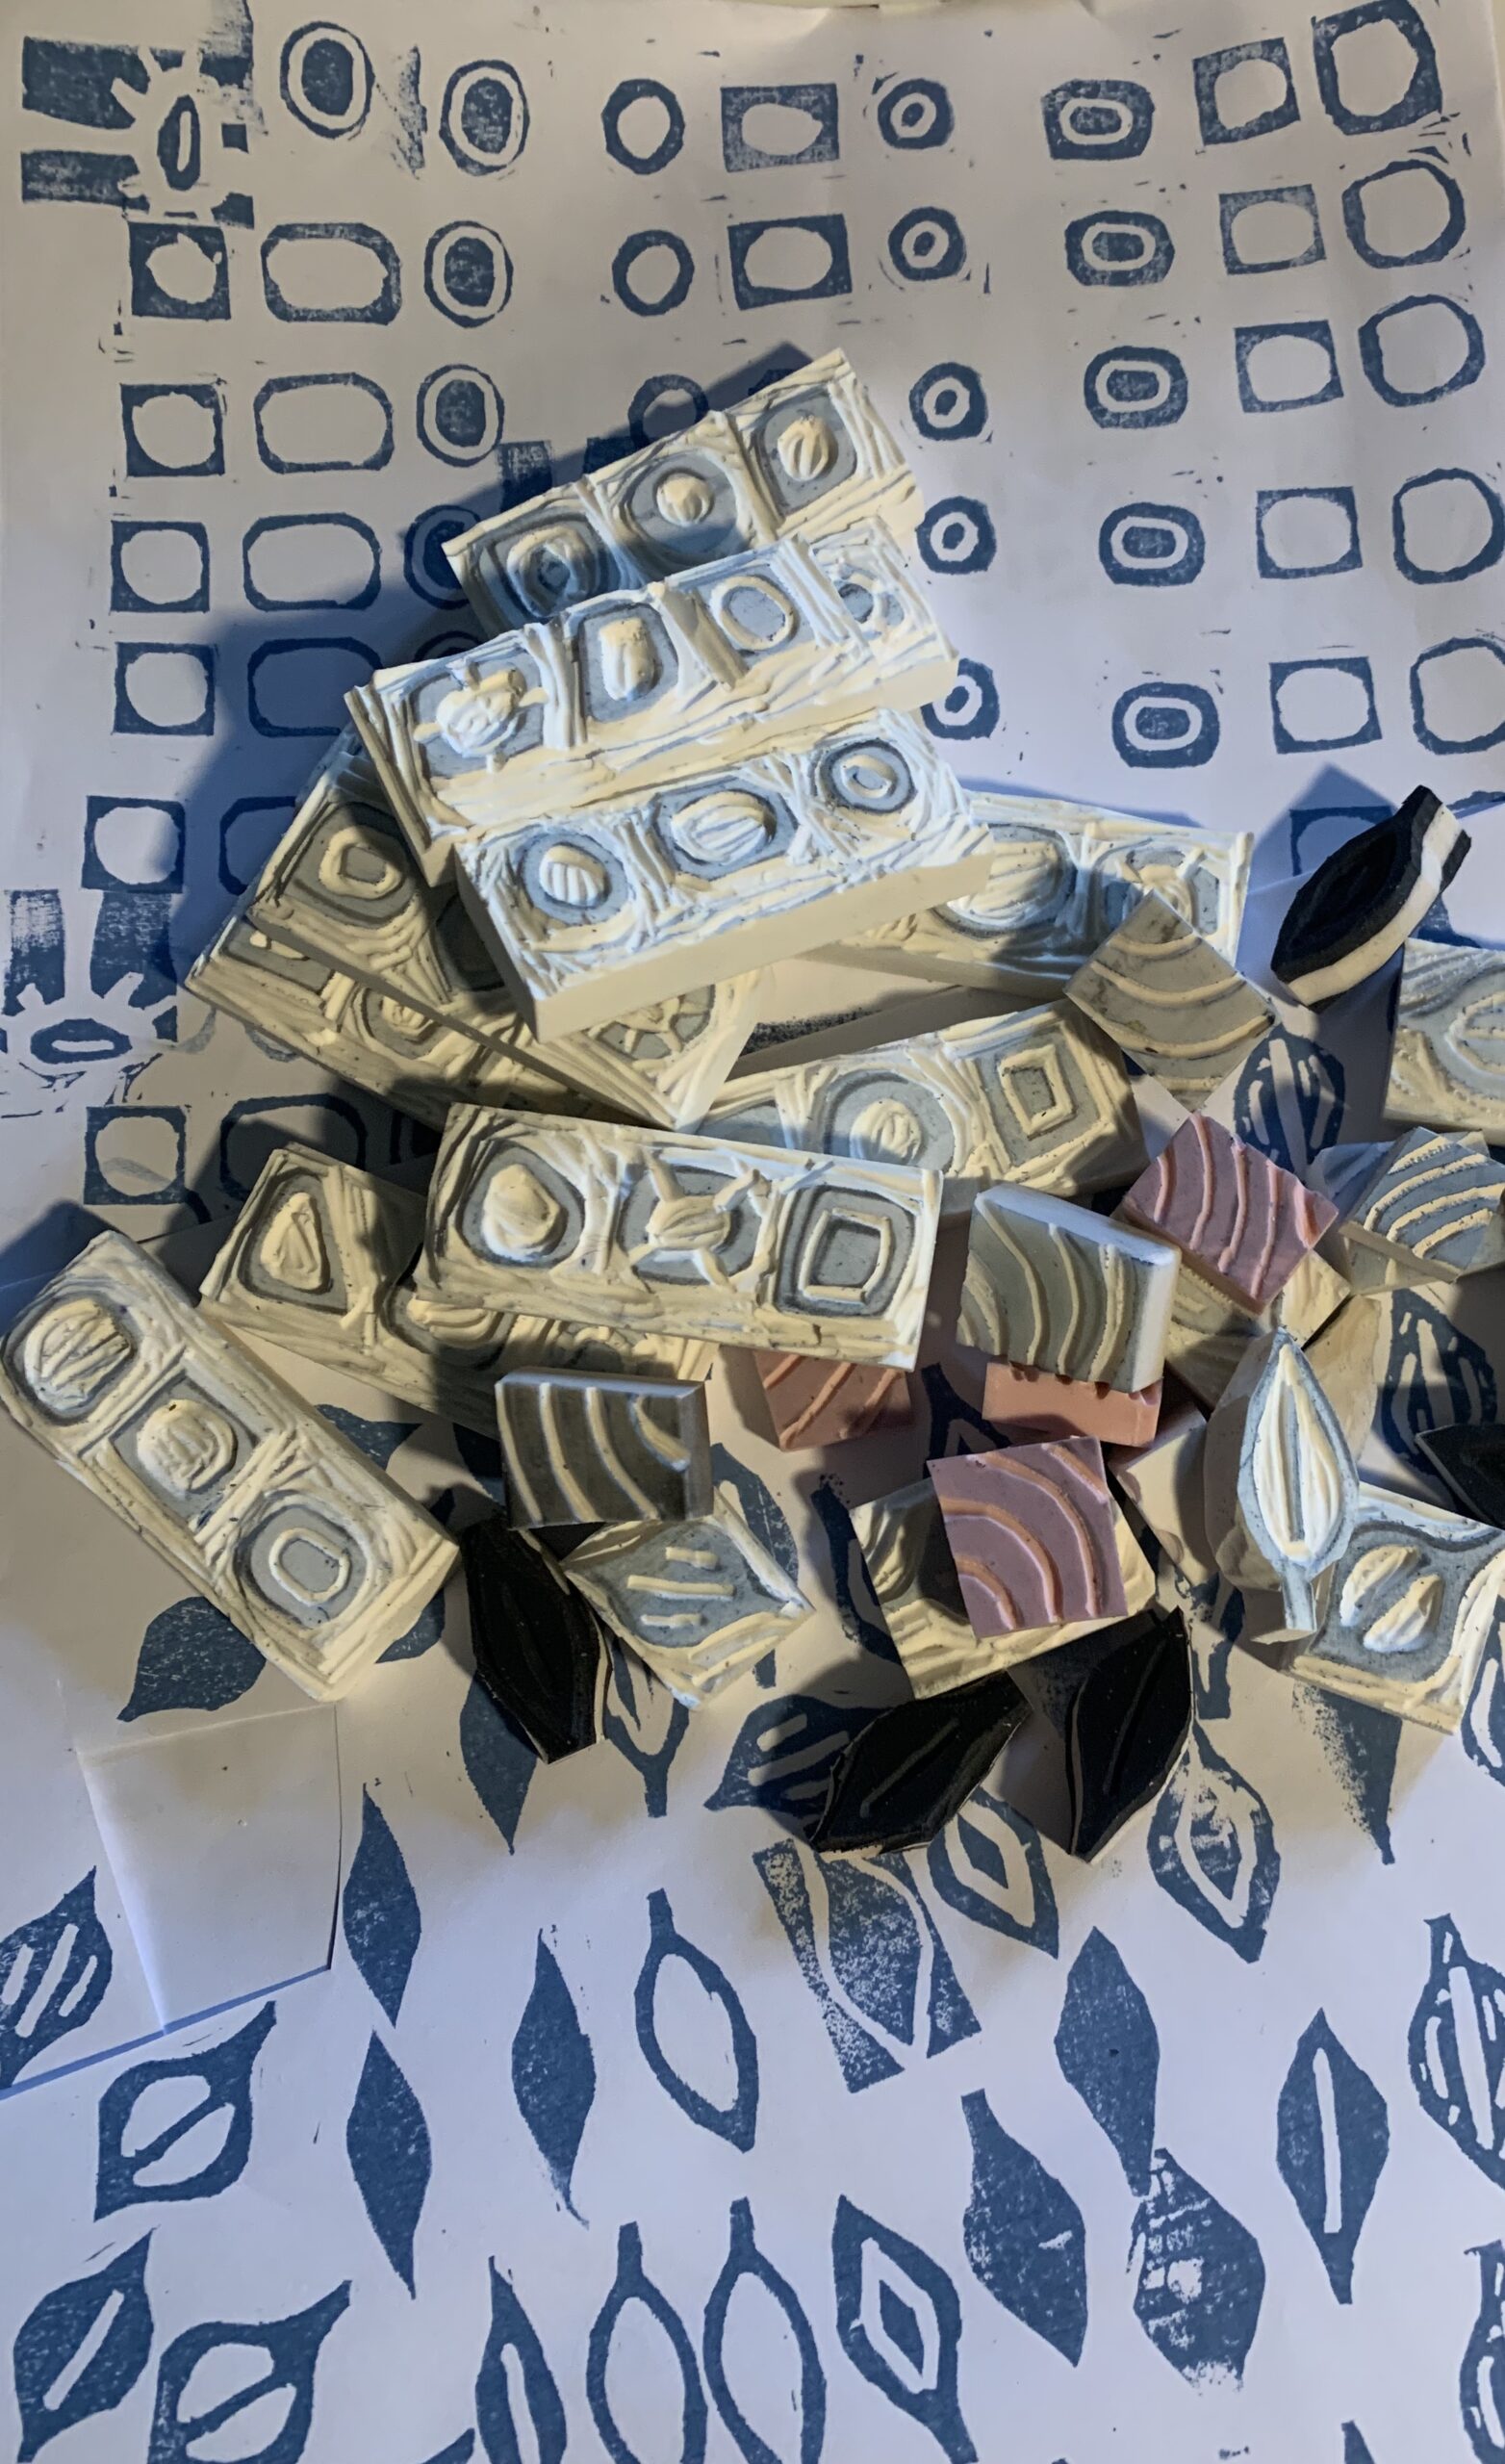
Rubber stamps are extremely popular in the art and craft world but there’s nothing quite like knowing you have a one of a kind stamp that no one else in the world has! And now, you have three!
I carved the stamps from inexpensive erasers using lino cutting tools. I drew a simple design on the eraser with pencil and then followed it to create the stamps. The reason the stamps are not pristine and clean is because I tested as I went to make sure the design stamped well.
Use the stamps in art journals, on collage pieces, greeting cards, envelopes, stickers, fabric, wherever you fancy putting a stamp!
Day 16: Transparent papers
A selection of translucent/transparent papers wrapped in deli paper with a band of painted encyclopaedia page
A really good way to work with collage is by building layers and translucent/transparent papers are great to use for this process. They allow what’s behind to peep through in varying degrees and help build depth in the work. There are plenty of everyday papers to look out for and save for your creative projects: tissue paper, envelope windows, paper napkins, patterned cellophane from flower wrappings, tracing paper, packaging with windows, old dressmaking patterns and embroidery transfers.
The papers are also great to make into flaps, windows or pages in art journals, you know how I love to make journals tactile and interactive! I’ve also included some stamped images on tissue paper. The deli paper wrapping is another great translucent paper, it takes paint well and is really quite robust.
If you enjoy working with paper napkins, check out The Napkin Shop – they have so many and excitingly, you can purchase single napkins, happy days! They also sell printed vellums, rice papers and decoupage papers.
Day 17: Dip pen
A hand made dip pen using drinks can and bamboo, wrapped in tissue paper and tied with white cotton string
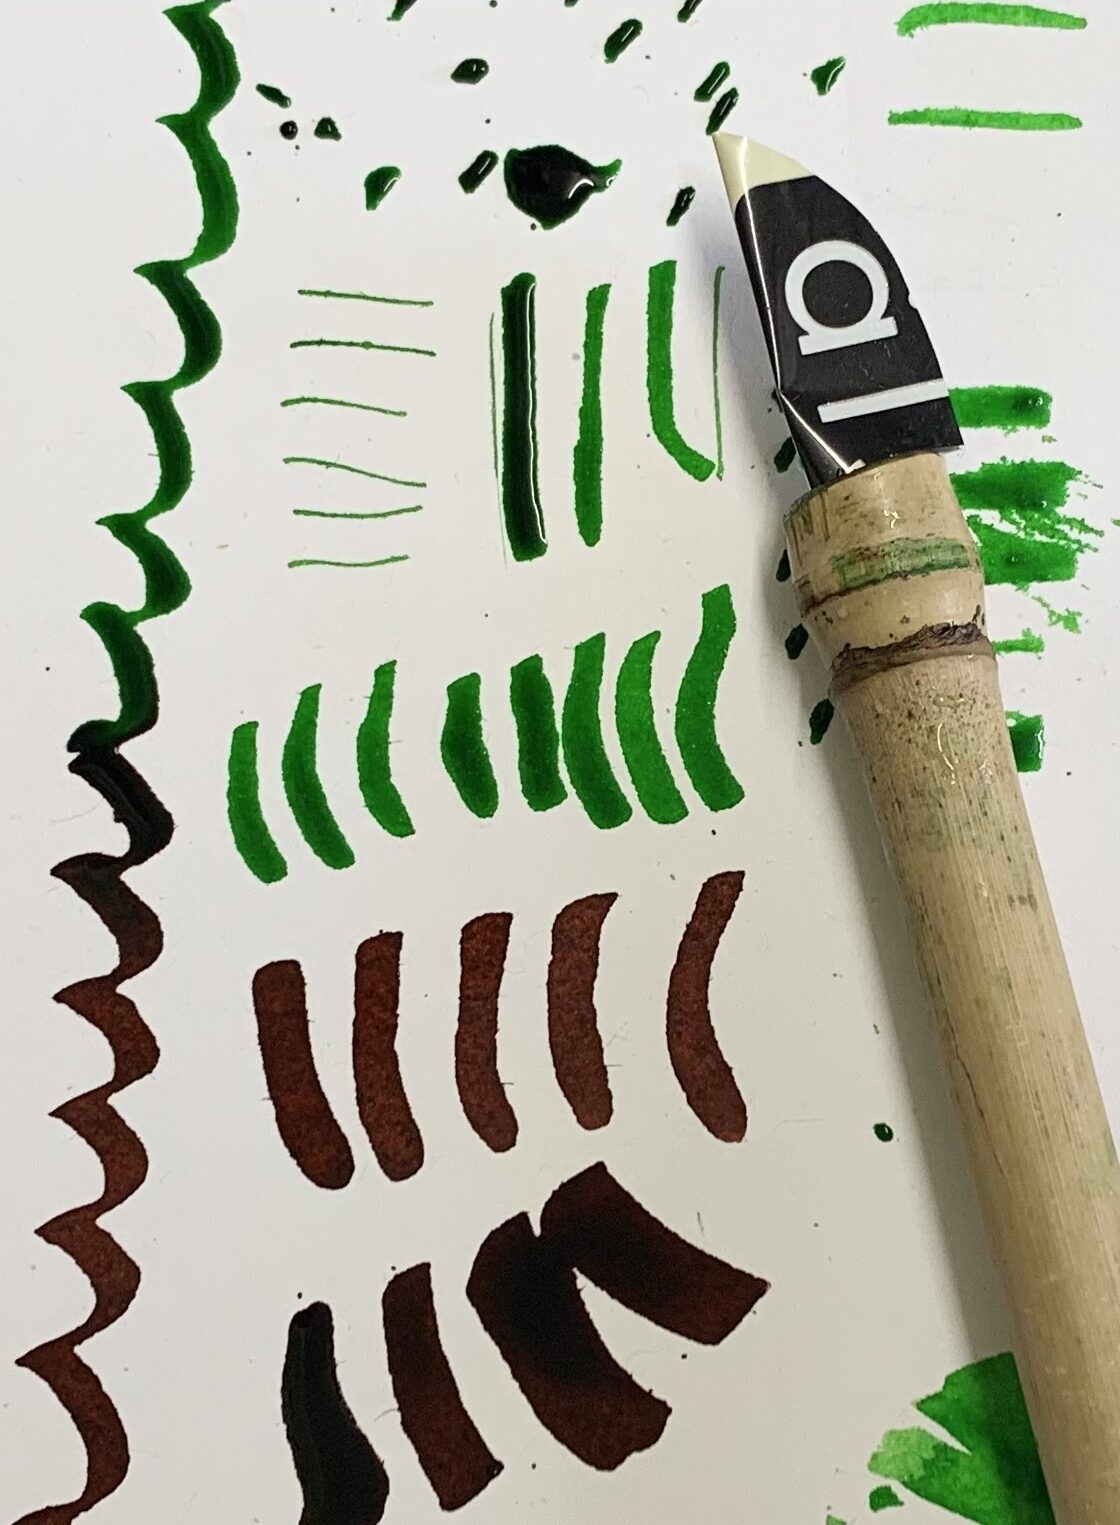
Dip pens are a great way to play around with ink to make marks and patterns and just have fun experimenting. Use your pen to create collage papers, try some calligraphy or making marks on art journal pages. Try using different inks and papers to see how the ink works on different surfaces and what gives the most pleasing marks. The nibs are quite flexible so you don’t need to press hard at all. There’s hours of inky fun to be had!
⚠ Please be careful when handling and using the pen – the nib is sharp!
Day 18: Tags
A selection of tags in a metallic envelope tied with metallic thread
Tag-o-rama! We love tags, don’t we? If you’ve been at an art journaling workshop with me, you’ve probably heard me say, “If you can make a hole in it, you can use it for a tag!”
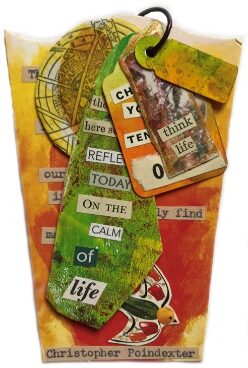
I’ve made tags from so many things and they’re great to add to pockets and pages in art journals. I love to do little tag bundles to add to art journals; different sizes and shapes with text and images added, usually with additional beads, threads and other bits & bobs!
Amongst your selection today there are:
- Tags cut from packaging
- Tags collaged with magazine pages
- Painted commercial tags
- Tea bag tags
- Clothing tags
- Clear plastic tags
- Tags made from watercolour paper I’d used for ink tests
- Playing card tags
- Tags cut from an old tape measure
Day 19: Handmade crayons
Two hand made crayons wrapped in a parchment bag tied with garden string
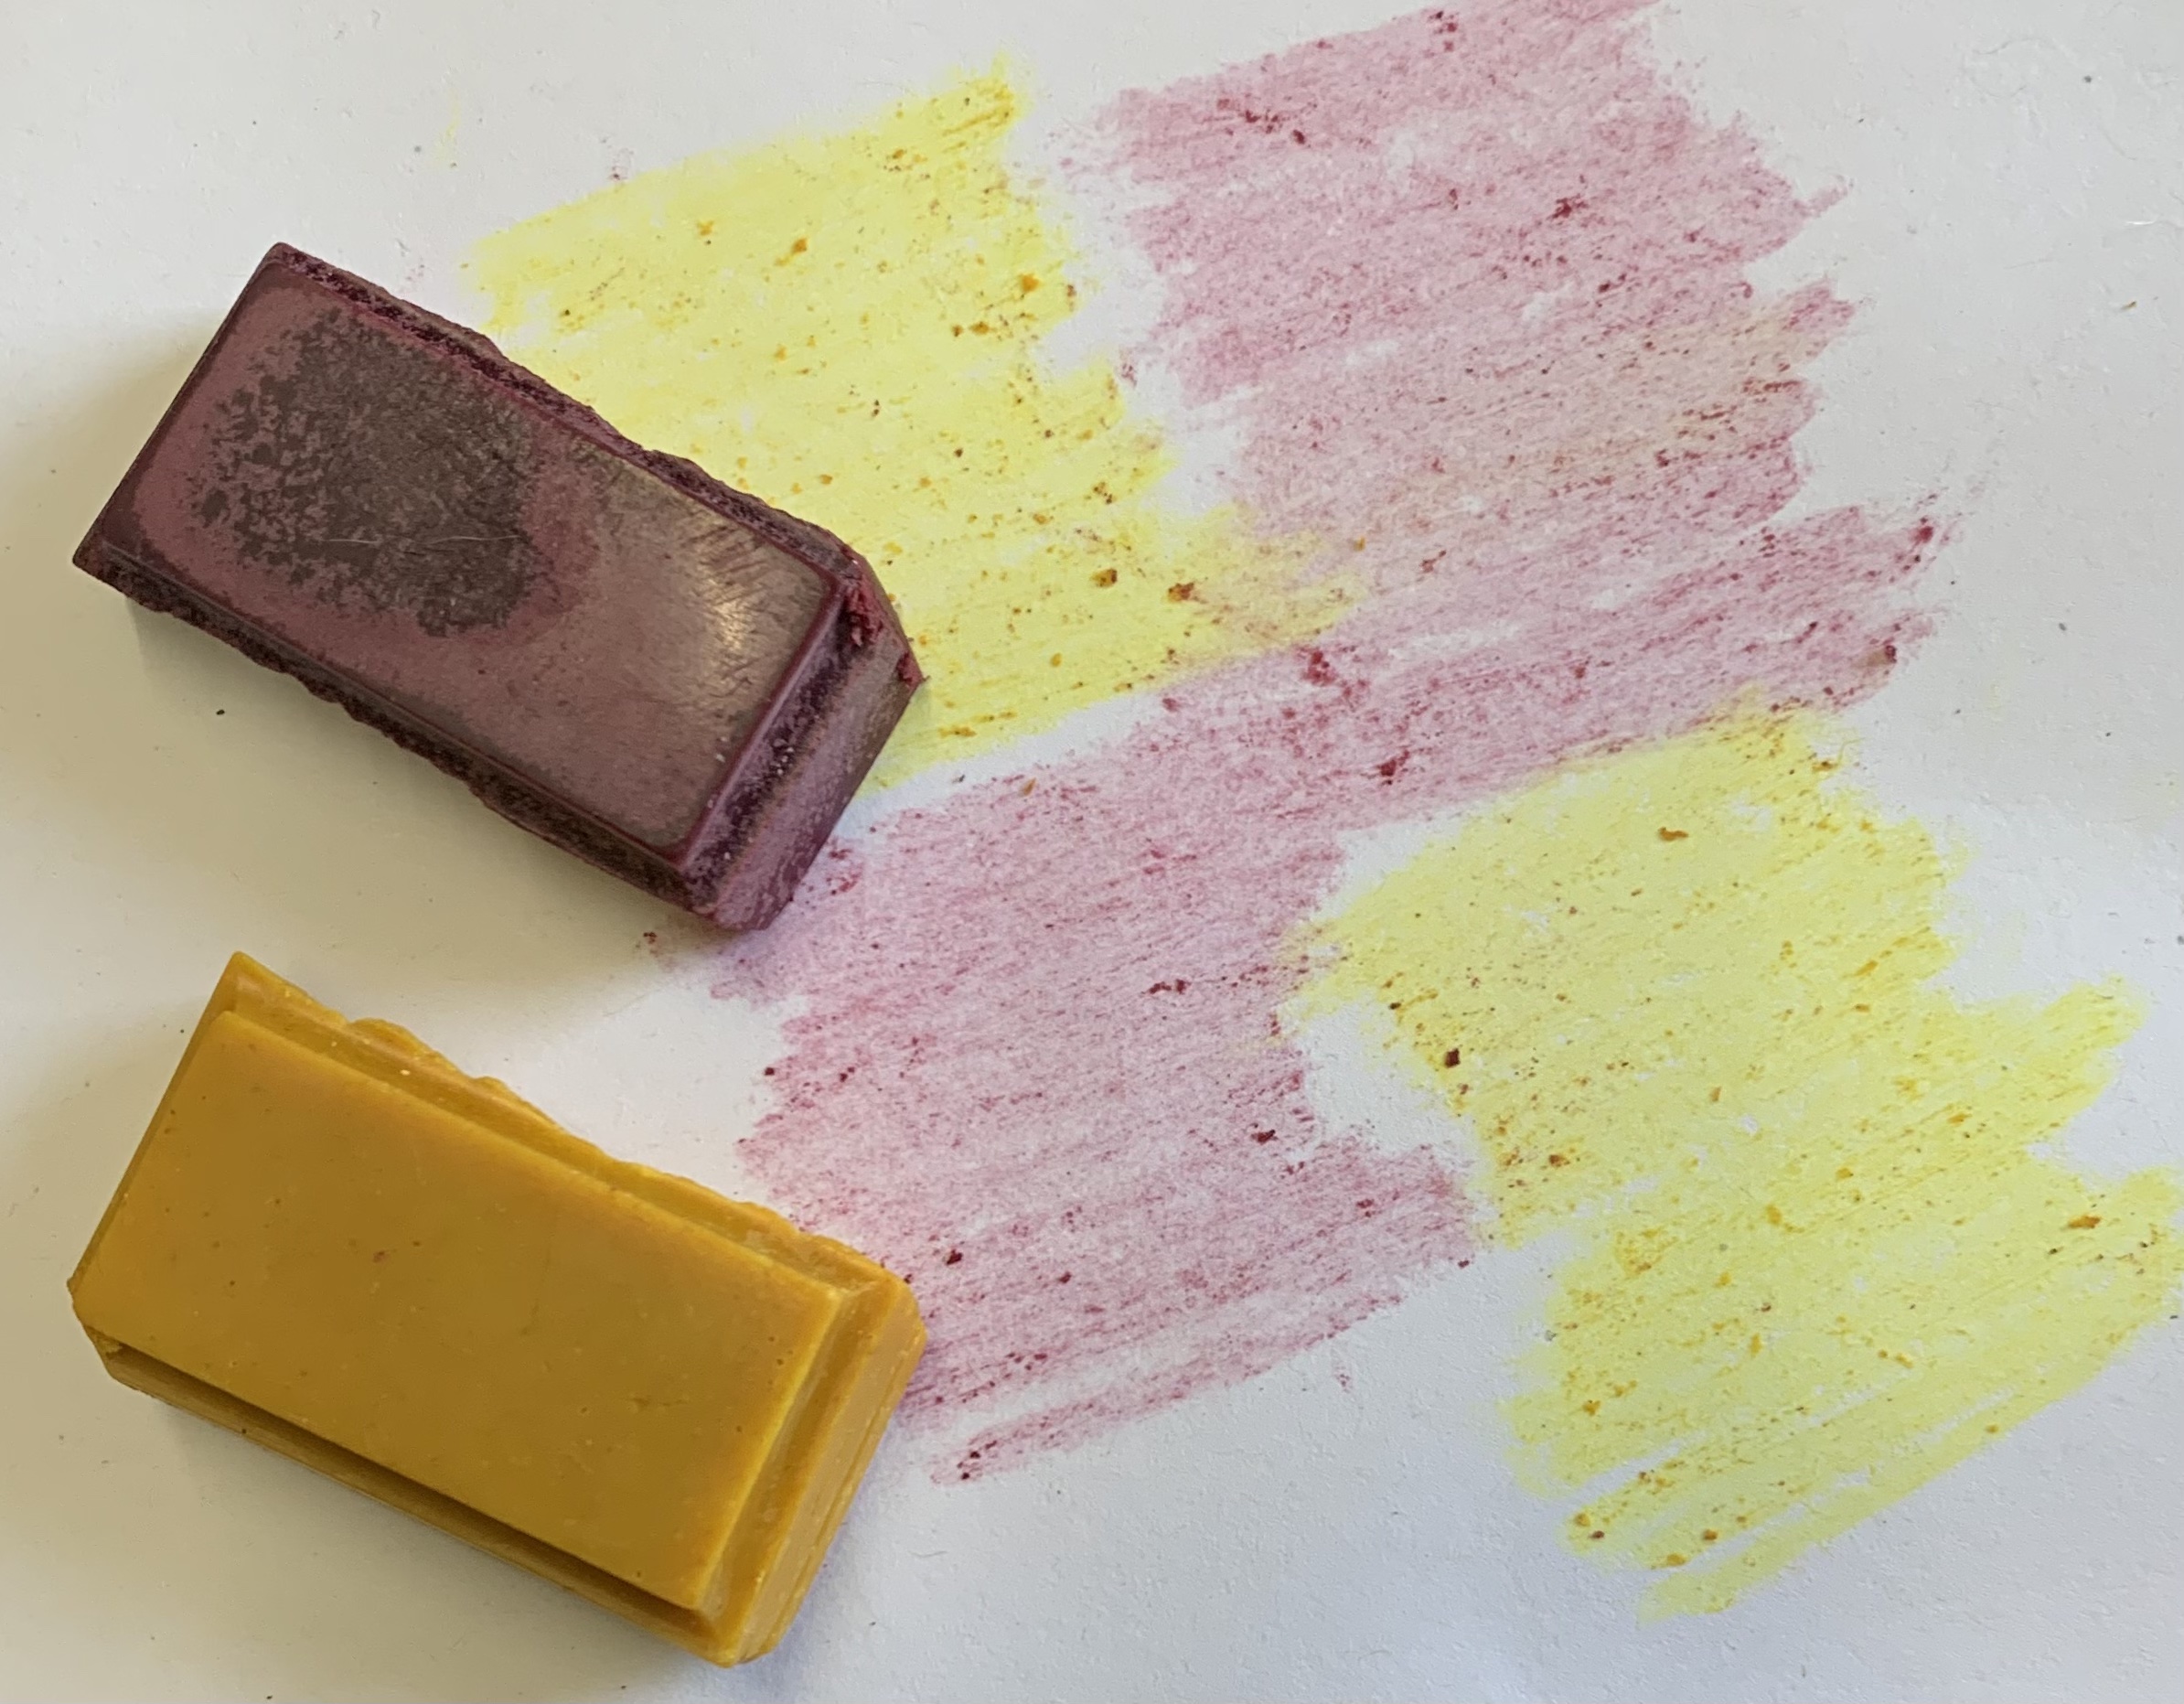
I learnt how to make crayons with natural pigments earlier this year, it’s so much fun and I just had to share some in the calendar!
The yellow crayon is made with turmeric powder and a mix of soy and beeswax. Beeswax sets very hard so mixing with soy wax makes it a bit softer.
The pink crayon is made with beetroot powder and soy wax. Soy wax doesn’t set as hard as beeswax so you’ll notice it’s softer to use than the turmeric crayon.
Crayon making with natural pigments isn’t an exact science, and these are some of my first big batch makes. They’re not as refined as commercial crayons and won’t perform like them but they’re all natural, non toxic and fun to play with! Neither of these colours are lightfast so will fade if left in sunlight.
Day 20: Handmade paper
Six sheets of handmade papers wrapped in Japanese calligraphy practice rice paper tied with cotton string
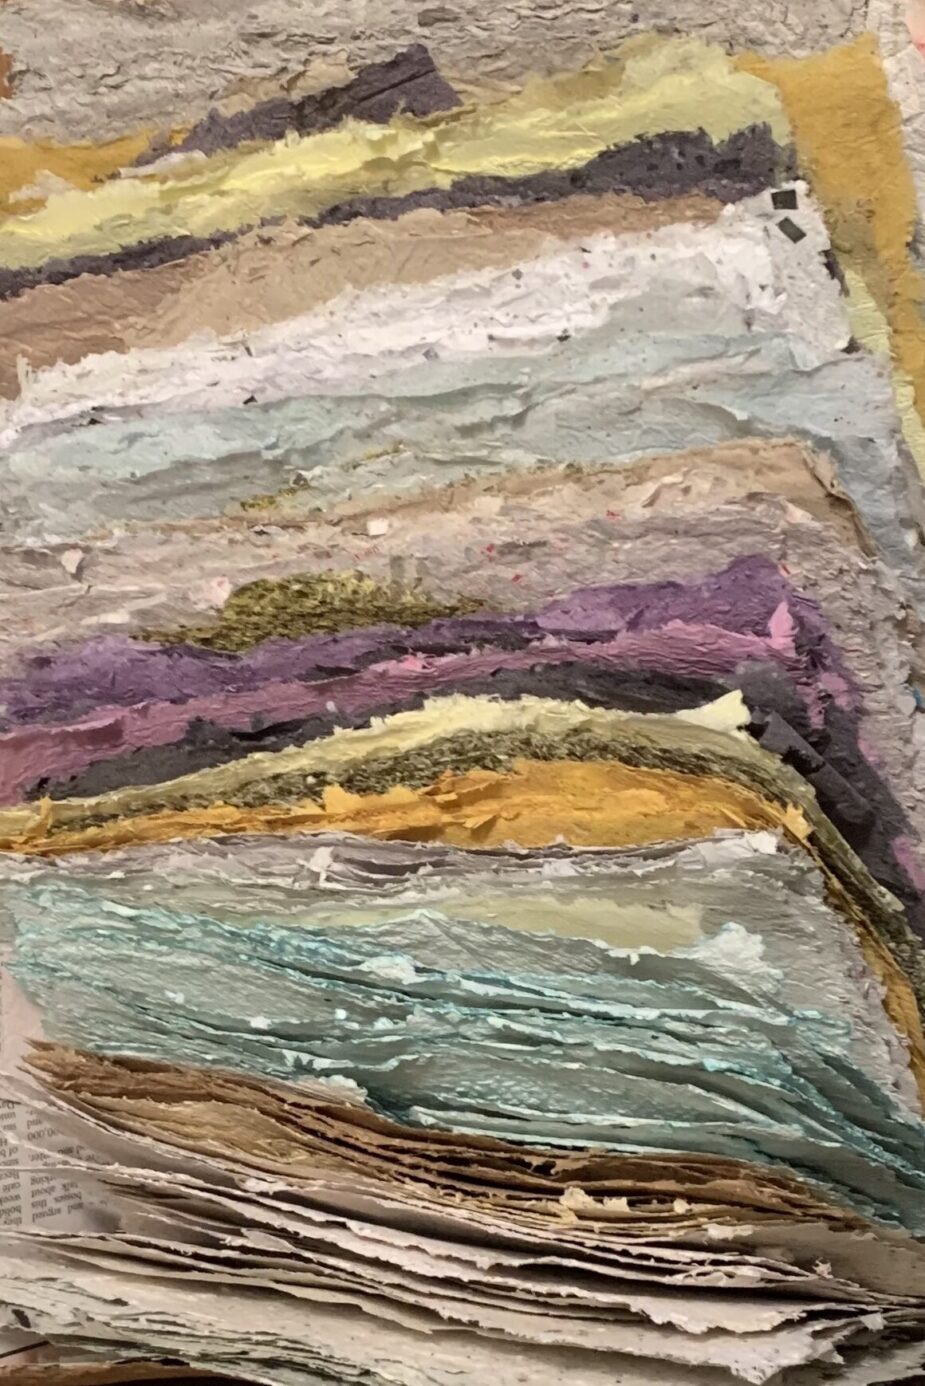
I had to include some handmade paper in the calendar, didn’t I? Most of you know about my paper making exploits over the last couple of years. It started with the thought that I could recycle studio and workshop scraps into paper to use in projects, creating a circular process which fits in with my sustainability ethos. It then quickly became something of an obsession, trying to make paper with plants from the garden and hedgerows, fruit and vegetable peelings, coffee grounds, and all manner of packaging and anything else I could gather!
You have a variety of different papers in your pack. If you’d like to know what any of them are made with, just pop me a message.
The papers are great for all sorts of creative projects; collage, greetings cards, art journal pages, and tags for example. They aren’t sized so if you want to use ink or paint on them, be prepared for some bleeding and variance in results. Pencil and Biro will work well on them, and most can be hand or machine stitched.
Day 21: Zine
A themed zine in a vintage paper bag secured with a paperclip
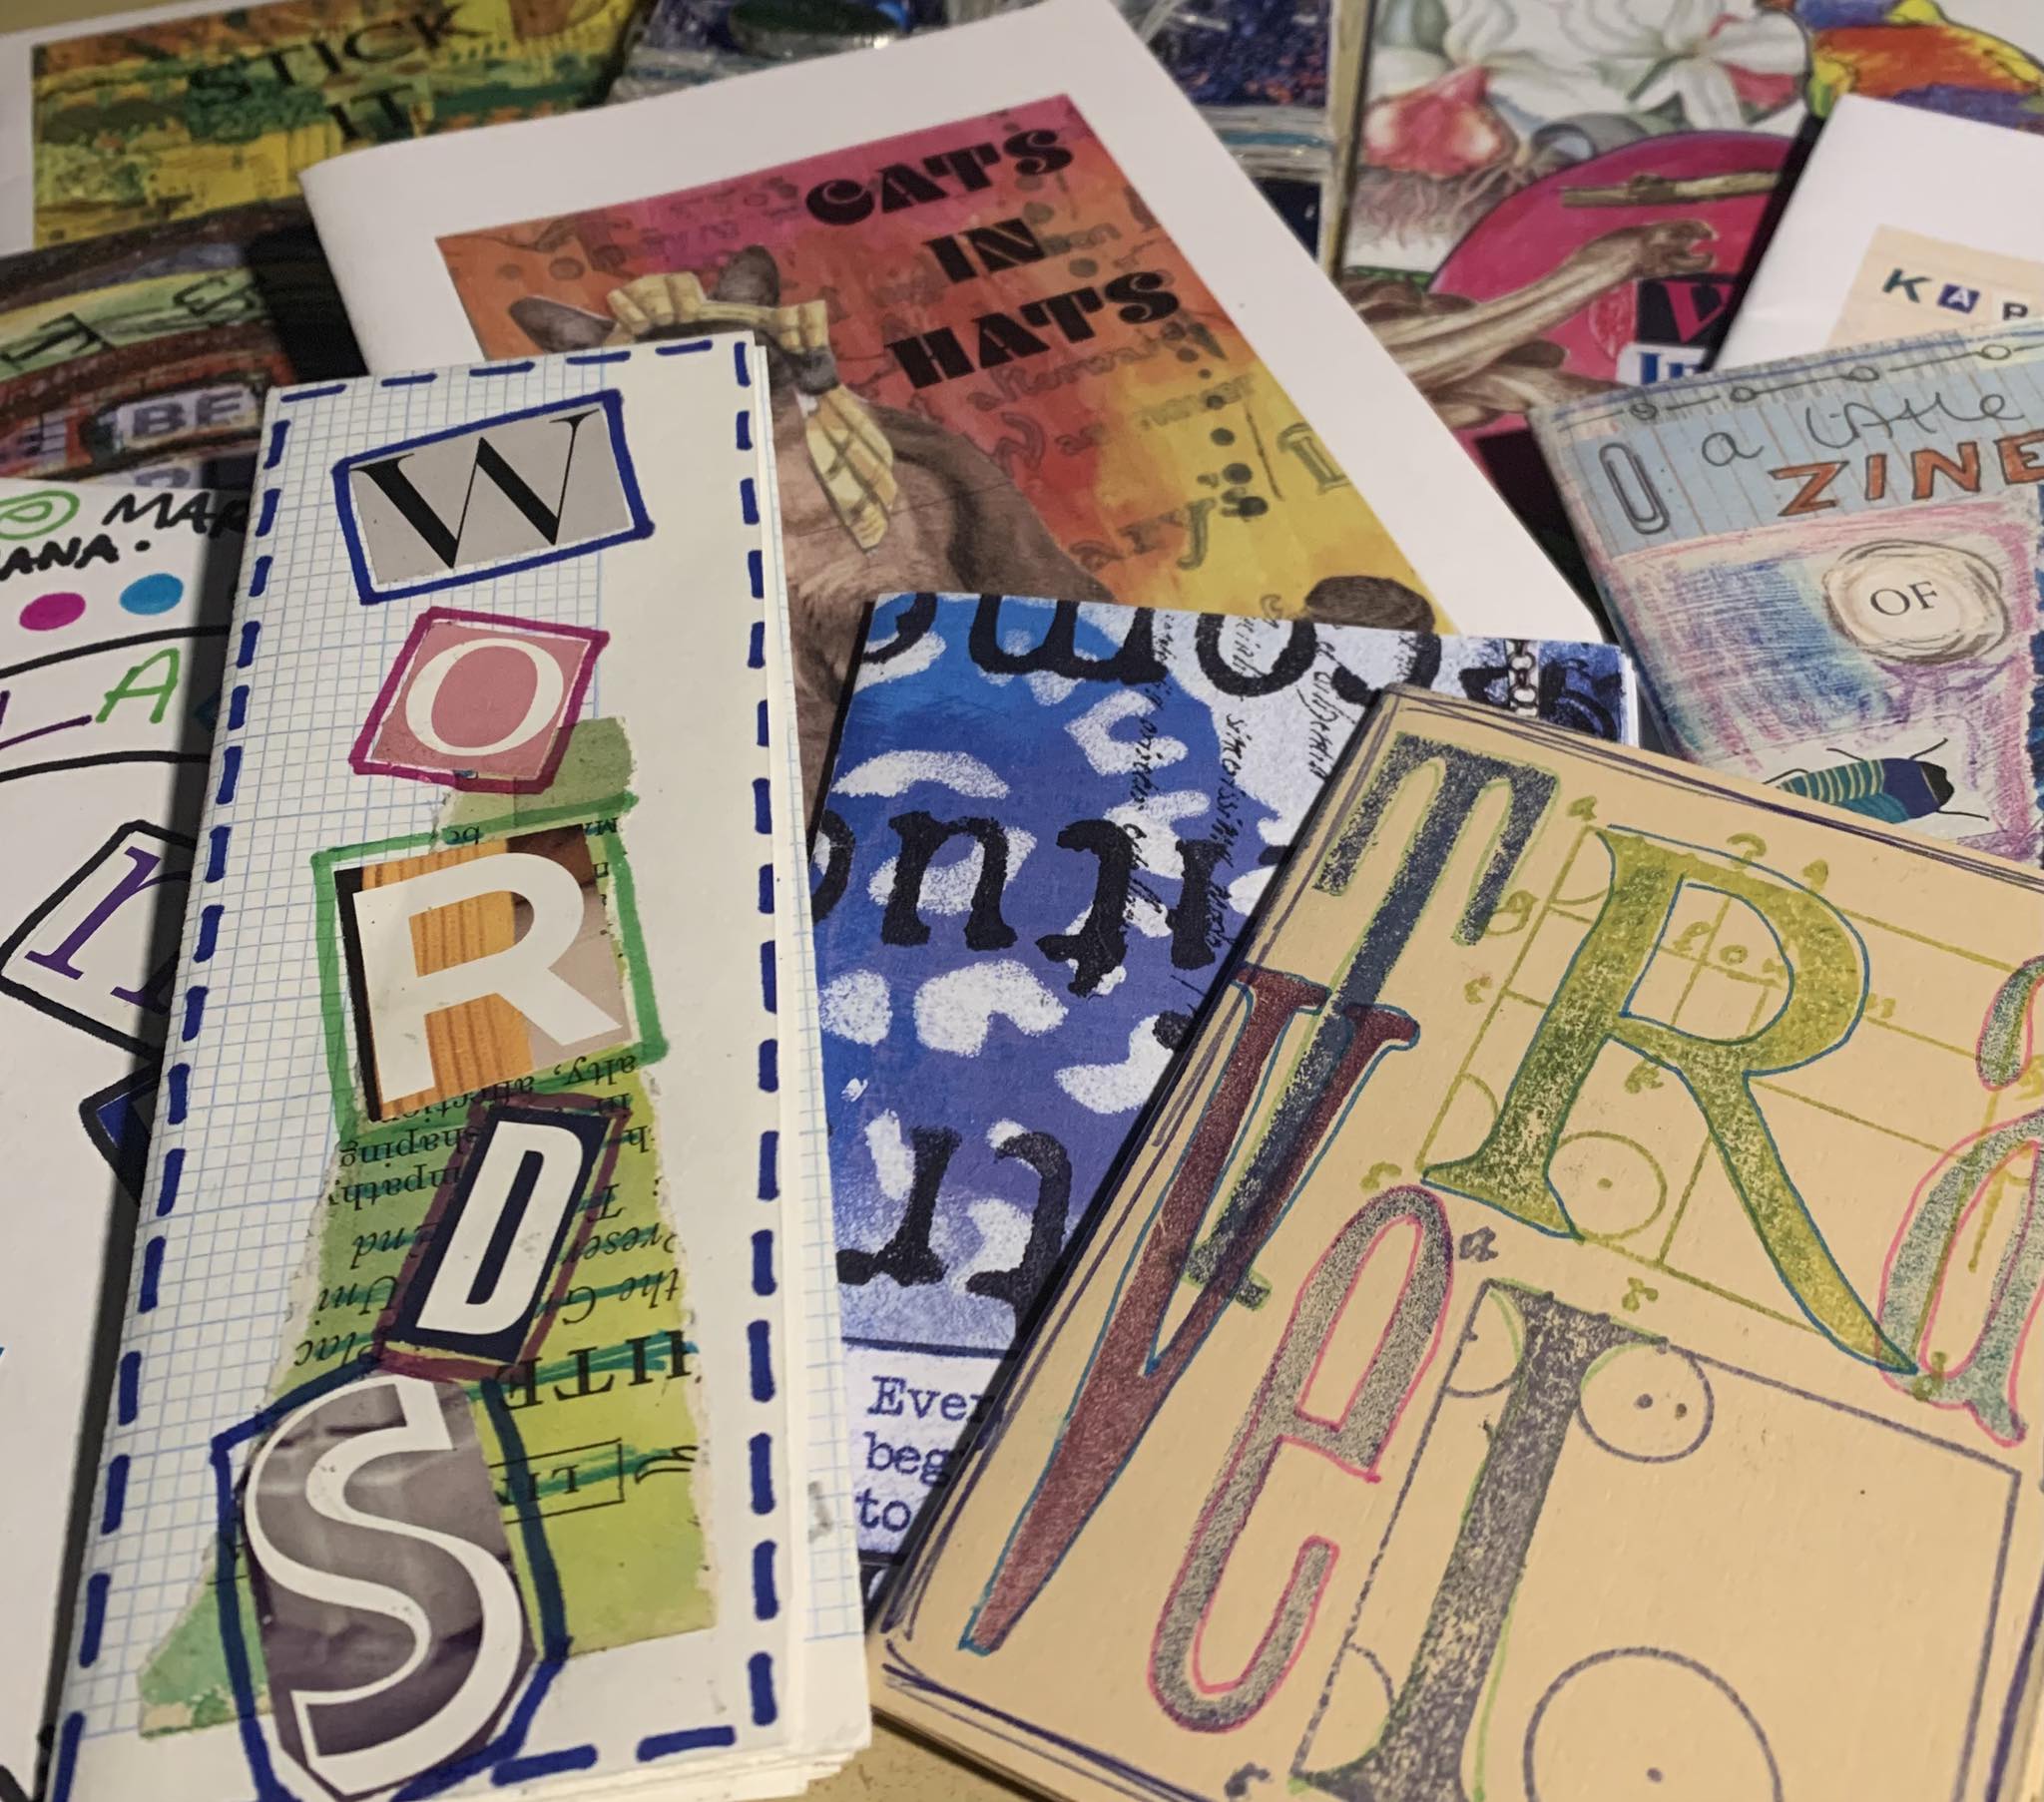 Making zines is something I enjoy doing, sometimes by hand, sometimes digitally. I put this little zine together digitally and then had it printed. A last minute font change caused some of the text on page 2 to disappear which I had to amend so I feel I can claim it as digital and handmade!
I’ve made zines on all sorts of topics; travel, hot chocolate, found poetry, weather symbols, ocean pollution, to name a few. It’s a great way to share your thoughts and/or artwork and can be as simply made as using one sheet of paper and a pen.
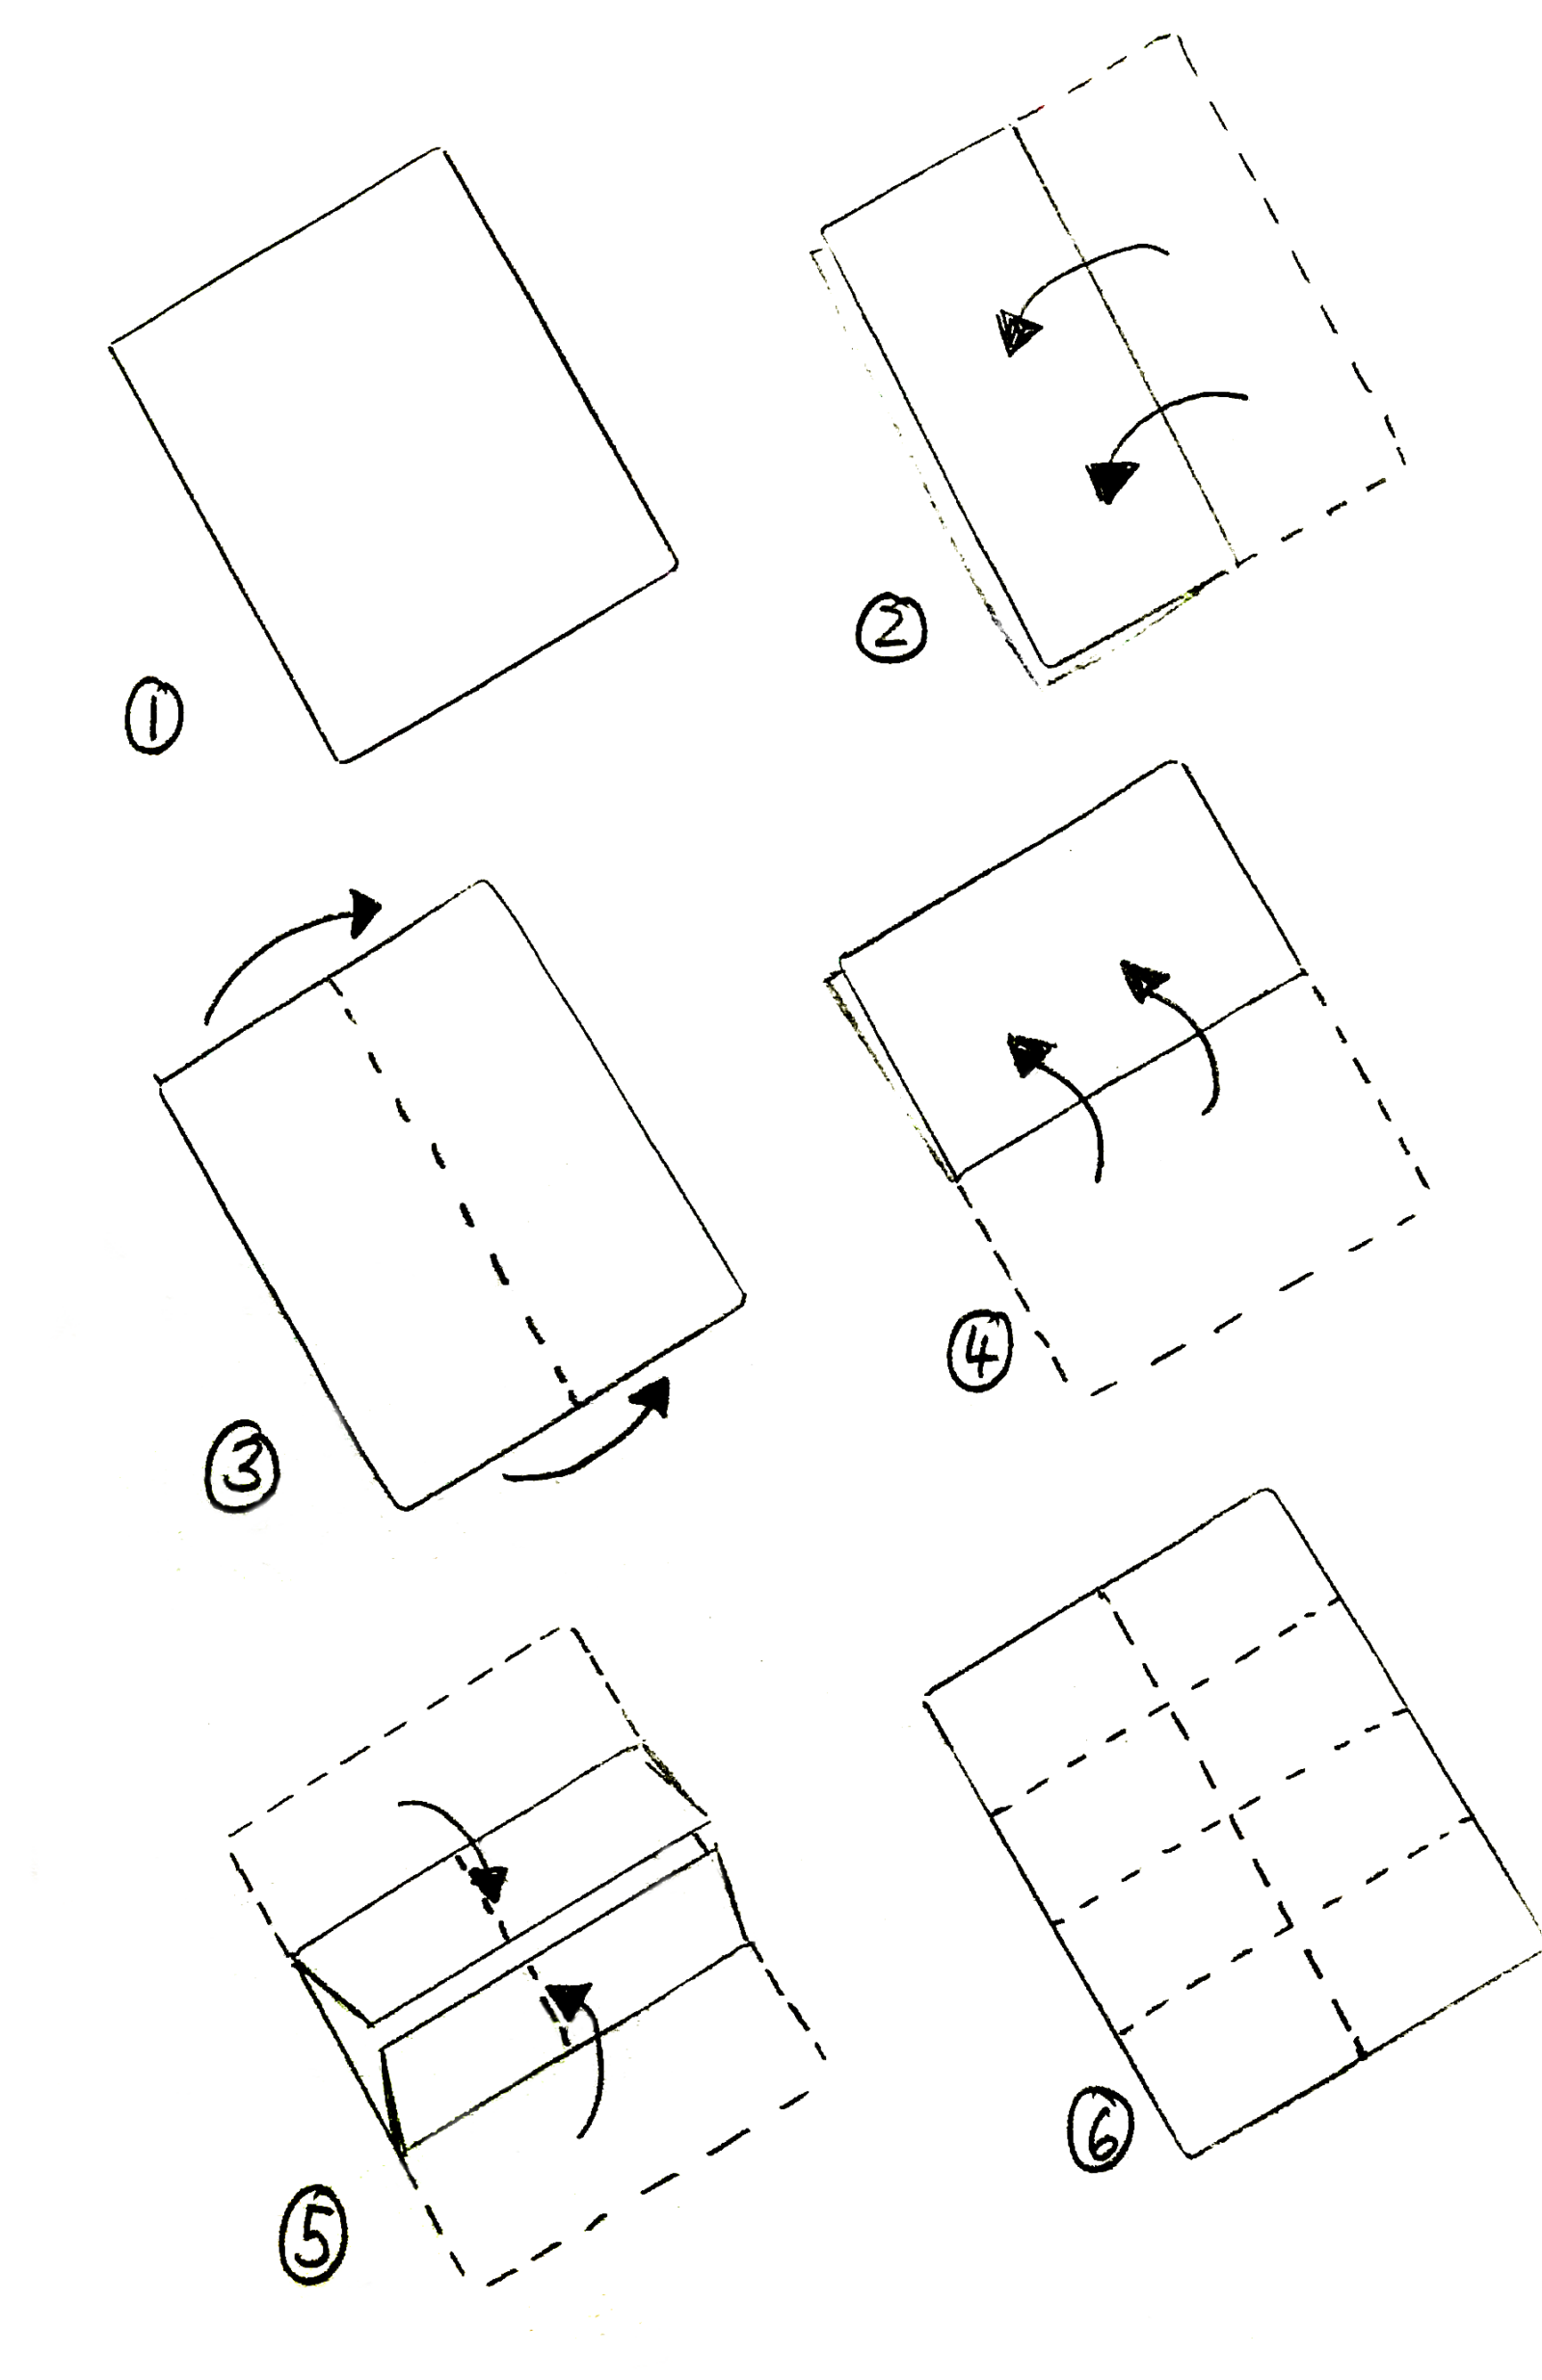
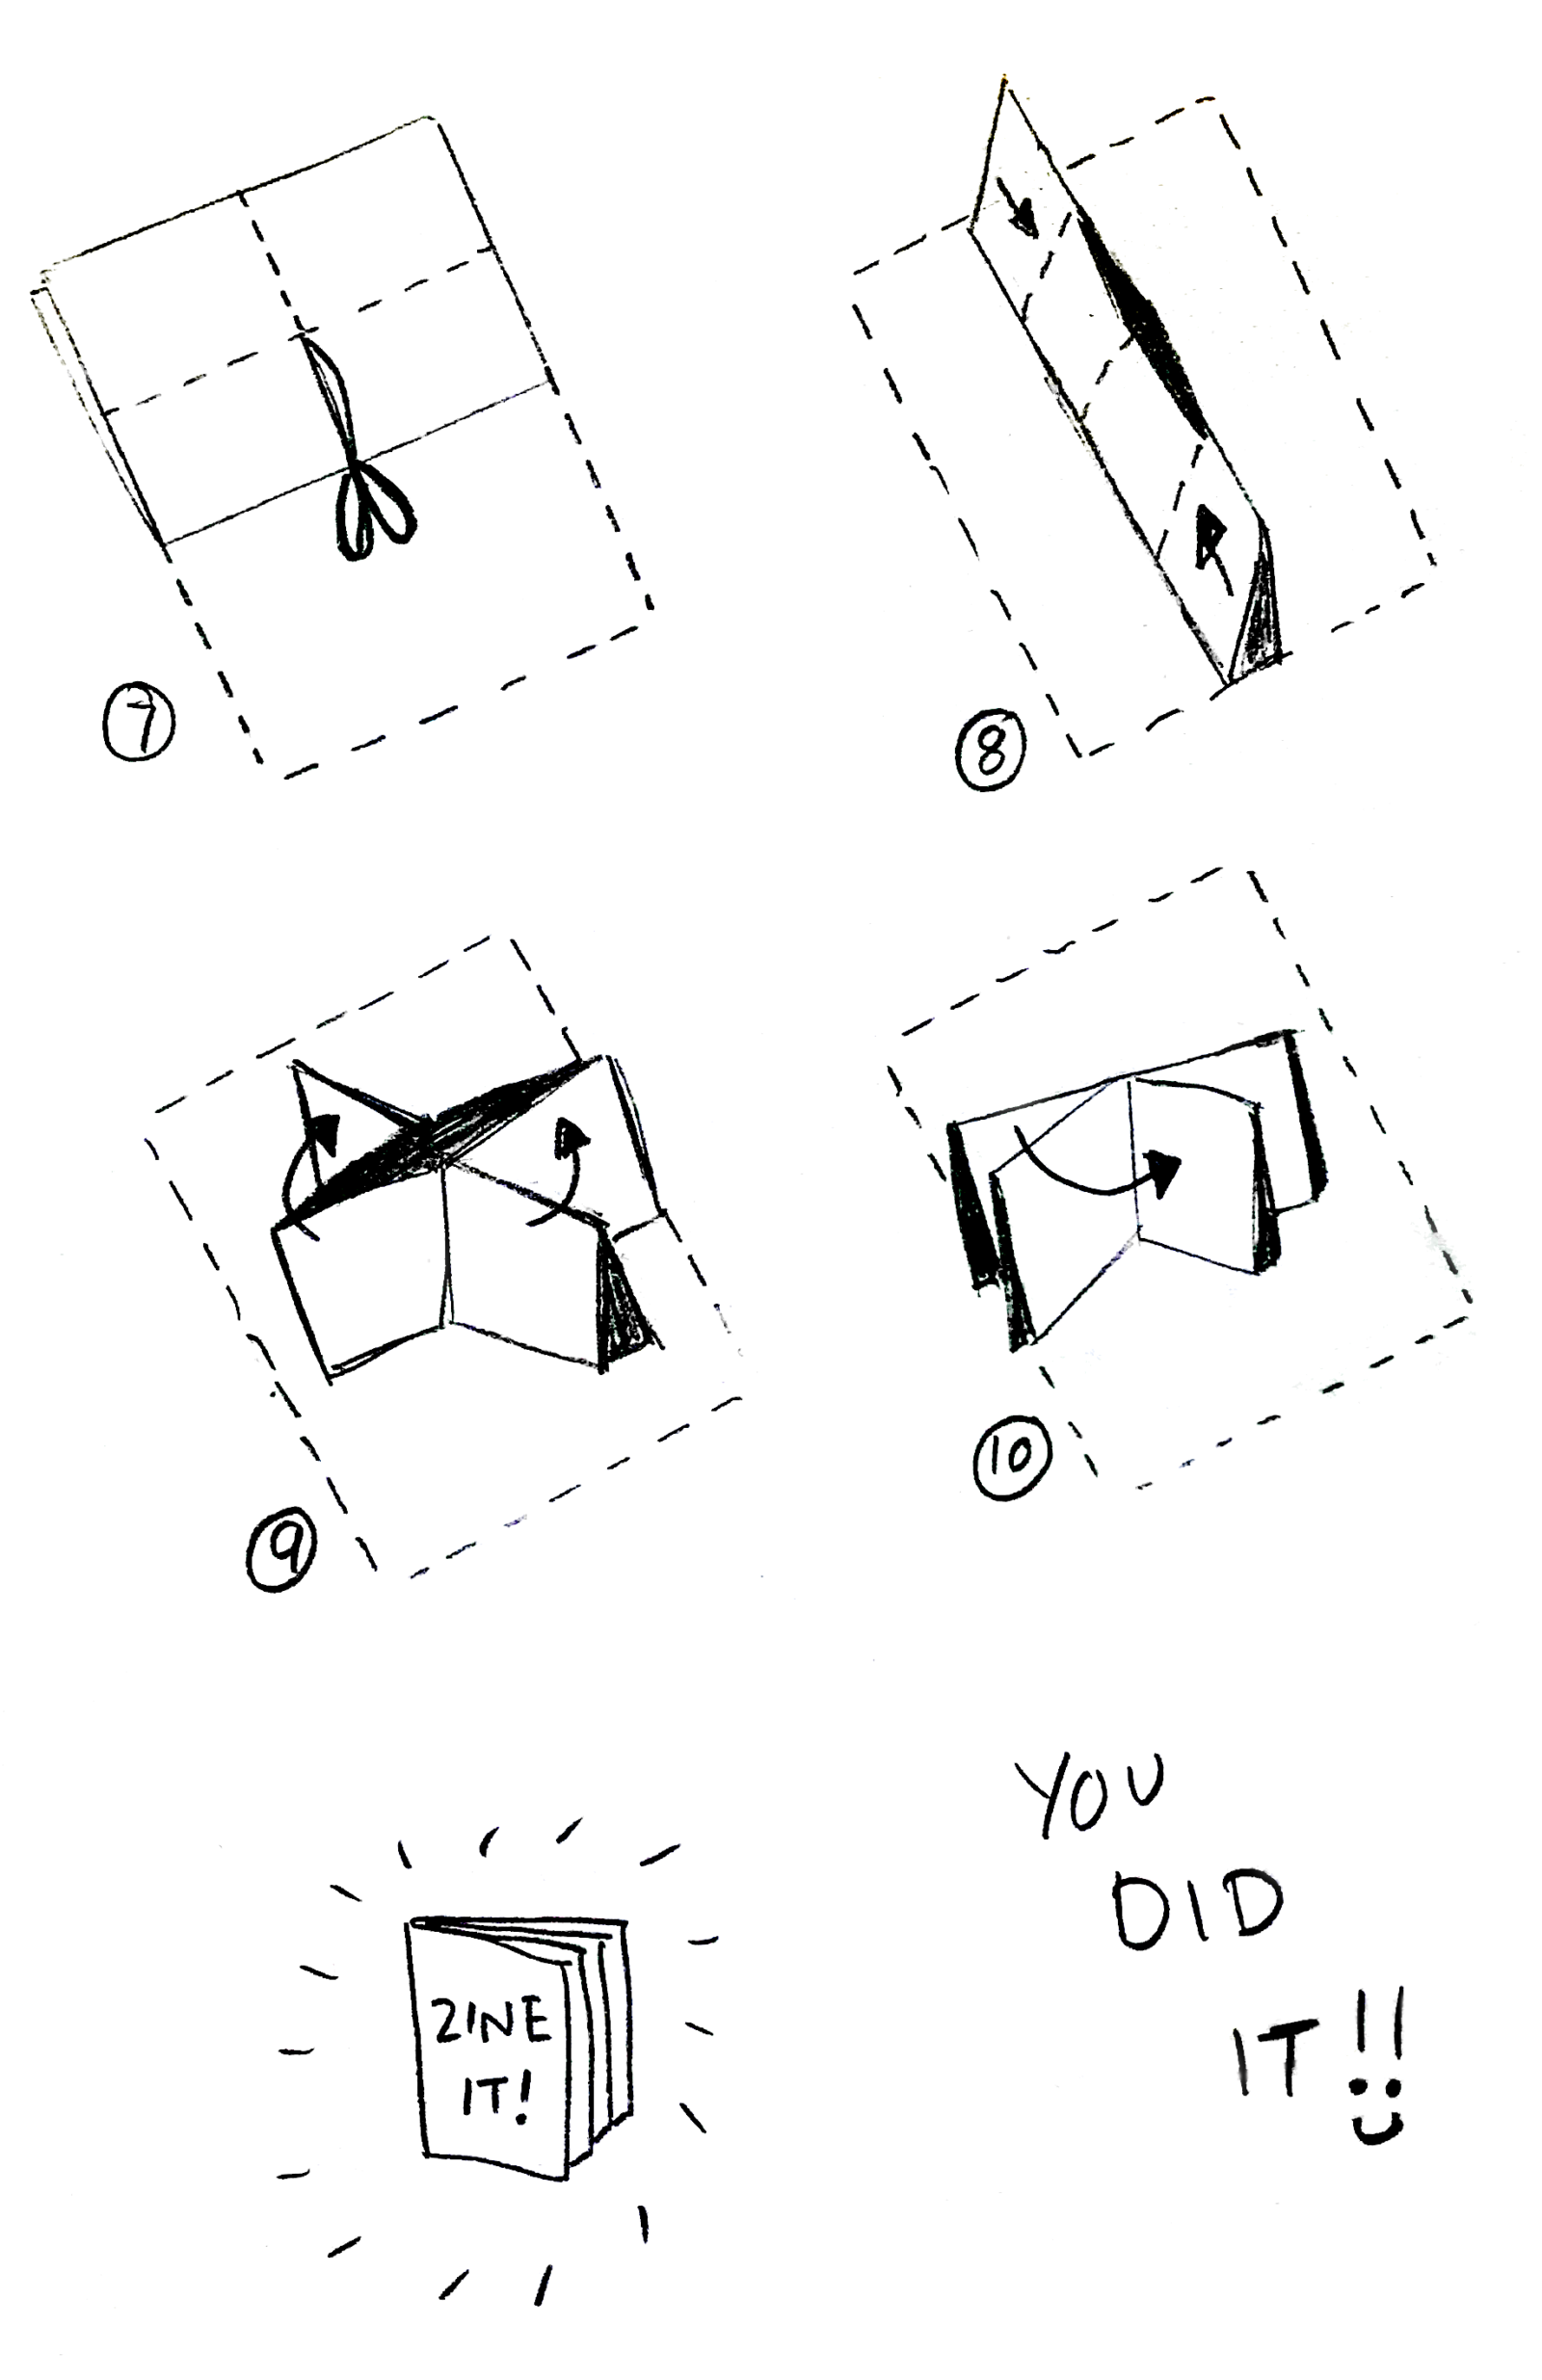
My zine is made using one sheet of paper, if you’ve never tried this method, use the photos below to guide you through the process. And, of course, zines are great to tuck into pockets in art journals!
Day 22: Emergency art kit
An emergency art journal kit housed in an upcycled plaster tin; the kit is comprised of a mini journal, a pencil, a glue stick and some collage papers
 You never know when you might get the urge to create! This mini kit is small and portable, easy to slip in a pocket or handbag, so you’ll never get caught out when that urge to make art strikes!
There’s a little bit of room in the kit so you might even be able to squeeze something extra in; a tiny pen or crayon, an eraser, miniature folding scissors, stickers, or even a sheet of watercolour paint dots.
Day 23: Frames & windows
A selection of frames and windows wrapped in tissue paper with a band of upholstery sample book page secured with a paperclip
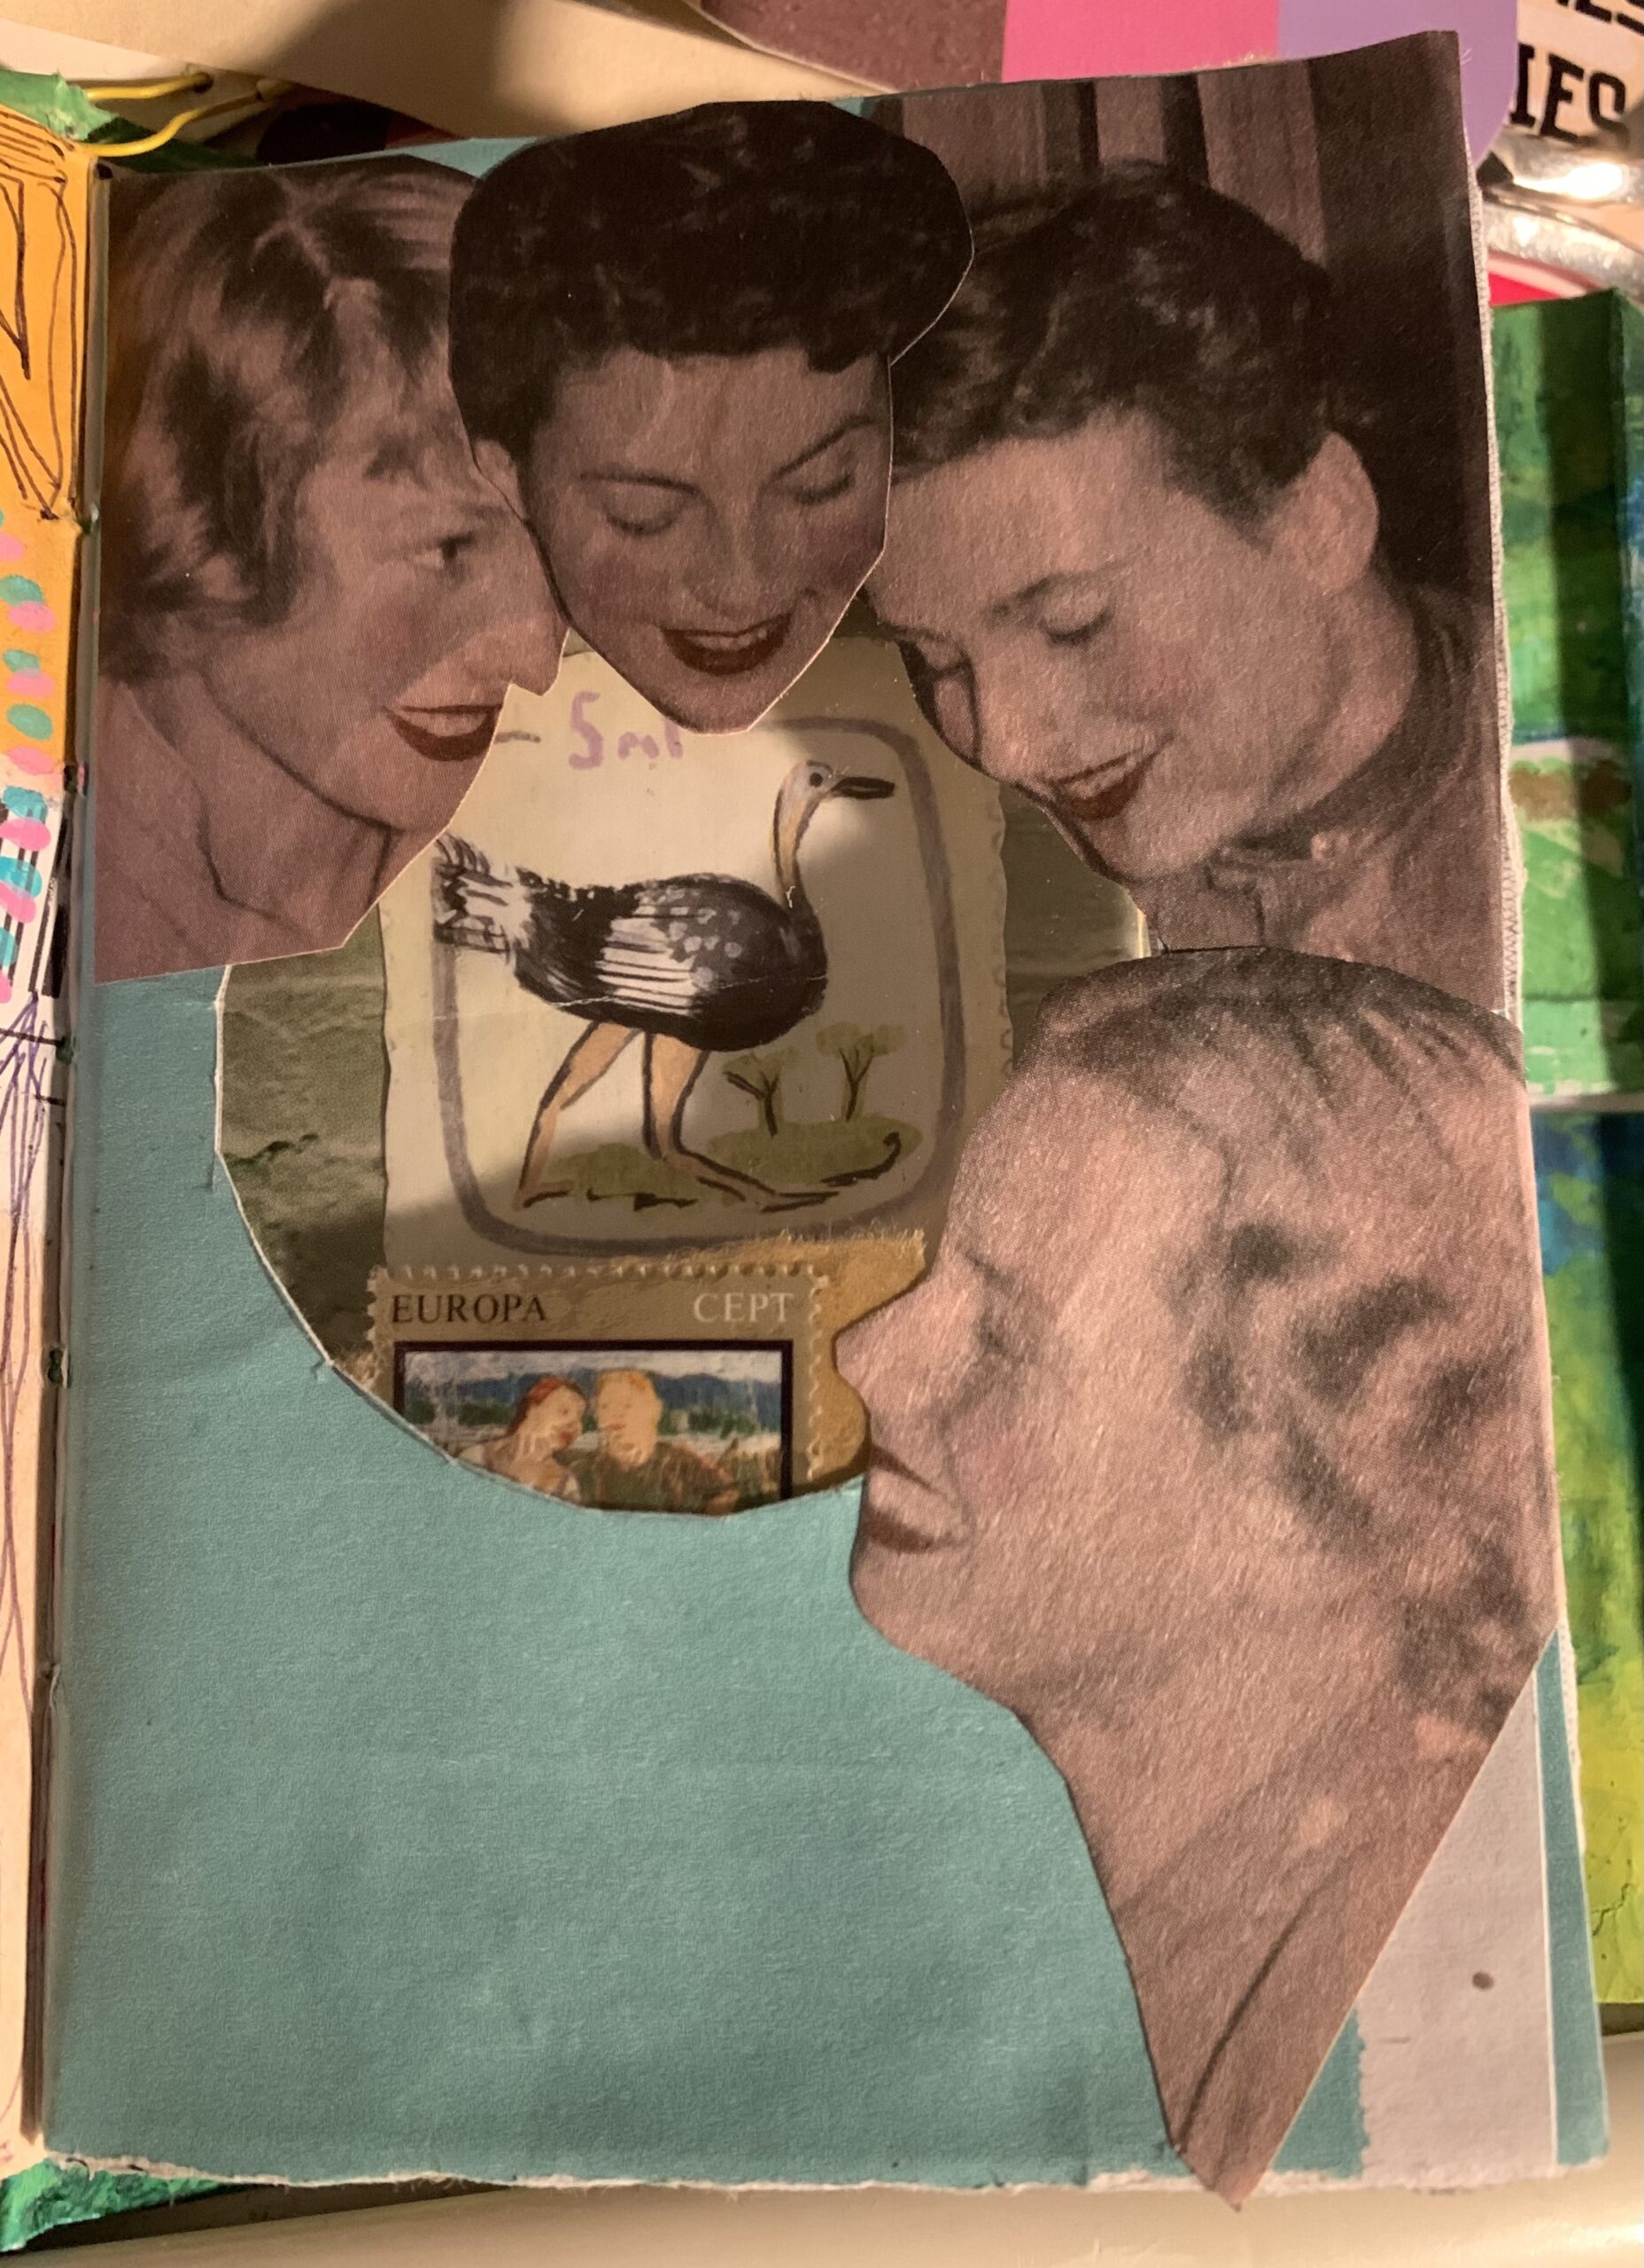
Using a frame on an art journal page or other artwork often adds that finishing touch. Today there’s a selection of handmade frames using various papers and techniques, and also some copyright free images of vintage advertising frames. Just add words, imagery, stickers, collage, lace, fabric, whatever you want, and add to your journal page, collage piece or other creative project!
There’s also a selection of handmade windows, perfect for adding to art journals for a glimpse of what’s on the next page. Envelope windows are perfect for making these so start collecting them! Cellophane and acetate windows from packaging are great to recycle too.
Day 24: Folded stacked journal
A five-page folded stacked journal packaged in an upcycled paper bag and secured with a binder clip
I love a new journal style and I knew I wanted to share this in the Advent calendar as soon as I saw it! The journal is made from five sheets of paper, increasing in size from front to back, glued together centrally. To open, lift the first page up and open it out to the left, then repeat with following pages.
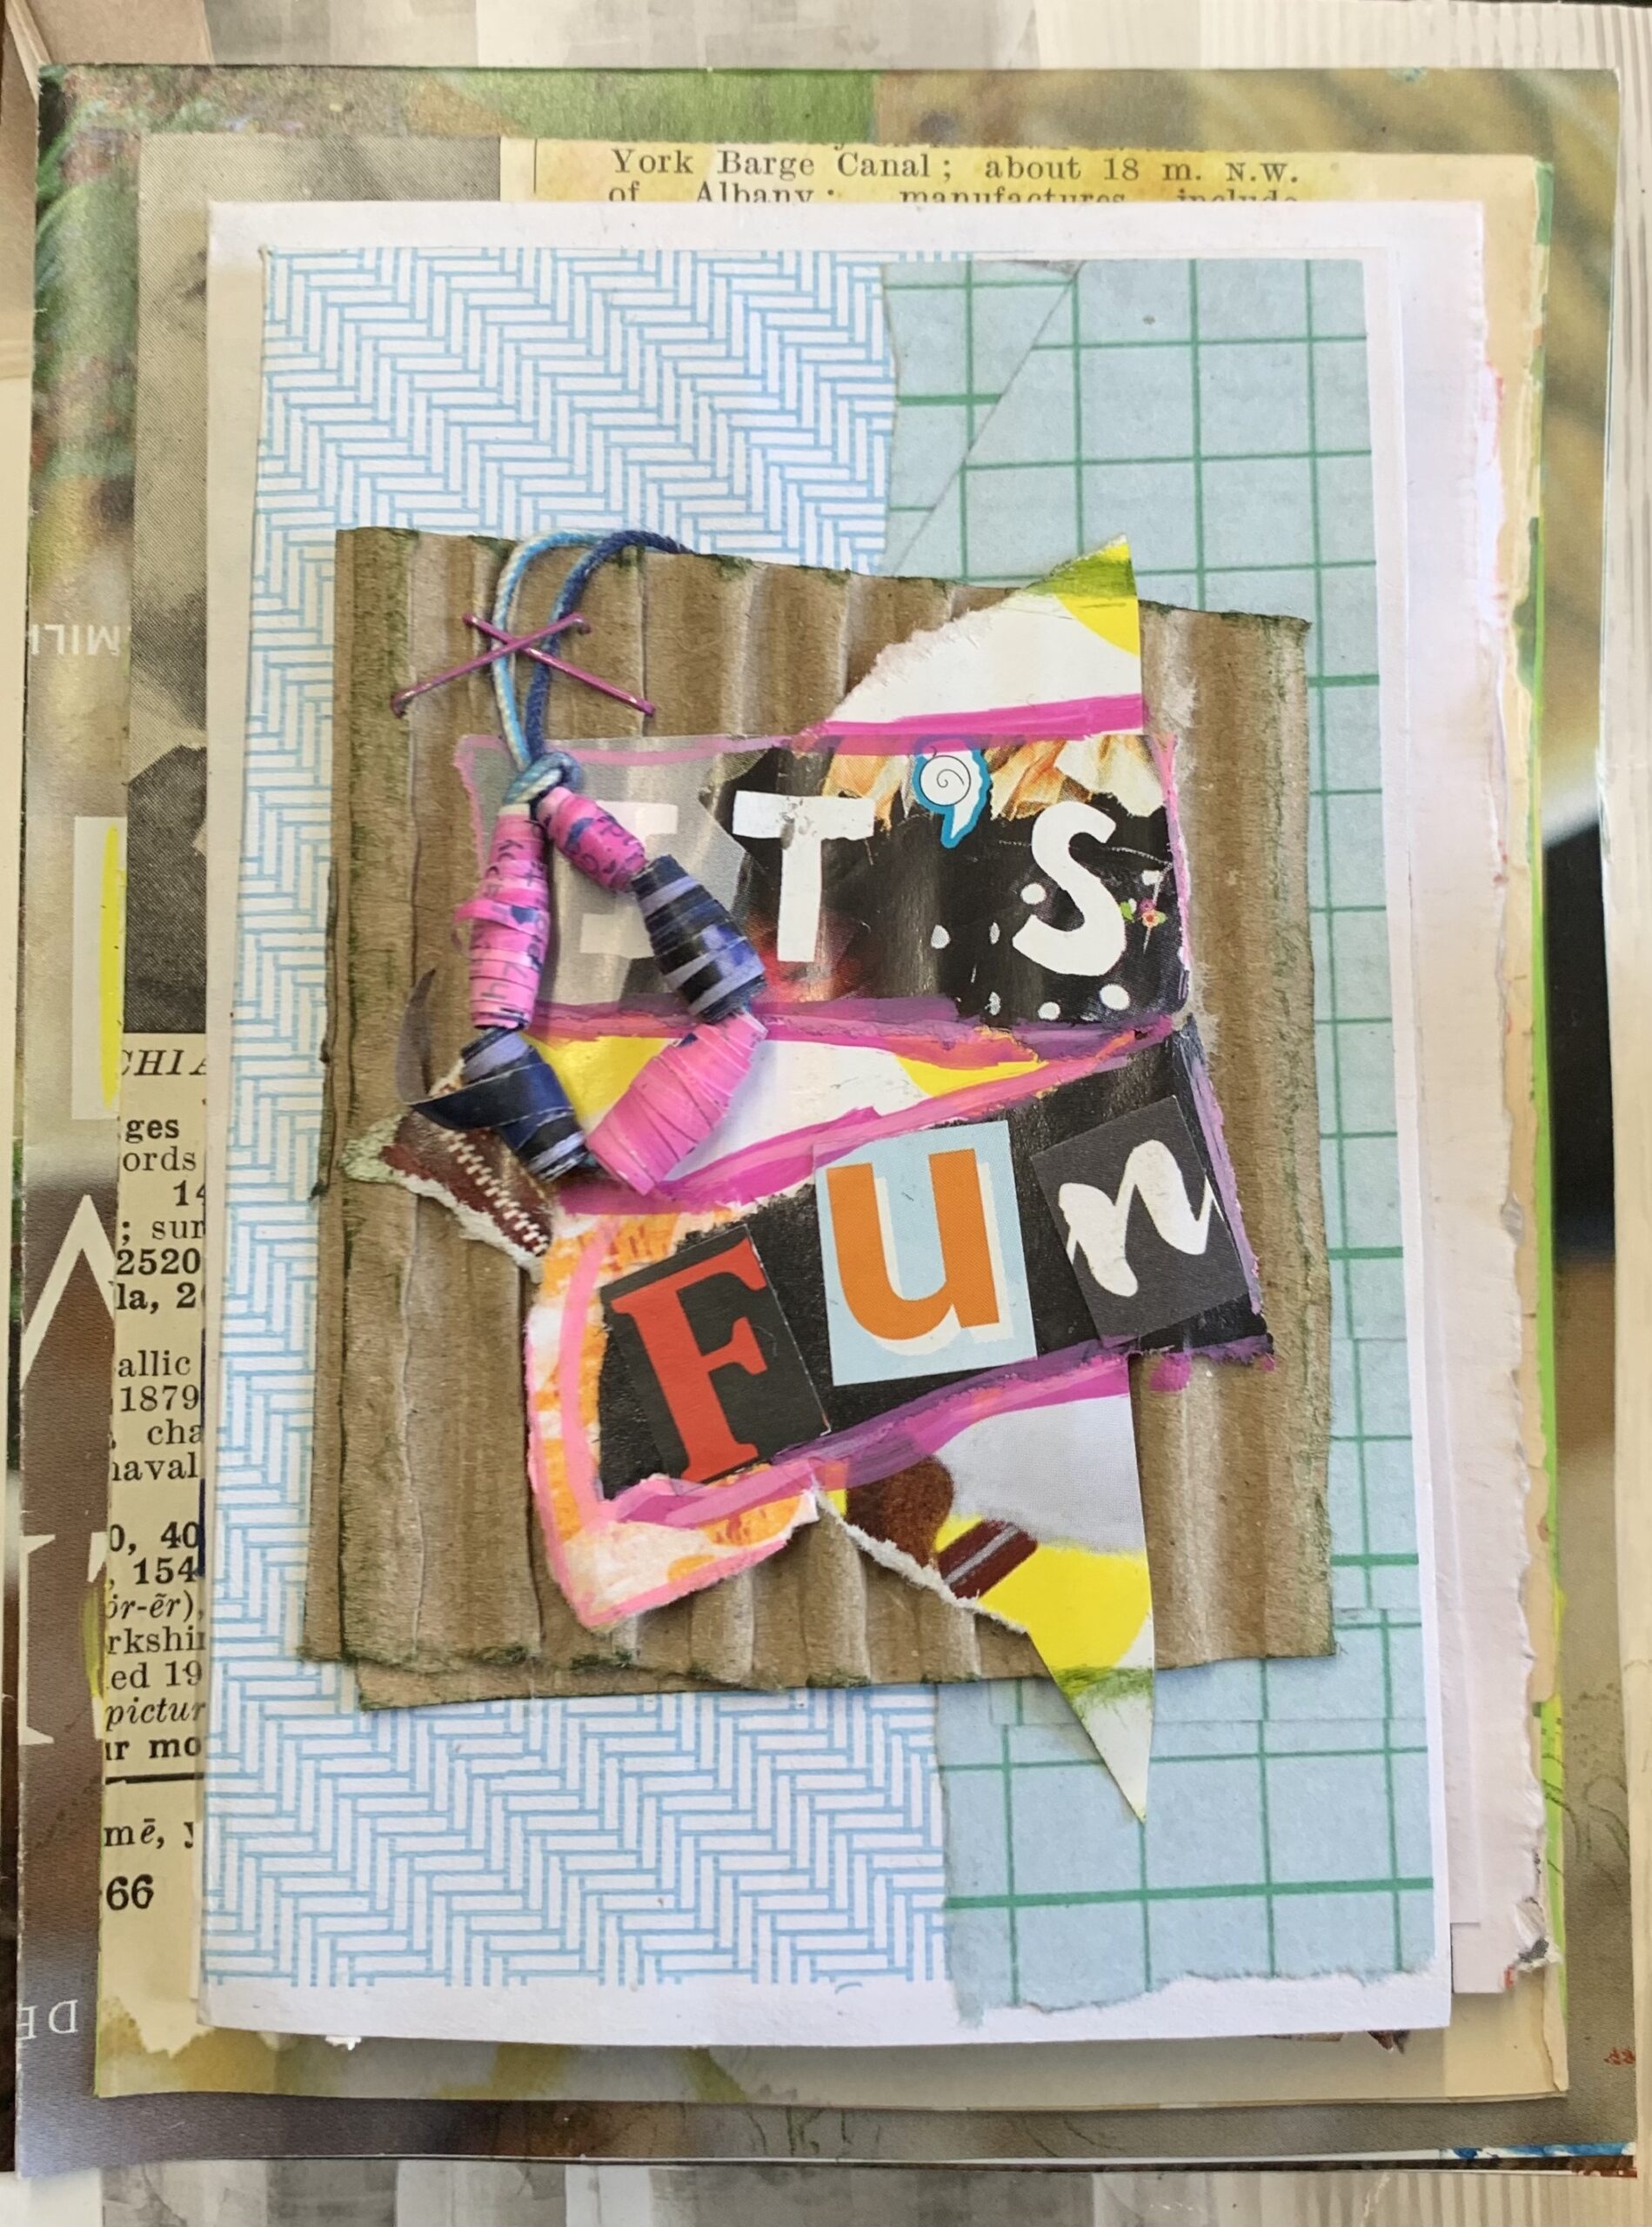
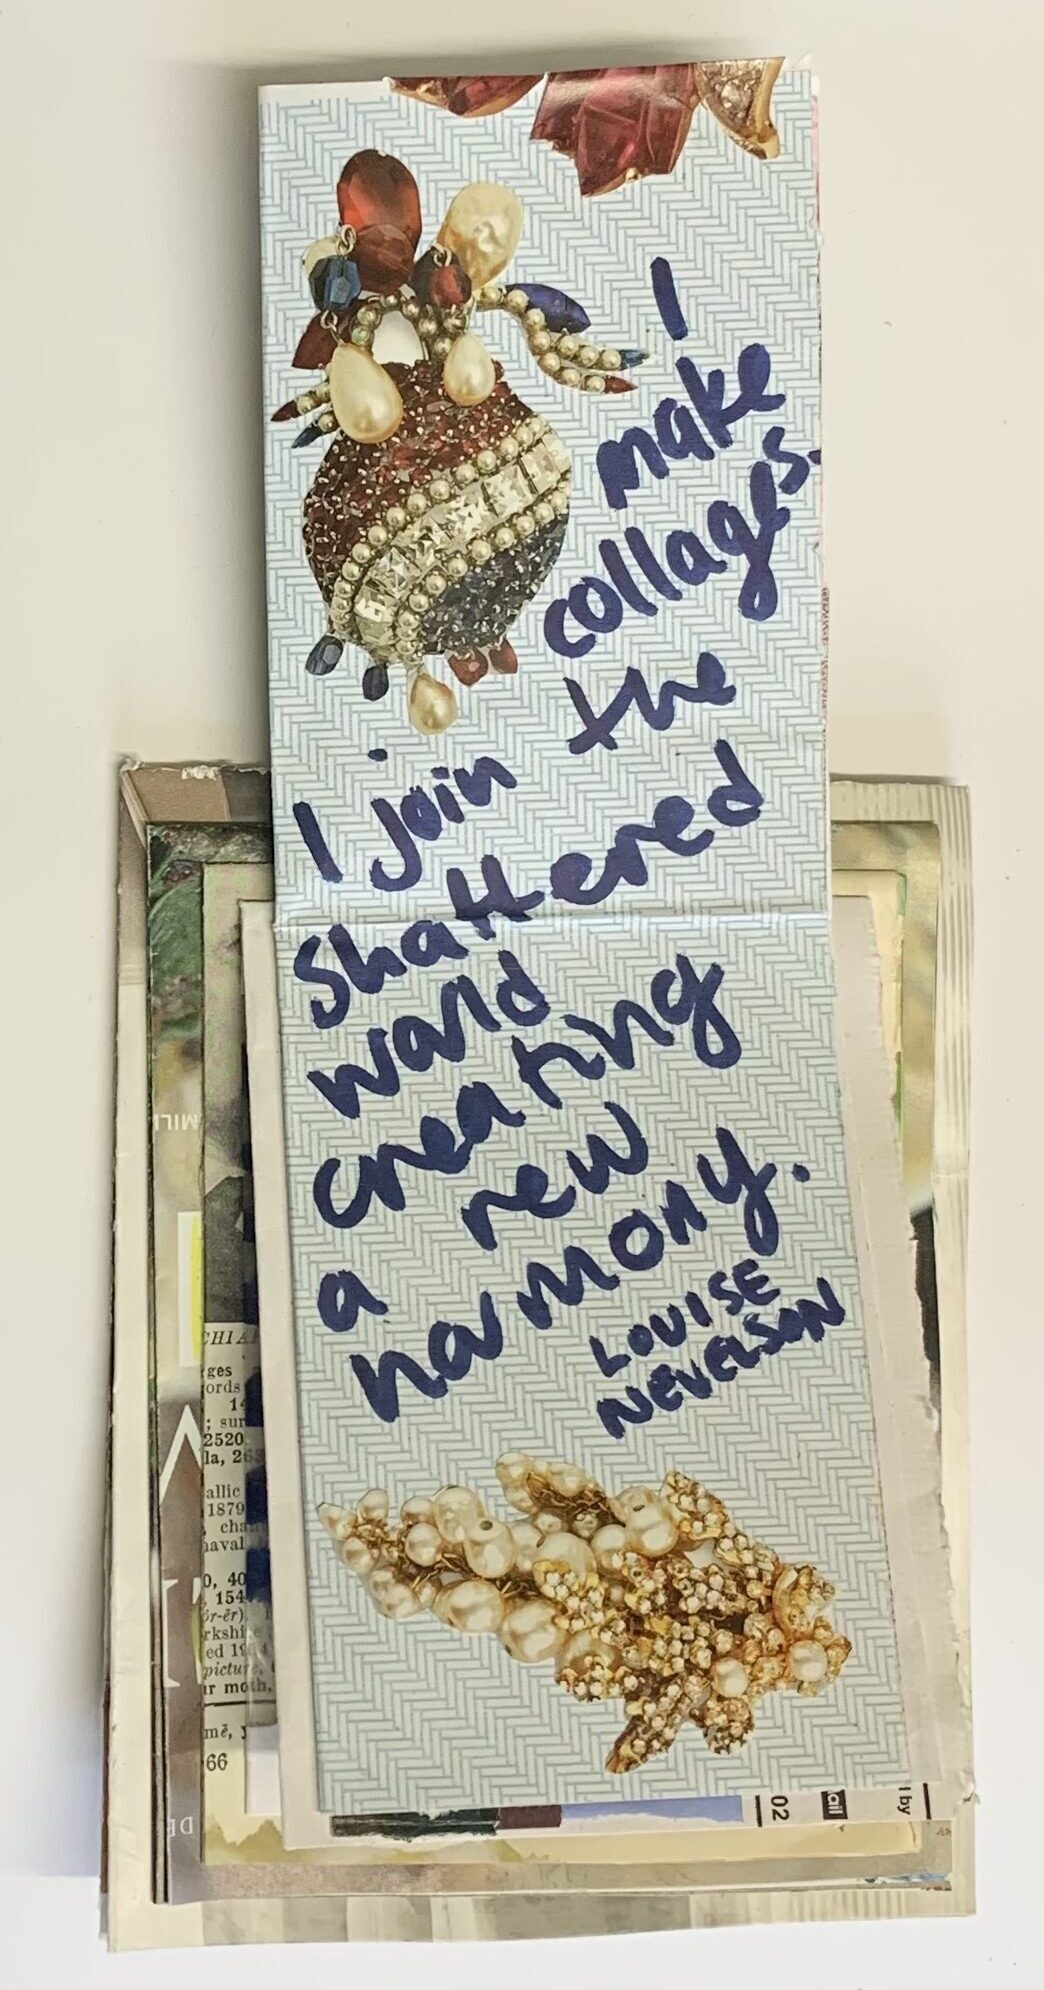
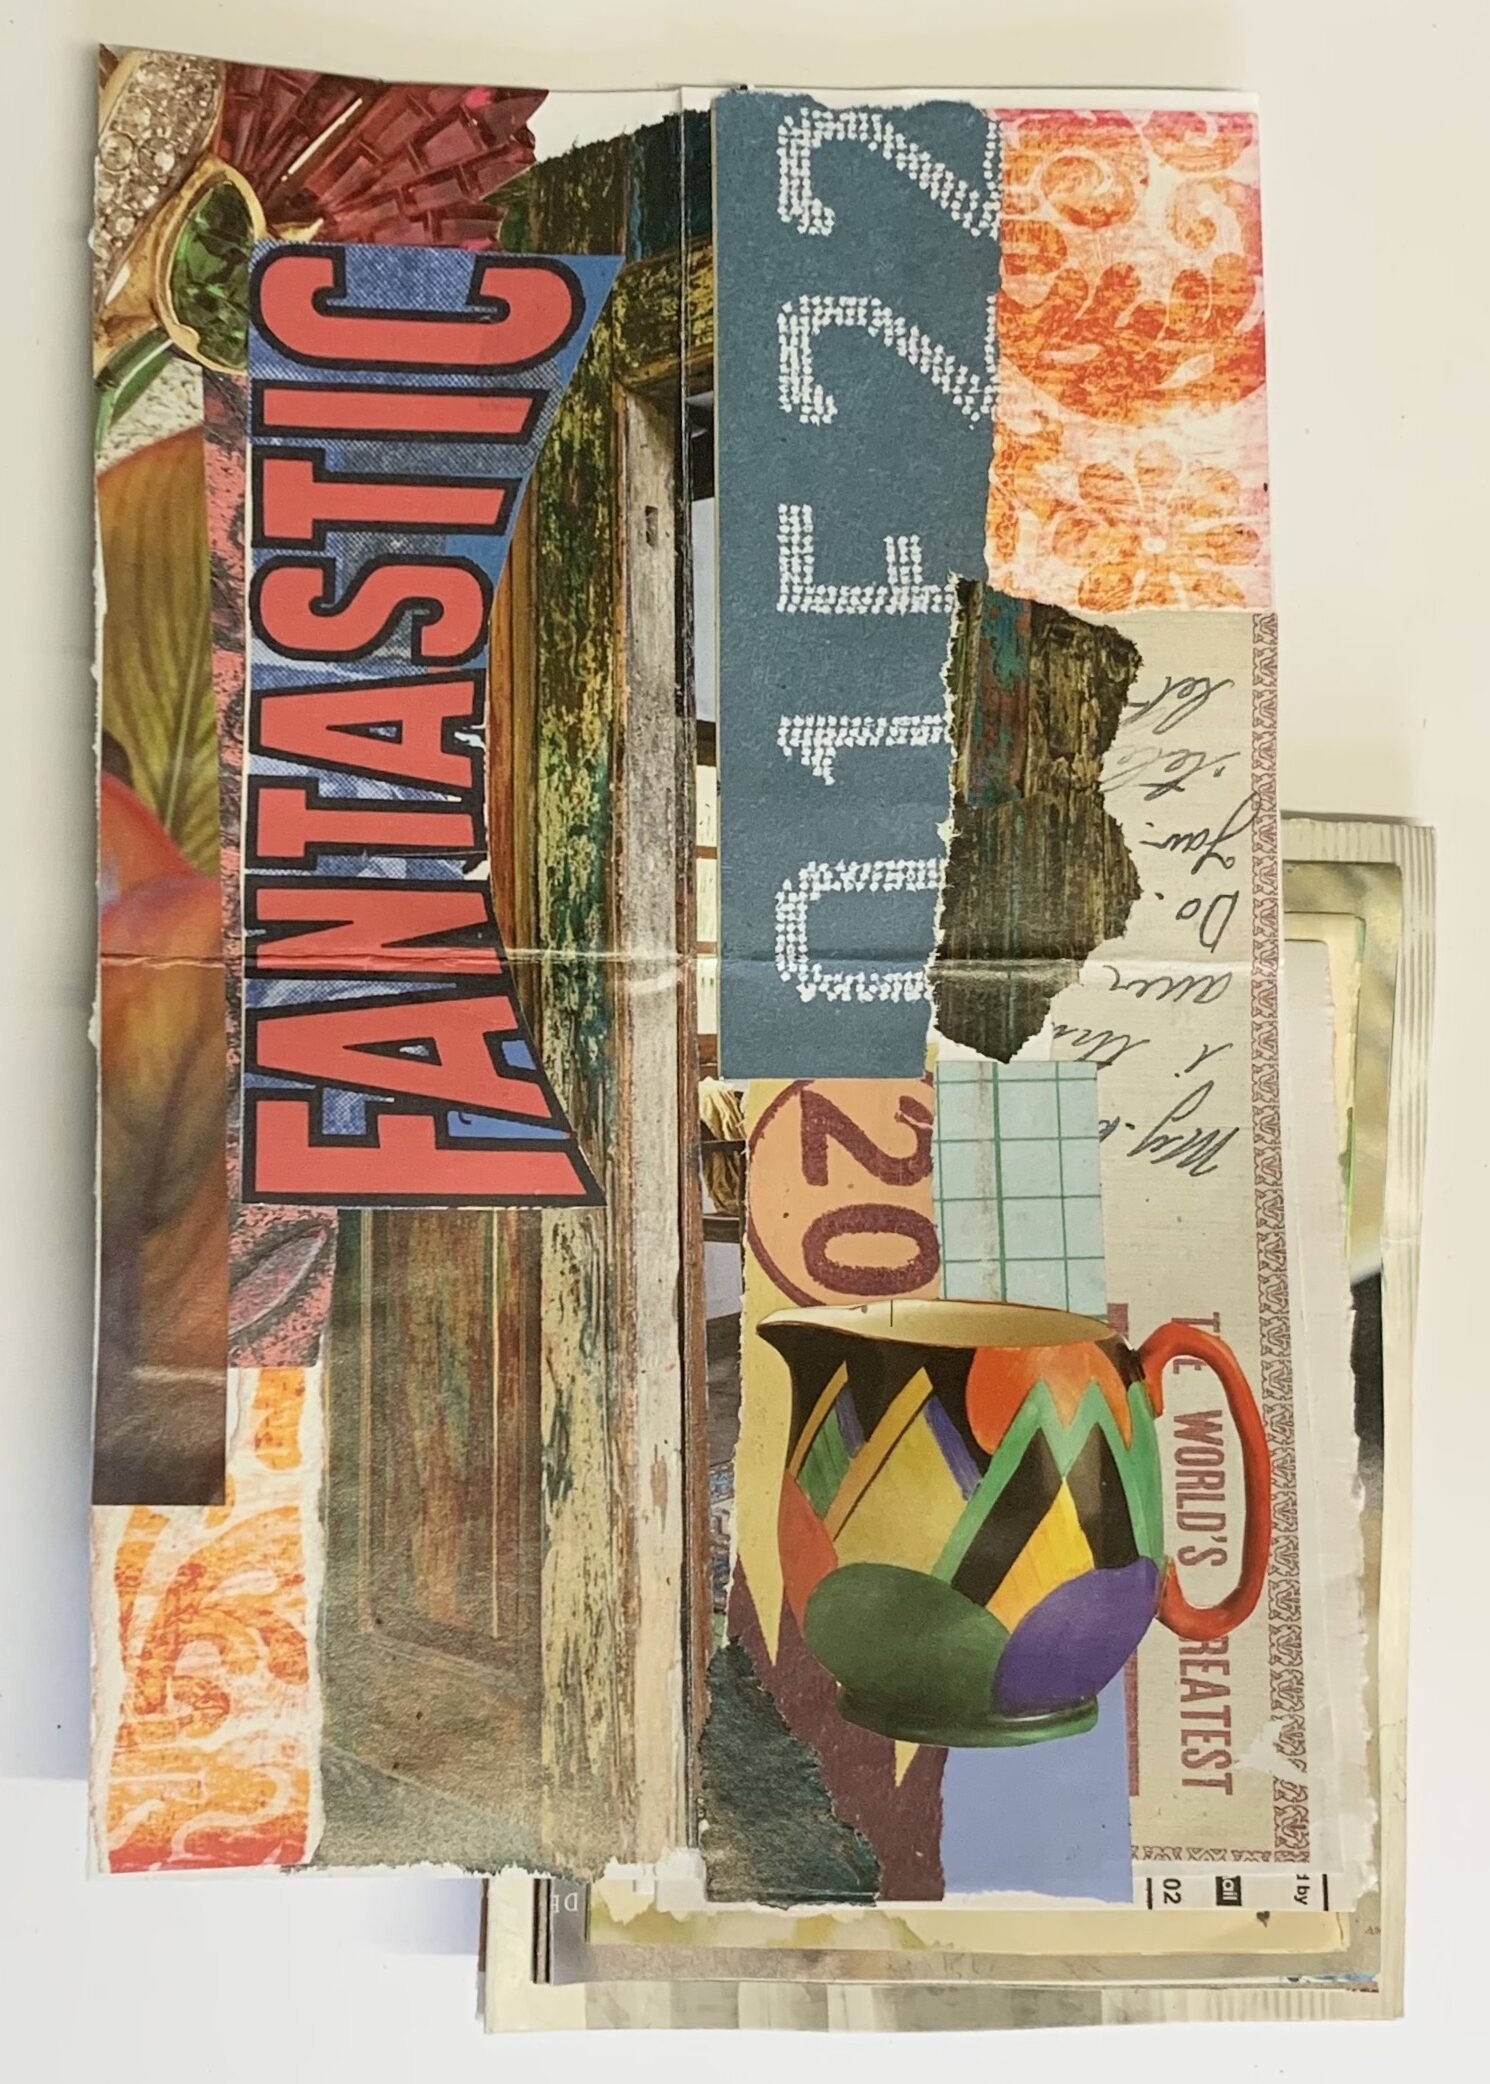
I think this journal style has plenty of scope for variations. I’ve added a piece to the front of my first page but you could easily fashion a cover and glue the back to the last journal page.
You could add further pages to the journal too, either on the front or the back, and it would work with circular or square pages.
If you’re a letter writer, wouldn’t it make a great format for letters too? Just use thinner plain or lined paper.